background image

Common Operations Introductions

1. Camera Select

Refer to the dial-up at the back of camera and choose 
camera address number that you want to control

1-3

)。

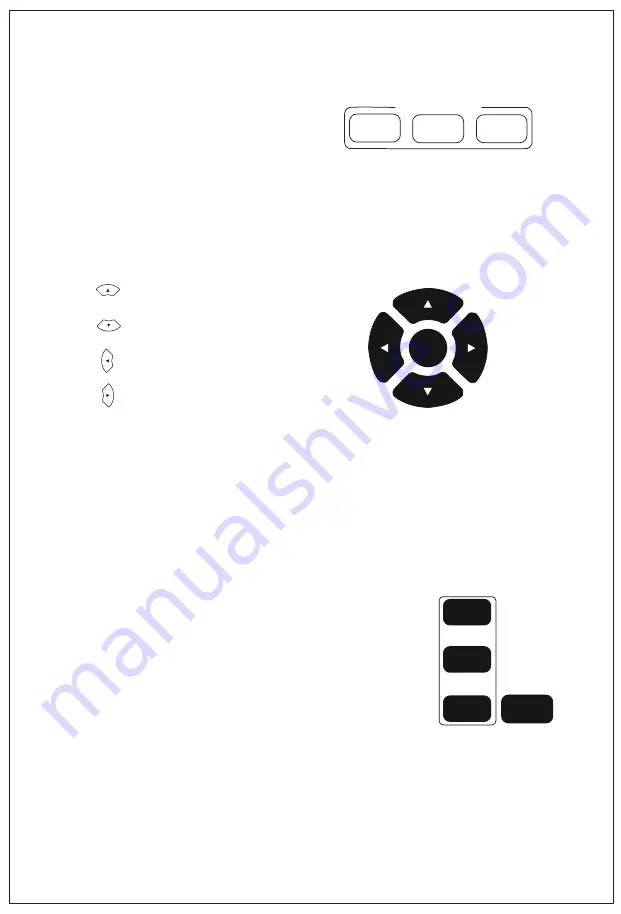
2. Camera Direction Control

*Note: Press direction key to move the camera.Press the 
direction key when you need to change the angle.  If you 
want to move the camera slowly, just click the direction 
key; If you want to move the camera fast at a large scale, 
just long-press the button.

3. Camera Focusing Mode Control

AUTO

Switch the focus mode to AUTO

MANUAL

Switch the focus mode to MANUAL

FAR

Far focus manually

NEAR

Near focus manually

Turning up

Turning down

Turning to left

Turning to right

6

1

2

3

CAMERA SELECT

HOME

FAR

NEAR

MANUAL

FOCUS

AUTO

FOCUS

Содержание VHD102U

Страница 1: ...na E mail sales tenveo com Mobile 86 18929337105 Add Rm 2302 Block A Zhongdeng Wenjing building Fengcheng 9th Rd Weiyang Dist Xi an China Email sherry tenveo com Tel 86 29 81318040 ShenZhen Tenveo Vid...

Страница 2: ...ion Foreword Notice Supplied Accessories Camera papameters Interface definition Interface diagram Installation instructions Contents Remote control instructions Common Operation Instructions Control I...

Страница 3: ...Do not apply excessive voltage Use only the specified voltage Otherwise you may get an electric shock or a fire may occur Do not aim the camera at the sun or the other high luminous obje cts otherwise...

Страница 4: ...CMOS 2 1 Mega Pixel 2 1mm lens D 138 H 120 V 100 128 37 51 3 4 64 F 3 0 10 0mm F 5 0 50 0mm 2 1 Mega Pixel 2 1 Mega Pixel 1 2 9 SONY HD CMOS VHD1080Pro VHD102U 55 5 3 0 F 4 7 94mm 2 1 Mega Pixel 1 3...

Страница 5: ...IR SELECT 6 DC12V 3 1 Interface definition DC 12V Output AC 220V Input DC 12V IR SELECT NO 1 2 3 4 RS 485 A B RS 232 USB IR VISCA IN VISCA OUT RS 422 485 High Speed USB HD Video interfare keyboard con...

Страница 6: ...ation 2 Tripod Mount Installation 3 Ceiling Mount Installation Twist the tripod s screw on the camera tripod hole then the tripod could be installed on the bottom of camera The tripod screw must fit b...

Страница 7: ...lled direction 7 PAN TILT Camera rotation control key press this button and move by the arrow direction Pr ess HOME to back to the center of vertical and ho rizontal position 8 P T Reset Camera Pan Ti...

Страница 8: ...hen you need to change the angle If you want to move the camera slowly just click the direction key If you want to move the camera fast at a large scale just long press the button 3 Camera Focusing Mo...

Страница 9: ...T then press one of the number 1 9 to reserve a preset that correspond to the NUMBER Note you can setup 9 presets at most by the remote control 2 Call Preset Press the NUMBER 1 9 directly to call the...

Страница 10: ...Set camera s remote control address Point the arrow to 1 Short press 1 on camera select to select the camera 1 Point the arrow to 2 Short press 2 on camera select to select the camera 2 Point the arro...

Страница 11: ...nected or not If yes change to an other USB interface and try to connect again Q No image after HDMI interface connects A 1 check the HDMI cable and connected device are normal 2 check the video forma...

Страница 12: ...Product s information Thank you very much for choosing our products Purchase Date 1 This card is considered as the Protection to fix warranty so please reserve them carefully Please fill in truthfully...

Страница 13: ...Q A Certificate of compliance QC PASSED Tenveo...

Страница 14: ...Make any meeting better and easier...

Отзывы: