background image

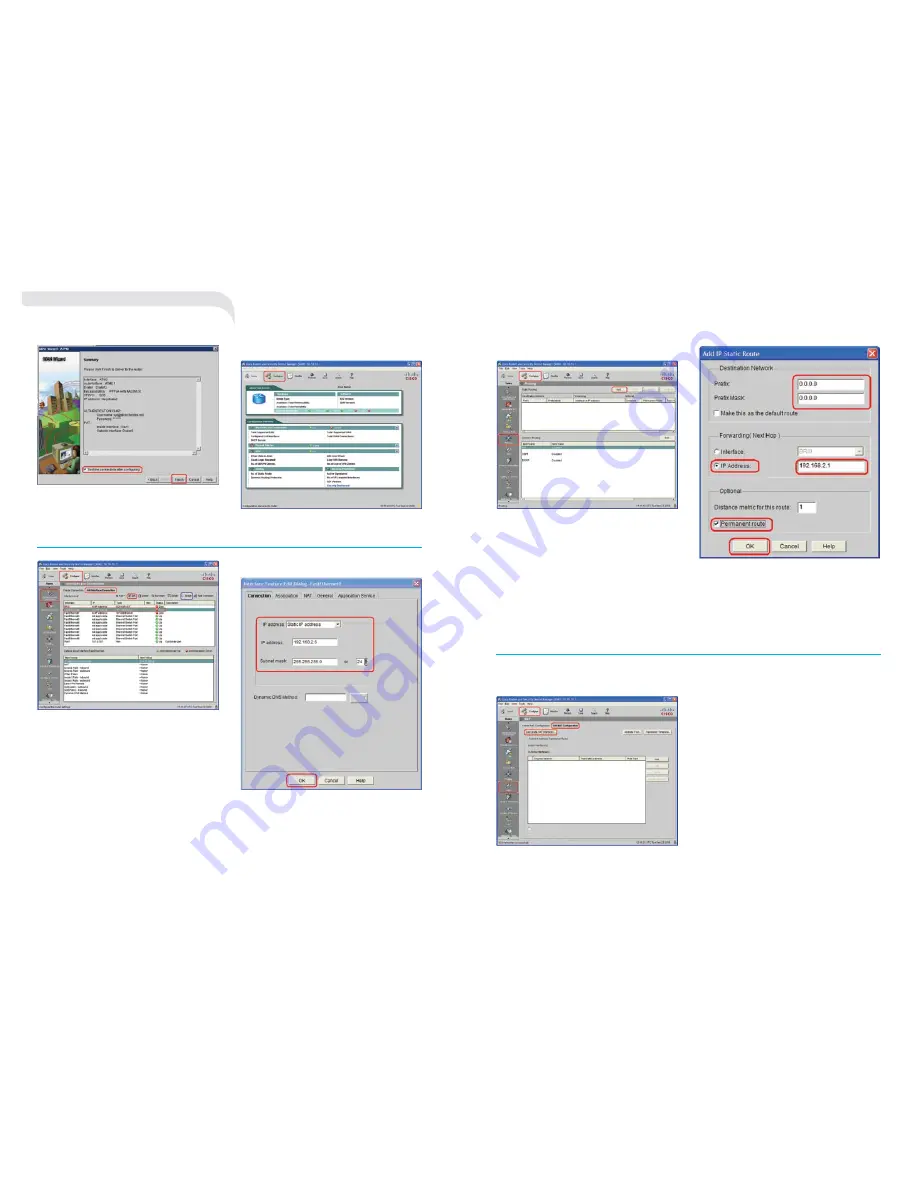
STEpS:

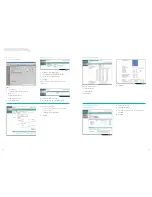
1.   click 

Configure

.

2.   click 

routing

 from the 

Tasks

 section  

– on the left hand side of the screen.

3.   click 

add

 as shown above.

you will be provided with the following screen  
to add your static route:

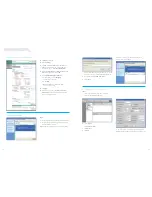
2.  click 

Interfaces and Connections

 from the 

Tasks

 section.

3.  click 

Edit Interface/Connection

.

4.  highlight 

Fastethernet0

 interface.

5.   click 

Enable

. the status column should now  

change from 

Down

 to 

Up

.

6.  click 

Edit Interface Connection

 tab.

7.   click and highlight interface and click 

Edit


please note:

 the 

Edit

 tab may not always be active.  

if this does not work, please use/follow the 

create 

connection

 wizard. 

b.  configuring static route

c.  network Address translation (nAt )/Port Address translation (PAt )

1.   defining trusted and untrusted interface 

fill in the details as shown above. 

4.   select 

Ip address 

radio button.

5.   enter your default route address.

6.  select 

permanent route

7.   click 

OK

please note: 

the above shows a sample default route.

13

14

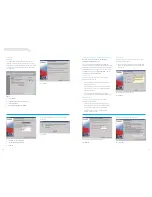
18.   select 

Test the connection after configuring

.

19.   click 

Finish

.

2.   configuring ethernet/static interface

you will be provided with the following dialogue box:

8.  fill in the details as shown above and click 

OK

please note:

 the above 

Ip address

 is used as an example only 

– the actual static 

Ip address

 is detailed in your configuration 

email for telstra business broadband. 

STEpS:

1.  select 

Configure

 as shown above.

STEpS:

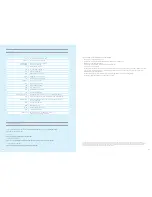
1.   click 

Configure

.

2.   click 

NaT

 from the 

Tasks

 section.

3.   select 

Edit NaT Configuration

 tab.

4.   click 

Designated NaT Interfaces

.

confiGurinG your router usinG sdM

Содержание 18121

Страница 1: ...Call the Telstra Business Technical helpdesk on 1800 066 594 visit Telstra com business cisco user guide XXXXXX CODE apr 10 ...

Страница 2: ...quipment Cisco 877W and 18121 Router You have purchased Telstra Business Broadband Equipment Extras Cisco Customer premises equipment The Cisco user guide will help you to configure and setup your new router so you can get more out of your Telstra Business Broadband service 02 Ethernet customers The Cisco 1812 K9 router does not have built in wireless capability If you require wireless capability ...

Страница 3: ...his Quick Start Guide is included in the kit g We recommend you change or reset your router default password as soon as possible after you have installed and configured your supplied Cisco router 2 Things to note before you start 3 Minimum Systems Requirements A SDM The following table defines the minimum system requirements to install the SDM on your computer B Wireless Please ensure you check th...

Страница 4: ...e 5 0 03 560 does NOT support the following features System upgraded from Windows XP or earlier Windows operating systems to Vista Please note Clean OS installation if required Start Before Logon SmartCard authentication Integrated firewall InstallShield Auto Update Advisory about Connection Time on Windows Using the VPN Client to connect to a Windows Vista system might take longer than the time n...

Страница 5: ...l start as shown above 4 Click Next 5 Select I accept the terms of the license agreement as shown above 6 Click Next 9 Accept the default destination folder as show above 10 Click Next It is recommended that users install the Security Device Manager directly to the PC or desktop 7 Select This Computer as shown above 8 Click Next You are now ready to install 11 Click Install 12 Click Finish after s...

Страница 6: ... advantage has been pre configured into the router configuration For your network and router security you are advised to change your user name and password See section 8 F Adding User name and Password You will be prompted to enter the user name and password 7 An error may occur such as the one shown above To unblock the SDM popup page move your mouse cursor over the yellow bar and right click the...

Страница 7: ... Yes when prompted to continue with the copy process 6 Select PPPoA with AAL5MUX 7 Click Next 8 Enter values for Virtual Path Identifier VPI and Virtual Circuit Identifier VCI The VPI and VCI are obtained from the Configuration Advice from Telstra 9 Click Next if successful move on to step 10 STEPS 1 Click Configure 2 Click Interfaces and Connections in the Tasks section 3 Select ADSL PPPoE or RFC...

Страница 8: ...lation NAT Port Address Translation PAT 1 Defining Trusted and Untrusted Interface Fill in the details as shown above 4 Select IP Address radio button 5 Enter your default route address 6 Select Permanent route 7 Click OK Please note The above shows a sample default route 13 14 18 Select Test the connection after configuring 19 Click Finish 2 Configuring Ethernet Static Interface You will be provi...

Страница 9: ...e 13 Protocol and Service 14 Select IP in the IP Protocol 15 Click OK Please note The source should be the trusted network 16 Click OK The following screen will be provided 15 16 The following dialogue box will appear 17 Click on Save D Static Port Address Translation Static PAT Static port address translation is required if the customer has a web server located within their LAN which they would l...

Страница 10: ...tion 3 Select Edit NAT Configuration tab 4 Click Add 5 Complete the fields Name Number and Description 6 Click Add 9 The above will be shown to verify the rule which was configured 10 To apply the rule click Associate 7 The above examples shows any user source allowed to access the public address of the web server Access has been restricted to port 80 only 8 Once you have added the rule click OK 1...

Страница 11: ...h 15 and all other users should be marked with 1 8 Click OK 9 Click File and Write File toolbar to start up Configure THIS IS VERY IMPORTANT AND IS REQUIRED TO SAVE THE CHANGES INTO THE ROUTER IN CASE OF A POWER FAILURE POWER CYCLE 19 20 13 You will be provided with this screen which will confirm the interface association and direction Please note The the WAN interface is provided as an example fo...

Страница 12: ...nd click setup exe The installation wizard will start as shown above 3 Click Next 7 Accept default destination folder and click Next 9 The installation will start as shown above 8 Click Next 4 A License Agreement will appear 5 Select I accept the license agreement 6 Click Next Cisco VPN install successful 10 Click Finish when the installation is complete You will be prompted to reboot your compute...

Страница 13: ...l and the Cisco VPN client software needs to be installed on the PC to initiate the request When the IPSec tunnel is established it offers the user comprehensive security by encrypting the data between the client PC and the router Important note This feature is available through Telstra if you have purchased the Telstra Business Broadband Extras Router Support Service RSS For more information on t...

Страница 14: ...siness Broadband Extras Router Support Service RSS For more information on this Telstra Business Broadband Extras please contact your Telstra Account Representative or call 1800 655 744 STEPS 1 Click Configure 2 Click VPN in the Tasks section 3 Click Easy VPN Server 4 Click Launch Easy VPN Server Wizard 3 Connection Entry is the name of this particular profile 4 Description a meaningful descriptio...

Страница 15: ...that are common to all specific users This group name must match the name in Section 11 A step 6 19 Pre shared Keys password for device authentication 20 Pool Information range of IP addresses that can be allocated to IPSec VPN Clients This address MUST be unique 21 Click OK how to for each feature You will be provided with the following screen 10 Click Next 11 Click Next ...

Страница 16: ... Select Enable Split Tunneling 3 Select Select the Split tunneling ACL 4 Click Create a new rule ACL and select 5 Name Number provide a meaningful name of the ACL no spaces 6 Description provide a meaningful description 7 Click Add In the Action dropdown box 8 Click Select an action and select Protect the traffic In the Source Host Network section 9 Type select A Network 10 IP Address and Wildcard...

Страница 17: ...Click Wireless Interface 15 Click Radio 802 11G 16 Click Setting tab 17 Select Enable 6 Click Wireless Radio Express Setup 7 Select Default for Optimize Radio Network for 8 Select Enable for Aironet Extensions 9 Click Apply Please note The Wireless hostname is provided as an example only 10 Click Wireless Express Security 11 Select Routing from the Connection Selection 18 Click Apply 31 32 Configu...

Страница 18: ...icated key management 4 Re enter the value in Confirm network key 5 Click Connect You have successfully connected your client PC to the Wireless connection as shown Configuring Wireless Security SSID Manager 23 Click Wireless Security 24 Click SSID Manger 25 Click BBE from Current SSID List The BBE SSID is an example The user should select their custom SSID as defined in step XII Fill in the follo...

Страница 19: ...identifies inbound and outbound Instant Messaging and checks inbound and outbound HTTP traffic and e mail traffic for protocol compliance Return TCP and UDP traffic on sessions initiated inside the firewall is routed Low Security Select this option if you do not need to track use of these applications on the network The router does not identify application specific traffic Returns TCP and UDP traf...

Страница 20: ...he application used to communicate securely with your Cisco router over the internet 12 Glossary 37 38 For those who like the details we ve got them here 1 The 1812 Router supplied is non wireless 2 This guide does not step through the modification to Command Line Interface CLI 3 Additional fees and charges may apply 4 This guide does not provide instructions on how to modify the CLI 5 Some suppor...

Отзывы: