32
User’s Guide
Configuration
Telindus 1120 ADSL Router
DHCP
From
Configuration
, double-click on the
LAN Configuration
icon in the left panel to open
the
LAN Configuration
menu, and then click on
DHCP
.
DHCP allows you to enable or disable the use of DHCP for a Multiple IP Address Account.
DHCP, Dynamic Host Configuration Protocol, dynamically assigns (leases) Private IP
Addresses to devices on a network. With dynamic addressing, a device can be assigned
an IP address each time it connects to the network.
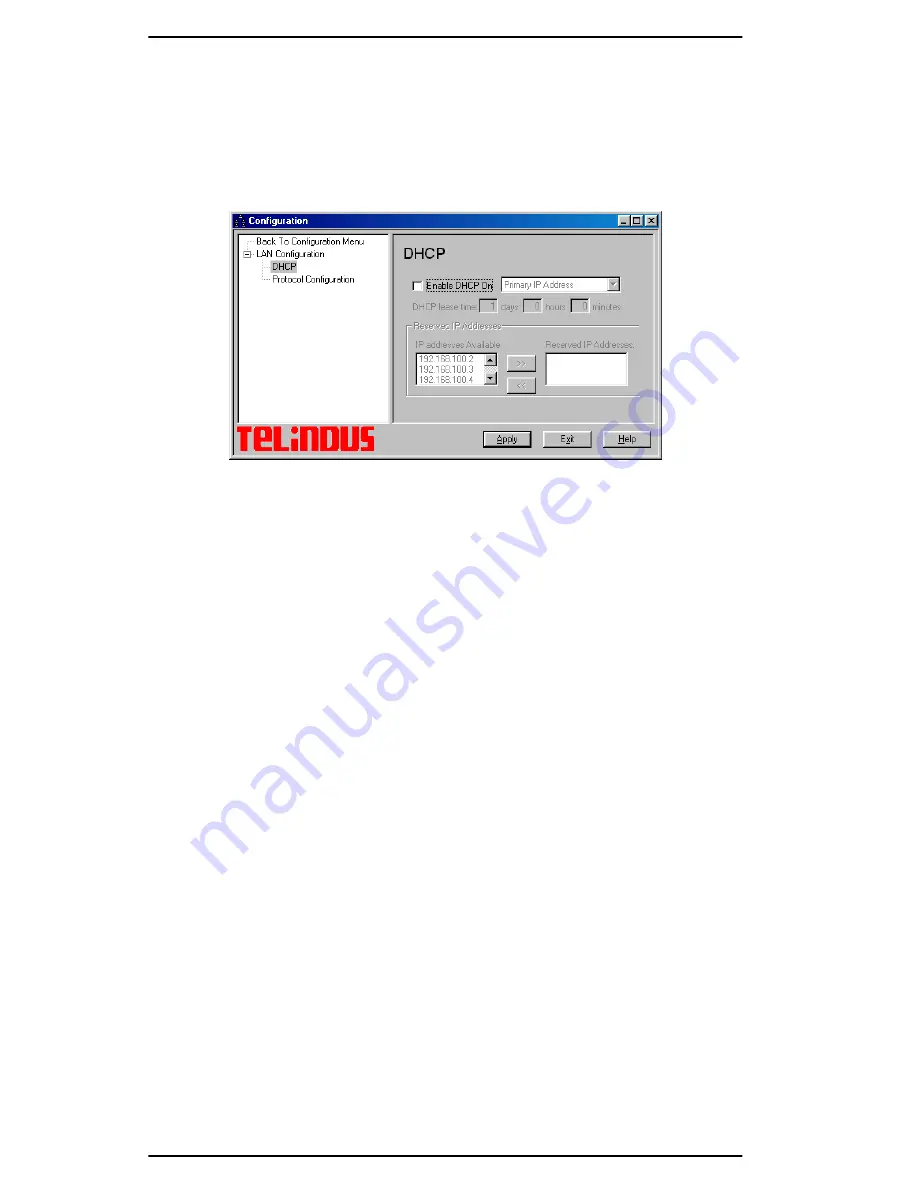
Figure 5.16 DHCP
DHCP simplifies network administration because the router keeps track of IP addresses
rather than requiring an administrator to manage the task. This means that a new
computer can be added to a network without the hassle of manually assigning it an IP
Address.
If you de-select
Enable DHCP On
(which disables DHCP) then either every PC (or
network device) on your LAN has a fixed IP address already assigned to it, or else another
DHCP server is already running on your network.
However, if you select
Enable DHCP On
, you have the option of enabling DHCP on either
the Primary of Secondary IP Address. You can also configure the following DHCP
parameters:
DHCP Lease Time
:
The amount of time that a network device can have (lease)
a Private IP Address before the router makes the address
available for re-assignment.
The
DHCP Lease Time
range is:
Max:
999 days, 23 hours, 59 minutes
Min:
0 days,
0 hours, 1 minute
Default: 0 days,
12 hours, 0 minutes
Reserved IP Addresses
: Reserves selected Private IP Addresses so that they can
be manually assigned to the Dial-In IP Address Pool, dial-in
profiles, or network devices that do not use DHCP.
To reserve an IP address, select it in the
IP Addresses Available
window, and click on the right arrow
button. This will move the IP address to the
Reserved IP
Addresses
window.
De-select a reserved IP address, click on the left arrow
button. This will move the IP address to the
Available IP
Addresses
window.
After you have configured your DHCP settings, click
Apply
to review the parameters you
have entered, and then click
Finish
to send settings to the Telindus 1120 ADSL Router.
Click
Exit
to return to the Telindus 9100 Maintenance Application.


