


1. Dial into door entry unit. Alternatively you can use the keypad locally.
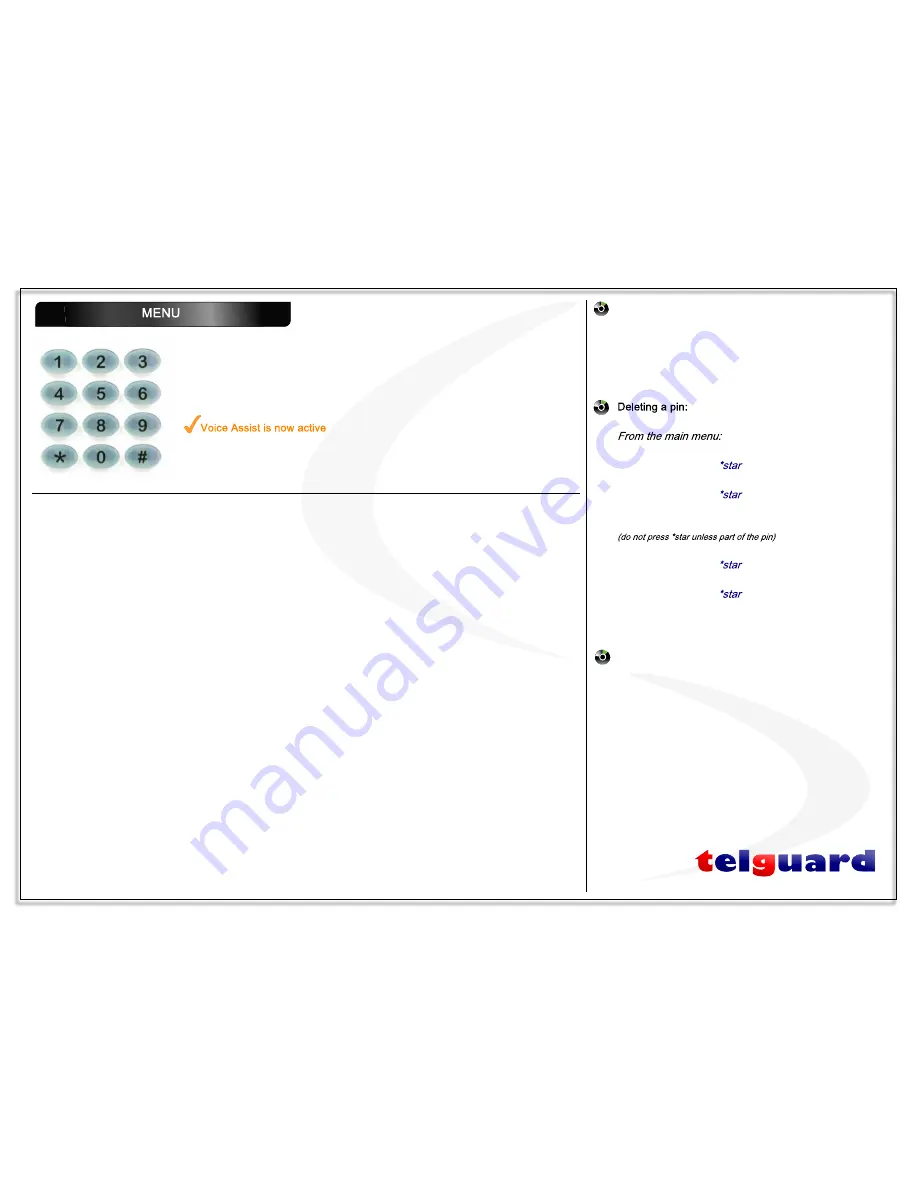
2. Press default ‘87’ followed by the serial number to log into full menu.
• Enter 2 followed by
*star
• Enter 2 followed by
*star
• Enter your new pin, can be no more than 8 digits long including * or #
-wait six seconds after last key stroke .
• Enter ‘1’ followed by
*
star
to edit relays (this is to assign your pin to a relay)
• Enter ‘1’ followed by
*star
to assign your pin to relay slot 1
or
enter ‘2’ followed by
*star
to assign pin to relay slot 2.
• Enter ‘1’ followed by
*star
to
pulse A
(default 1 sec)
Enter ‘2’ followed by
*star
to
Latch A
Enter ‘3’ followed by
*star
to
Unlatch A
Enter ‘4’ followed by
*star
to
Pulse B
Enter ‘5’ followed by
*star
to
Latch B
Enter ‘6’ followed by
*star
to
Unlatch B
* your pin and relay output is now saved*
•
Enter ‘0’ followed by
*star
x3 times to return back to main menu.
-If you need to exit configuration enter ‘0’ followed by
*star
again-
• To Enter another pin repeat steps above from the main menu.
Your pin can consist of up to 8 digits including * & #.
after you have entered your pin please wait six seconds
after last key stroke for the pin to be saved.
Enter ‘2’ followed by
Enter ‘2’ followed by
Enter pin number you want to change, wait six seconds
Enter ‘3’ followed by
Enter ‘1’ followed by
to confirm delete
For deep editing of parameters it is suggested you
use the AVIT USB lead & software provided with your
Telguard unit. This allows you to connect directly to
your unit via a PC (locally) or via modem (remotely).
Instructions and driver installation are also located on
the disc.
...access to your home by the tone of your phone...
TM
Page 5 of 7
Voice assist Full
*Pin Entry setup*


