PX24M CAPACITY EXPANSION
Disconnect all power sources (batteries and AC-DC power converter) from the PX24M
system. Make sure the power supply LED is not lit. Failure to do so might damage
your cards and your backplane resulting in system failure
Disconnect all RJ11 cables and ethernet cable from the equipment
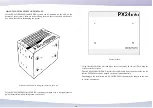
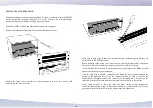
Remove the front panel from the system by unscrewing four screws.
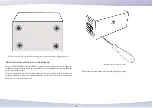
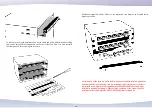
Remove the empty-slot-cover-plate on the front panel. You may do it easily with
unsecrewing the nuts in the rear.
Make sure to keep cards in their electro-statically safe conductor bags when they are
not installed in the PX24M system.
Before handling cards, make sure you are electro-statically discharged by wearing an
electrostatic bracelet or touching a metal object such as a radiator or a tap.
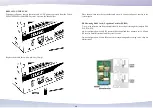
On the back of the card there is a male connector with multiple pins. Make sure that
none of these pins are bent or damaged.
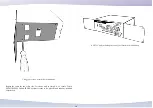
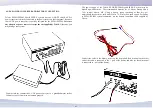
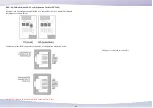
Hold the card with two hands, component side facing up, push it gently through the
guides in the right and left part of the cabinet all the way until it clicks as the
connector on the card mounts to the connector on the backplane. The cleats on the
right and left side of the card should secure tightly into the holes in the cabinet.
Never apply pressure, or force the cards into place, doing so may damage the
connector pins causing a short circuit and resulting in system failure. If necessary,
gently push the card to the left or to the right to align the connectors.
38
Содержание PX24M
Страница 1: ...PX24U PX24M HYBRID IP PBXs...


