


VIPer Software Setup 9-3
9.01.2 AMIBIOS SETUP MAIN MENU
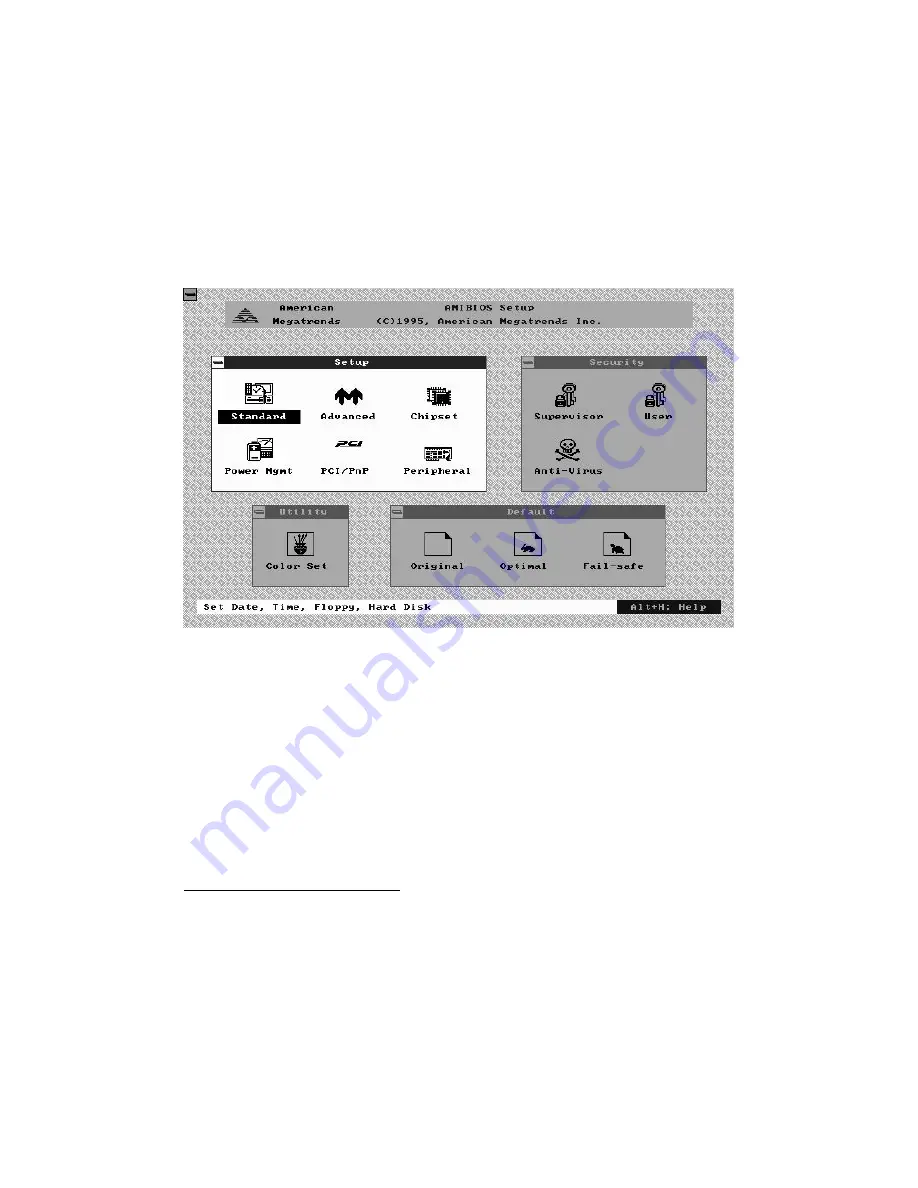
The main menu screen looks as follows:
Four windows appear on the above screen:
•
Setup window (explained in section 9.01.4)
•
Security window (section 9.01.5)
•
Utility window (section 9.01.6)
•
Default window (section 9.01.7).
The Setup window is highlighted on the screen displayed above, meaning that you can
select items in that window. To highlight the other windows, press the TAB key on the
keyboard, or if a supported mouse
1
was detected, move the arrow cursor over the desired
window, and click the left mouse button.
F
Press TAB to select a window (Setup, Security, Utility, or Default) or click the
mouse inside that window.
1
All PS/2-type mice are supported, as well as bus mice that use IRQ 3, 4 or 5 (not
2), Microsoft-compatible mice (M, V, W Series), Logitech C-series-compatible
mice and many serial mice.
Содержание VIPer808
Страница 21: ...Installing Memory 2 3 DIAGRAM 2 1 Assembly Top...
Страница 22: ...Installing Memory 2 5 DIAGRAM 2 2 Assembly Bottom...
Страница 26: ...Setting Jumpers 3 3 DIAGRAM 3 1 VIPer808 Jumper Locations with Default Settings...
Страница 28: ...Setting Jumpers 3 6 TABLE 3 1a Jumper Settings W1 W4 W13 W14...
Страница 29: ...Setting Jumpers 3 7 TABLE 3 1b AMD DX2 DX4 CPU Jumper Settings W1 W15 W15C...
Страница 30: ...Setting Jumpers 3 8 TABLE 3 1c AMD 5x86 CPU Jumper Settings W1 W15 W15C...
Страница 31: ...Setting Jumpers 3 9 TABLE 3 1d Intel CPU Jumper Settings W1 W15 W15C...
Страница 32: ...Setting Jumpers 3 10 TABLE 3 1e SGS CPU Jumper Settings W1 W15 W15C...
Страница 33: ...Setting Jumpers 3 11 TABLE 3 1f Jumper Settings W18 W20 W23...
Страница 92: ...Memory I O Maps B 1 APPENDIX B MEMORY I O MAPS B 01 MEMORY MAPS DIAGRAM B 1 Memory Map Diagram...
Страница 96: ...Mechanical Layout Block Diagram C 3 DIAGRAM C 1 Mechanical Specifications...