background image

EN-59

Setup Menu

This feature allows you to set up the default settings by preference for using your 
camera.

1. Rotate the mode dial to 

L

 (Setup) mode and turn your camera on.

2. Press 

W

, then use 

x

 or 

y

 to select the [Set-up1] / [Set-up2] / [Set-up3] menu.

3. Use 

v

 or 

w

 to select the desired option item, then press the 

e

 button.

4. To exit from the setup menu, rotate the mode dial to other desired mode again.
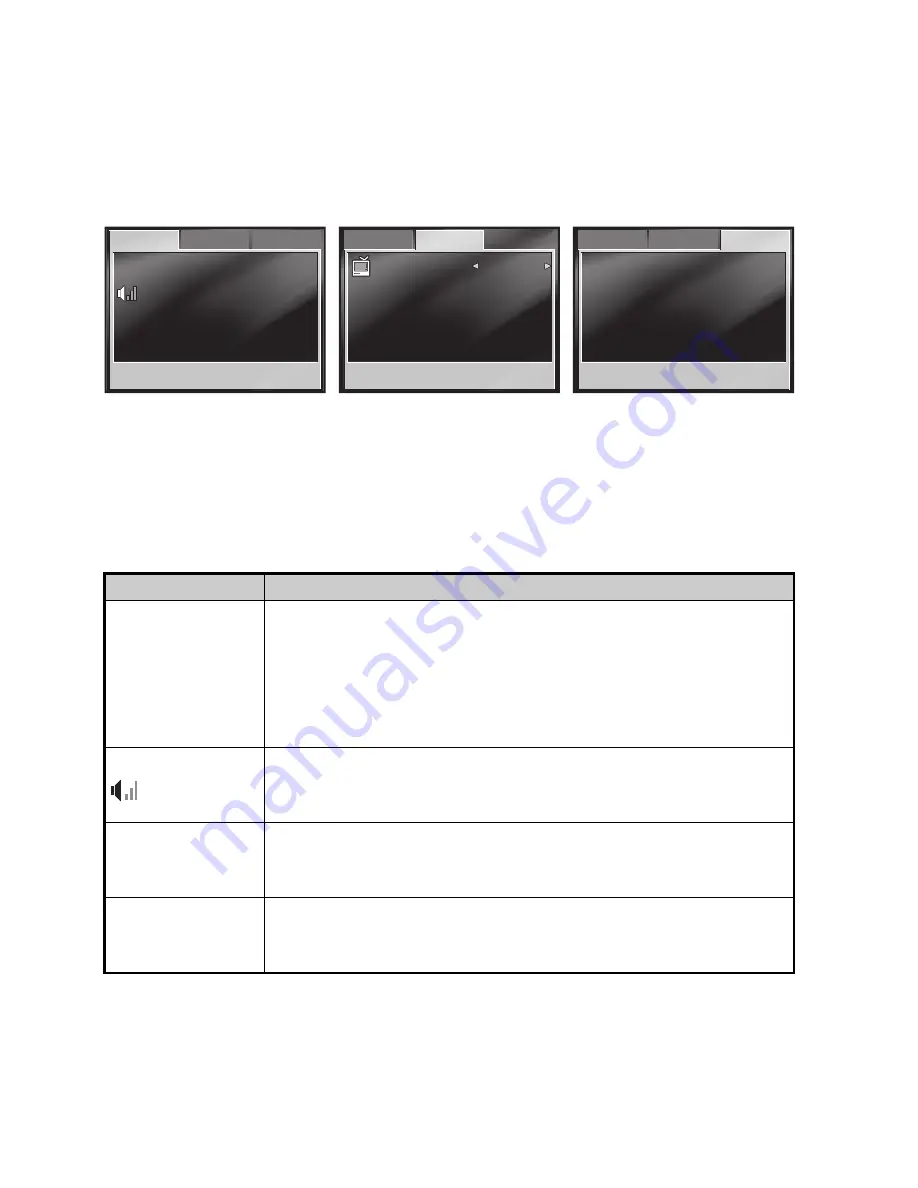
„

[Set-up1] settings

Item

Functional Description

Format

x

Erases all images and reformats the SD card loaded in your 
camera. Protected images are also erased. SD card cannot be 
formatted if it is write-protected.
Refer to the section in this manual titled “Formatting an SD 
Memory Card or Internal Memory” for further details.
• Yes  /  No

Beeper

This sets whether or not to mute the startup sound, and the 
camera sound each time you press a camera button.
• On  /  Off

Date & Time

z

This sets the date and the time.
Refer to the section in this manual titled ”Setting the Date and 
Time” for further details.

Language

B

Sets the language that is displayed on the LCD monitor.
Refer to the section in this manual titled “Choosing the Screen 
Language” for further details.

x

z
B

x

z
B

Set-up2

Set-up2

Set-up1

Set-up1

Format

Format

Beeper

Beeper

Date & Time

Date & Time

Language

Language

Off

Off

y / m / d

y / m / d

English

English

Off

y / m / d

English

Set-up3

Set-up3

Set-up2

Format

Beeper

Date & Time

Language

Set-up3

Set-up1

C
r
u

C
r
u

Set-up2

Set-up2

Set-up2

Set-up1

Set-up1

Set-up1

TV

TV

LCD Brightness

LCD Brightness

Auto Shut Down

Auto Shut Down

Reset Number

Reset Number

PAL

PAL

0

2 Min.

2 Min.

TV

LCD Brightness

Auto Shut Down

Reset Number

PAL

0

2 Min.

Set-up3

Set-up3

Set-up3

t
E

t
E

Set-up2

Set-up2

Set-up1

Set-up1

Set-up1

Set To Default

Set To Default

Version

Version

Set To Default

Version

Set-up3

Set-up3

Set-up3

Set-up2

Содержание SH-A366

Страница 1: ...ademarks or registered trademarks of their respective owners Product Information Product design and specifications are subject to change without notice This includes primary product specifications sof...

Страница 2: ...ire or electric shock For repair or internal inspection ask the store of purchase Use the supplied AC adapter only with the indicated power supply voltage Use with any other power supply voltage might...

Страница 3: ...a precision instrument Do not drop it strike it or use excessive force when handling the camera This might cause damage to the camera Do not use the camera in humid steamy smoky or dusty places This...

Страница 4: ...me batteries that pass the expiry date are exceptions might affect the number of pictures that can be taken Therefore to maximize their performance and lifetime we recommend that you fully charge the...

Страница 5: ...hoosing the Screen Language 18 Setting the Date and Time 19 Formatting an SD Memory Card or Internal Memory 20 Using the LCD Monitor 21 PHOTOGRAPHY MODE 22 Shooting Images and Using the Mode Dial 22 S...

Страница 6: ...ect the digital camera to your computer 48 Download images or video clips 48 EDITING SOFTWARE INSTALLATION 49 Installing Photo Explorer 49 Installing Photo Express 50 USING THE DIGITAL CAMERA AS A PC...

Страница 7: ...ed without using a memory card Support for SD memory card for memory expansion You may wish to expand the memory capacity up to 2GB capacity by using an external memory card USB connection USB 2 0 com...

Страница 8: ...Pouch Batteries Battery charger Unpack all the items and check them carefully If any items are missing or damaged contact your nearest TESCO store for a replacement Have your receipt ready when you c...

Страница 9: ...TING TO KNOW YOUR CAMERA Front View 9 8 7 6 5 2 3 4 1 10 1 Shutter button 2 Flash 3 Microphone 4 Lens 5 Power button 6 Mode dial 7 Viewfinder window 8 Self timer LED 9 PC Video terminal 10 DC IN 3 3V...

Страница 10: ...angle button Thumbnail button 5 Strap holder 6 N Playback button 7 W Menu button 8 Y Delete button Z Display button 9 v Arrow button Up f Focus button 10 x Arrow button Left i Flash button 11 e OK but...

Страница 11: ...oot simplicity when taking pictures under 4 special conditions 4 E Shutter Speed Priority Select this mode to specify the shutter speed while the camera sets the corresponding aperture 5 F Aperture Pr...

Страница 12: ...112 3 2048 x 1536 640 x 480 4 Possible number of shots 5 Internal memory SD memory card indicator Status of internal memory Status of SD memory card 6 Battery and AC adapter D Full battery power C Med...

Страница 13: ...emory status 4 Battery power and AC adapter indicator 5 Playback information 6 Playback indicator D D D 2006 01 01 2006 01 01 2006 01 01 00 00 33 00 00 33 00 00 33 w W w W A BC F G D E D D D 100 0001...

Страница 14: ...ries in the correct orientation as shown in the illustration 4 Close the battery cover To remove the batteries turn the camera off before removing batteries and hold the camera with the battery cover...

Страница 15: ...N 3 3V 3 Connect the other end to an electrical outlet Make sure to use only the AC power adapter specified for the camera Damage caused by the use of an incorrect adapter is not covered under the war...

Страница 16: ...SD memory card in the correct orientation as shown in the illustration 4 Close the battery SD memory card cover To remove the SD memory card make sure the camera is turned off Press lightly on the edg...

Страница 17: ...ctivity LED indicator Blinking red The digital camera is powering up Solid green The digital camera is ready to record images or movies LED indicator Solid green USB communication transfer in progress...

Страница 18: ...displayed 2 Use w to select Language then press the e button 3 Use v or w to select the language you want 4 Press the e button to confirm x z B x z B Set up2 Set up2 Set up1 Set up1 Set up1 Set Set S...

Страница 19: ...onth Day and Time fields To increase a value press the v button To decrease a value press the w button The time is displayed in 24 hours format 4 Press the e button after all fields are set x z B x z...

Страница 20: ...ou format an SD memory card be aware that all data of which will be permanently erased Protected images are also erased To format the internal memory do not insert a memory card into the camera Otherw...

Страница 21: ...The LCD monitor darkens in strong sunlight or bright light This is not a malfunction To prevent your images from being blurred while pressing the shutter button always hold it carefully This is espec...

Страница 22: ...ocus the image When you press the shutter button down half way the camera s Auto Focus feature automatically focuses the image Proper exposure is determined and locked at the same time 4 Press the shu...

Страница 23: ...cene mode 4 Press the e button to confirm the selection 5 Compose your subject within the focus frame 6 Press the shutter button to capture the image Shutter Speed Priority Mode E If you set a fast sh...

Страница 24: ...press the e button 4 Compose your subject within the focus frame 5 Press the shutter button to capture the image Manual Mode G In manual mode the aperture value and the shutter speed can be varied ind...

Страница 25: ...Mode press W to access in menu directly 3 Use w to select Image Size then press the e button 4 Use v or w to select the desired setting then press the e button to confirm 5 Follow the step 3 and 4 ab...

Страница 26: ...eaches its maximum optical zoom factor 3x A useful feature as it is however the more the image is magnified the grainer the image may become To capture a zoomed image perform the following steps 1 Pre...

Страница 27: ...cro to capture close up images When the lens is zoomed to its widest position you may focus objects as close as 5 cm When the lens is zoomed to its telephoto position 3x zoom you may focus objects as...

Страница 28: ...ly according to suit the photographic conditions No Flash W Use this mode in the environment that the flash use is prohibited or under the situation that the distance to the subject is too far away fo...

Страница 29: ...he power 4 Toggle y a until your desired self timer mode appears on the LCD monitor 5 Compose your scene and press the shutter button The self timer function is activated The photography is then taken...

Страница 30: ...between light and dark between the subject and the background is extremely large The EV compensation value can be set in the range from 2 0EV to 2 0EV 1 Rotate the mode dial to D E F or G 2 Press the...

Страница 31: ...then press the e button to confirm 6 To exit from the menu press the W button E E F Set Set Set Mode2 Mode2 Mode1 Mode1 Mode1 Image Size Image Size Quality Quality W Balance W Balance ISO ISO Image S...

Страница 32: ...ss the e button 5 To exit from the menu press the W button The Q indicator is displayed on the monitor screen 6 Press the shutter button all the way to shoot In Burst mode the flash mode will be set t...

Страница 33: ...ure Mode then press the e button 4 Use v or w to select AEB then press the e button 5 To exit from the menu press the W button The R indicator is displayed on the monitor screen 6 Press the shutter bu...

Страница 34: ...weight to the subject matter at the center q Spot Meters the area within the spot automatic exposure point frame at the center of the LCD monitor 5 To exit from the menu press the W button 6 Compose y...

Страница 35: ...d images To view the previous image press the x button To view the next image press the y button The playback information displayed on the LCD monitor will disappear after seconds of time If there is...

Страница 36: ...r To view the previous image press the x button To view the next image press the y button 2 Adjust the zoom ratio by using the Zoom U V button To enlarge the selected image press the V button To retur...

Страница 37: ...recorded image appears on the LCD monitor 2 Press the U l button once Nine thumbnail images are displayed simultaneously For recorded video clips the K video mode icon will be displayed 3 Use the v w...

Страница 38: ...utton 4 Use v or w to set the playback interval then press the e button The slide show starts The video clips are displayed the first frame image and not played back To stop slide show press the e but...

Страница 39: ...use y to select the Playback2 menu 4 Use v or w to select Resize and press the e button 5 Use v or w to select the desired setting then press the e button to confirm You can only choose a smaller siz...

Страница 40: ...utton to start recording 3 To stop recording press the shutter button again The zoom function of optical zoom 3x can be activated before you start to record video clips Pressing the Y Z button switche...

Страница 41: ...t playing back the video clips To pause or resume video playback press the e button again The playback information displayed on the LCD monitor will disappear after seconds of time The zoom function c...

Страница 42: ...tal camera then turn all connected devices off 1 Connect one end of the Video cable to the PC Video terminal of the digital camera 2 Connect the other end to the Video input socket of the TV set 3 Tur...

Страница 43: ...ears on the LCD monitor 3 Use x or y to select the image you want to delete 4 Press the Y button 5 Use v or w to select This Image or All Images by your preference then press the e button 6 When the d...

Страница 44: ...Protect One Protect one image movie Protect All Protect all images movies at once 6 Use v or w to select Lock then press the e button to confirm Press W to return to the N Playback mode The y indicat...

Страница 45: ...after seconds of time 2 Press the W button The Playback1 menu is displayed Use v or w to select DPOF then press the e button 3 Use v or w to select by your preference then press the e button One Image...

Страница 46: ...ct Reset All with v or w Before you perform the DPOF settings on your camera always remember to copy your images from the internal memory to an SD memory card first The print icon will appear on the m...

Страница 47: ...System Requirements Windows Pentium III 600 MHz or higher Windows 2000 XP 64MB RAM 128MB hard disk space CD ROM drive Available USB port System Requirements Macintosh PowerPC G3 G4 OS 9 0 or later 64...

Страница 48: ...ive Windows Open the removable disk and double click on the DCIM DSCIM folder to open it to find more folders Your images are inside these folder s Select the desired still images or video clips and t...

Страница 49: ...in one tool for owners of digital cameras WebCams DV camcorders scanners or anyone who strives to effectively organize a large collection of digital media 1 Insert the enclosed CD ROM into your CD ROM...

Страница 50: ...s photographic filters and special effects Embellish projects by adding creative design elements such as frames callouts and stamp objects Share results with family and friends via e mail and multiple...

Страница 51: ...ork or Internet connection Step 1 Install the PC camera driver The PC camera driver included in the CD ROM is exclusively for Windows The PC camera function is not supported for Mac platforms 1 Insert...

Страница 52: ...NetMeeting program 2 Click the Start Video button to view live video 3 Click the Place Call button 4 Type the e mail address or the network address of the computer that you are calling 5 Click Call T...

Страница 53: ...time of taking pictures P Single Q Burst R AEB O O P P Auto Auto Auto Image Size Image Size Quality Quality Capture Mode Capture Mode Image Size Quality Capture Mode Cancel Cancel Cancel Set Set Set...

Страница 54: ...luorescent ISO E Sets the sensitivity for taking pictures When the sensitivity is raised and the ISO figure isincreased photography will become possible even in dark locations but the more pixilated g...

Страница 55: ...ent degrees of color to match with your preference Your images will demonstrate different impression by selecting different degrees of color This is called Saturation High Medium Low Date Imprint v Th...

Страница 56: ...utton 3 Use v or w to select the desired setting and press the e button 4 To exit from the playback menu press the W button Item Functional Description Color REFER TO Camera Menu In In D E F or G Mode...

Страница 57: ...c Protect y Set the data to read only to prevent images from being erased by mistake Refer to the section in this manual titled Protecting Images Movie clips for further details DPOF w Allows you to s...

Страница 58: ...ge H Change the quality compression rate of a recoded image Compresses images down to half of their size or more overwrites an old size images with a newly compressed image Only quality changing to th...

Страница 59: ...ra sound each time you press a camera button On Off Date Time z This sets the date and the time Refer to the section in this manual titled Setting the Date and Time for further details Language B Sets...

Страница 60: ...ecific period of time the power to the camera is automatically turned off This feature is useful to reduce battery wear 2 Min 3 Min 5 Min Off Reset Number u Sets whether or not to reset the file numbe...

Страница 61: ...nt the image with date imprint or not Size Select the desired paper size according to the printer type Layout Select the desired printing layout according to the printer type Print After all settings...

Страница 62: ...de appears The COMPLETE will be displayed temporarily reminding you that the printing procedure is finished If a print error is detected the PRINT ERROR will be displayed Print Num Print Num 00 00 Pri...

Страница 63: ...ia 32MB internal memory SD memory card Optional up to 2GB File format Still image JPEG Video AVI Lens F no Wide 2 8 Tele 4 8 Focal length 7 5mm 22 5mm Equivalent 35 105mm Focus range Normal 50 cm infi...

Страница 64: ...memory and the SD memory card The values for the recording time may vary depending on the shooting conditions and settings The frame rate is 25 fps frames per second Resolution Quality Internal Memor...

Страница 65: ...The function of Auto Shut Down in L Setup mode has been activated The battery has run out Set the option of Auto Shut Down to Off Turn the power back on or charge the battery The image is not captured...

Отзывы: