TechNexion EDM-G-WIZARD-IMX8M-PLUS Скачать руководство пользователя страница 5

INNOVATORS OF TECHNOLOGY

For more information contact TechNexion sales  

 www.technexion.com      [email protected] 

For more information contact TechNexion sales  

 www.technexion.com      [email protected] 

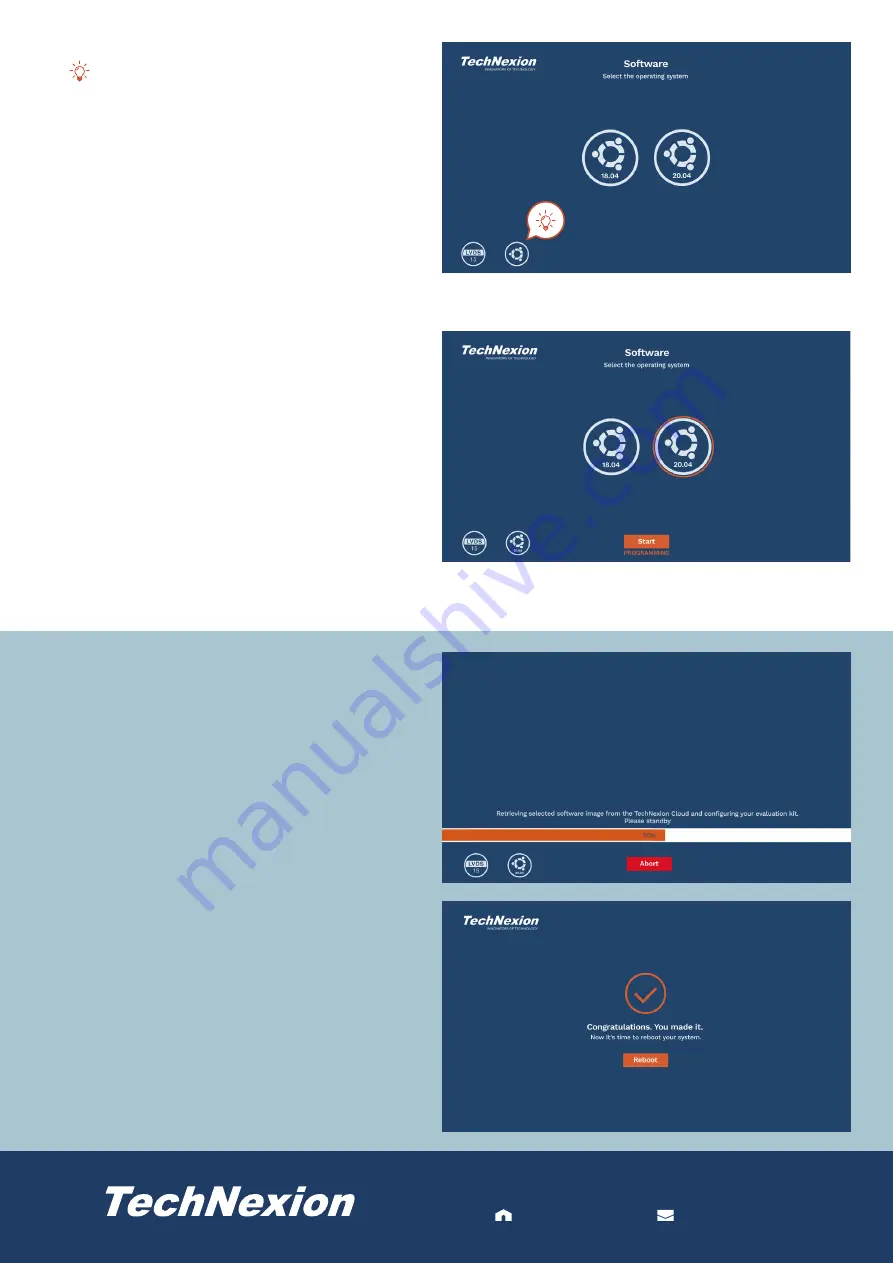
10.  Select a desired version (if available).

  Click to return to the menu of OS selection.

11.  Click to select a desired version, then click <Start> to 

install. 

12.  The installation is in progress. Note that the model 

name and image shown on the screen during the 

installation procedure may not match the product you 

use currently. 

13.  Installation is completed. Click <Reboot> to reboot the 

system. 

Содержание EDM-G-WIZARD-IMX8M-PLUS

Страница 1: ...tor Audio I2 S Bus Jump LVDS I2 C Voltage DIP Switch LVDS Connector USB Serial Download Push Button Power Input Connector RJ 45 Connector HDMI Connector Reset Button up ON OFF Button down Boot Mode Setting Switch R Speaker Connector up L Speaker Connector down Console 2 Camera Module Voltage DIP Switch right and I2 S Signal left for Camera 1 Camera Module Voltage DIP Switch right and I2 S Signal l...

Страница 2: ... the power is on 2 Insert the plastic snap lock standoffs into the mounting holes from the rear side of the PCB board 1 3 Connect the peripherals into the evaluation kit including a USB mouse HDMI display and then connect to the Internet via the RJ45 connector 4 Connect the 2 pin Micro Fit 3 0 cable to power up the evaluation kit 1 2 3 4 2 VCC DC Voltage input 12V DC GND Ground ENABLE CANBUS2 TERM...

Страница 3: ...ad technexion com rescue Alternatively skip this procedure and refer to step 3 if you want to install the operating system via the Internet 2 The startup picture appears when powering the evaluation kit 3 The detection and installation procedure will be started automatically once the system image is detected on the USB flash drive To stop the process or change the installation via the Internet cli...

Страница 4: ...in the evaluation kit is ARM32 architecture The system will detect the display and skip this step when using an ARM64 architecture module in the evaluation kit 8 Select the display according to the connector on the evaluation kit you use to connect the monitor then click Confirm 9 Click to select a desired operating system Note The operating systems shown here are the example for reference The act...

Страница 5: ...ilable Click to return to the menu of OS selection 11 Click to select a desired version then click Start to install 12 The installation is in progress Note that the model name and image shown on the screen during the installation procedure may not match the product you use currently 13 Installation is completed Click Reboot to reboot the system ...

Отзывы: