


English
- 45 -
Red button (Prev Time Slice)
: Displays the
programmes of previous time slice.
Green button (Next Time Slice)
: Displays the
programmes of the next time slice.
Yellow button (Prev Day)
: Displays the programmes
of previous day.
Blue button (Next day)
: Displays the programmes
of the next day.
“
”
button (Filter)
: Views
fi
ltering options.
Numeric buttons (Jump)
: Jumps to the preferred
channel directly via numeric buttons.
OK (Options)
: Displays programme options including
“Select Channel” option.
INFO (Details)
: Displays the programmes in detail.
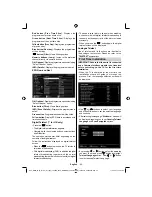
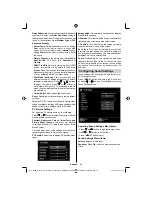
EPG Now and Next
OK (Options)
: Displays programme options including
“Select Channel” option.
Blue button (Filter)
: Views
fi
ltering options.
INFO (Event Details)
: Displays the programmes in
detail.
Green button
: Programme schedule will be listed
Yellow button
: Display EPG data in accordane with
timeline schedule.
Digital Teletext (** for UK only)
• Press the “
” button.
The digital teletext information appears.
•
Operate it with the coloured buttons, cursor buttons
•
and
OK
button.
The operation method may differ depending on the
contents of the digital teletext.
Follow the instructions displayed on digital teletext
screen.
When the “
•
” button is pressed, the TV returns to
television broadcasting.
With digital broadcasting (DVB), in addition to digital
•
teletext broadcasting together with the normal
broadcasting, there are also channels with just digital
teletext broadcasting.
The aspect ratio (picture shape) when watching
•
a channel with just digital teletext broadcasting is
the same as the aspect ratio of the picture viewed
previously.
When you press the “
•
” button again, the digital
teletext screen will be displayed.
Analogue Teletext
Use of teletext and its functions are identical to
the analogue text system. Please do refer to the
“
TELETEXT
” explanations
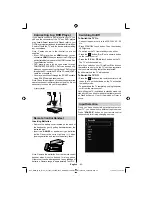
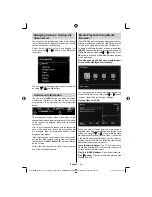
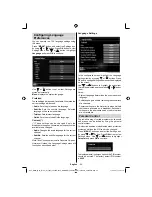
First Time Installation
IMPORTANT: Ensure that the aerial is connected
and a Common Interface module is not inserted
before switching on the TV for the first time
installation.
When the TV is operated for the
fi
rst time, the
•
installation wizard will guide you through the
process. First, the language selection screen will
be displayed:
Use “
•
” or “ ” buttons to select your language
and press
OK
button to set the selected language
and continue.
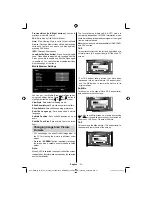
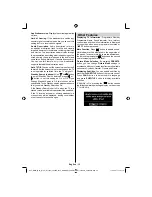
After selecting the language, “
•
Welcome!
” screen will
be displayed, requiring you to set
Country,Teletext
Language
and
Scan Encrypted
options.
By pressing “
•
” or “ ” button, select the
country
you want to set and press “ ” button to highlight
Teletext Language
option. Use “ ” or “ ” button
to select desired Teletext Language.
A02_MB62_[GB]_(01-TV)_woypbpr_3900UK_IDTV_BRONZE19_26970LEDW_10075473_50200007.indd 45
A02_MB62_[GB]_(01-TV)_woypbpr_3900UK_IDTV_BRONZE19_26970LEDW_10075473_50200007.indd 45
17.09.2011 15:57:05
17.09.2011 15:57:05