


6
Teac
hscape
Re
flect C
apture T
ool
User Manual
CHECK HARDWARE INVENToRY
STEP 7
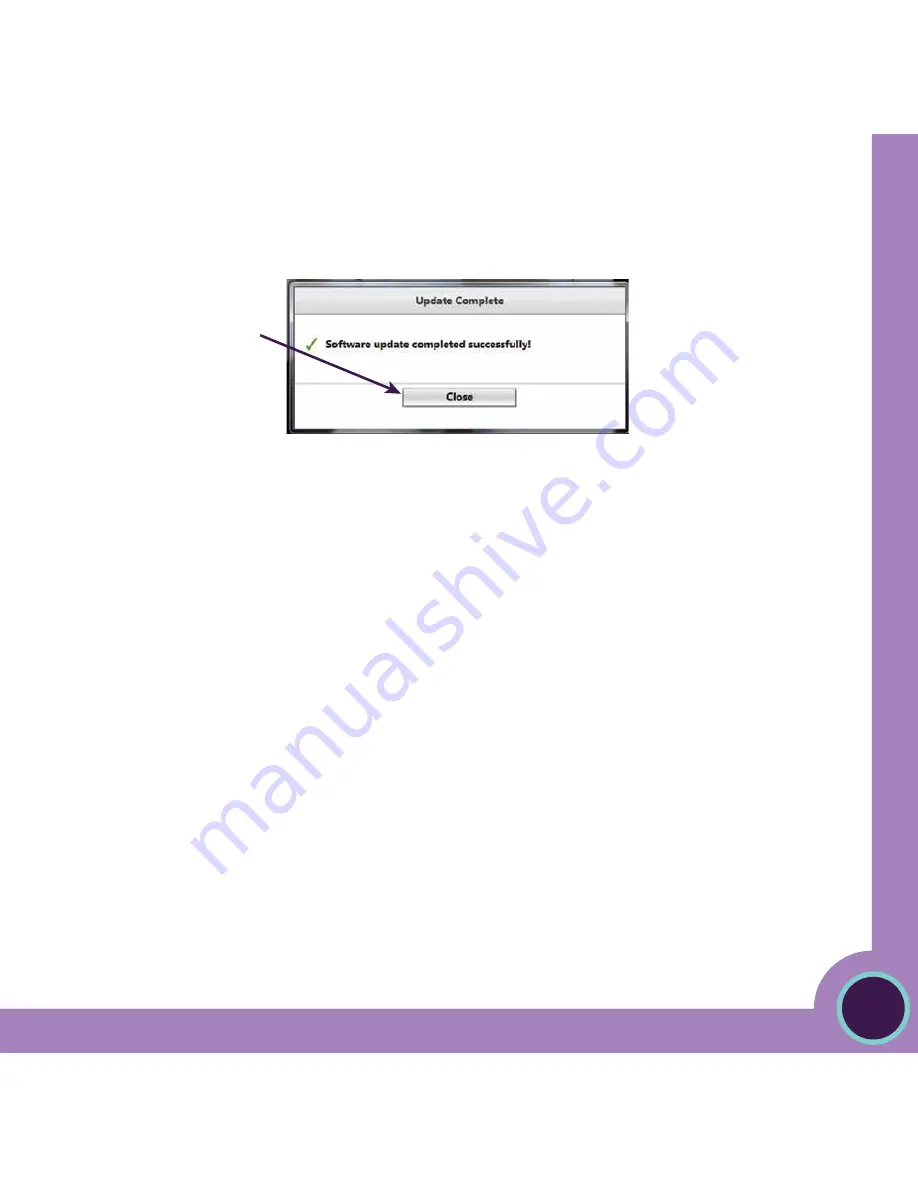
Click on the
Close
button to complete the initial setup process.
Note: You have now successfully completed the initial setup for your school or district. It is strongly advised that after this
initial setup, you run a test capture—see
Get Ready to Capture
and
Capture Video
in this manual for more information
about this process.
Teac
hscape
Re
flect C
apture T
ool
User Manual
6
Содержание Reflect
Страница 1: ...Reflect Capture Tool USER MANUAL ...


