48
Recording to a Computer
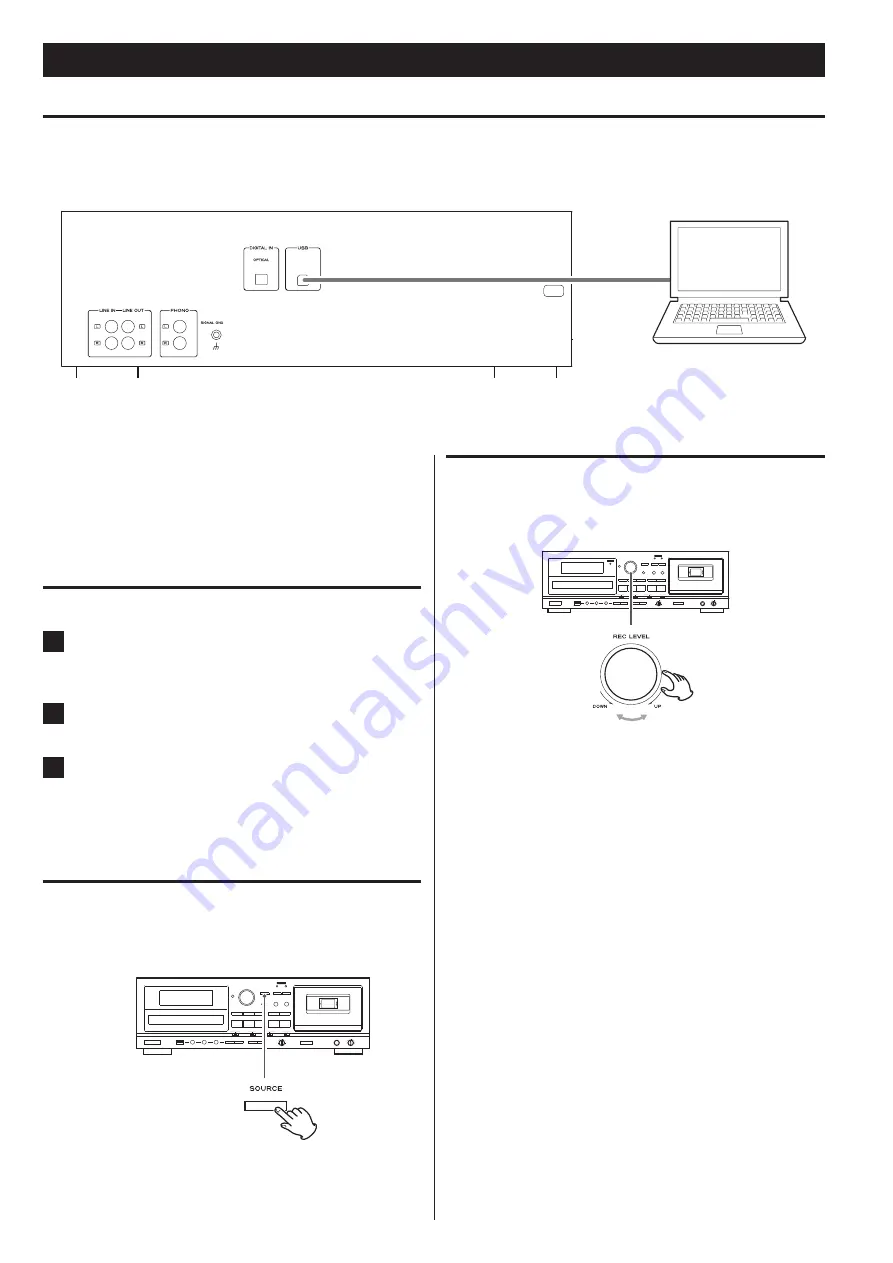
Connection illustraion
AD-RW900 (Back side)
Computer
On its rear panel, this unit has a USB port for the output of audio
signals. When connected to a computer by USB cable, this unit can
convert audio signals to digital data and send it to the computer.
<
Use a commercially available cable to make the connection.
Connecting with a computer
1
Turn the computer power on.
Confirm that the OS has started properly.
2
Connect this unit to a computer using a USB cable.
3
Press the POWER button to turn the unit on.
When the computer and this unit are connected, the
computer should automatically detect this unit’s USB
port and recognize it as “USB Audio CODEC”.
Selecting the recording source
This unit will send the audio being played back to the computer.
Press the SOURCE button to select the playback source (page 19).
Adjusting the recording level
When connected to a computer by USB, use the REC LEVEL knob to
adjust the level of the audio data sent to the computer.
Check the computer recording software or the signal from this unit
being played back by the computer, and use the LEVEL knob to
increase the level so that it is as loud as possible without distortion.
<
Even when connected to a computer by USB, the REC LEVEL knob
also adjusts the recording level when in recording standby and
during recording.
<
If the recording level can also be adjusted by the computer
recording software that you are using, set its recording level
approximately to the center position of the provided scale before
adjusting the level sent by this unit.
<
Avoid the following things when connected to a computer by USB
and recording audio because they could cause the computer to
malfunction. Always quit the computer recording software before
doing any of the following.
N
Disconnecting the USB cable
N
Turning this unit off


