409-35001
Rev C
27
of 92
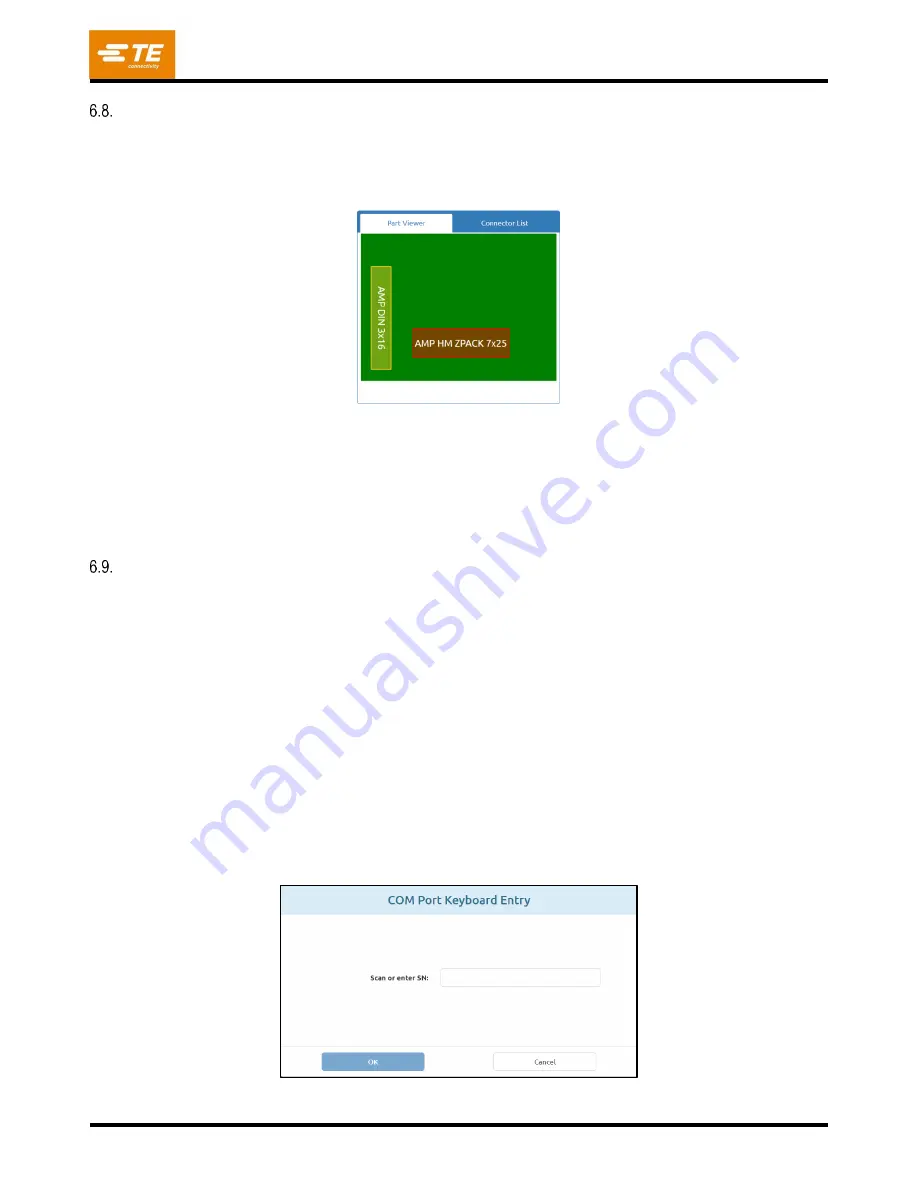
On Screen PCB Rendering
The PCB rendering drawn on the screen shows the connector locations relative to each other and the board
edges. The rendering is a good check for gross errors when running a new program for the first time. It will be
obvious, for example, if a connector is off the board, if there is any interference between connector locations or
if connector angles do not match the actual PCB layout (see Figure 30).
Figure 30
The rendering is shown with the first connector to be pressed highlighted in red. This will be the first connector
in the sequence. Connectors are shown as rectangles.
It also shows the connector number, name or message based on the sequence settings. To read the detailed
information, zoom in by double-clicking (or double-tapping on the touch screen) the rendering using the left
mouse button.
Start Pressing
Each individual sequence is started by pressing “Run Sequence” when prompted. Any sequence steps prior to
the first press step will be executed before the operator is prompted to use the button to start the pressing
operation. A combination of any, all, or none of these various conditions may be part of a sequence prior to
pressing. Required information can be typed from the keyboard, entered via the touch screen, or if the
operation is a barcode scanning operation, scanned using the optional bar code scanner.
Connector Substitution - This feature allows for interchangeable connectors, typically from different
manufacturers, to be selected at runtime. If any connector on the currently selected board has an alternate and
this feature has been checked in the Sequence editor (see the Connector and Sequence Editors for
programming of this feature), you will be prompted to make a selection.
PCB Verify -
This feature requires verification of the “type” or “model” of the board being run. Ideally, the board
will be bar coded with this information, but typing it in will also work. This feature is enabled by adding a
“PCB
Ve
rify” condition to the Sequence.
PCB Serial Number -
This feature requests the serial number for each board. Bar code scanning is the most
convenient method to use but the serial number can also be entered from the keyboard or touch screen. For
data options, refer to the Press Sequence Editor section. This feature is enabled by adding a
“PCB Serial
Number” condition to the Sequence
Figure 31
Содержание 2216055
Страница 34: ...409 35001 Rev C 34 of 92 Figure 35 Figure 36 ...
Страница 71: ...409 35001 Rev C 71 of 92 Figure 77 ...
Страница 72: ...409 35001 Rev C 72 of 92 Figure 78 Figure 79 ...
Страница 75: ...409 35001 Rev C 75 of 92 Figure 82 Figure 83 ...


