TDK mojo 128F Скачать руководство пользователя страница 6

5.

To create a new folder, click the 

NEW FOLDER

button, type the desired name and press 

ENTER

After you've created your desired folder(s), you're ready to transfer music to the MOJO.

NOTE:

The folder labeled MOJO RECORD is reserved for voice and radio recordings and should not 

be used to store music.

6.

Double-click the folder to which you want to add music files.  
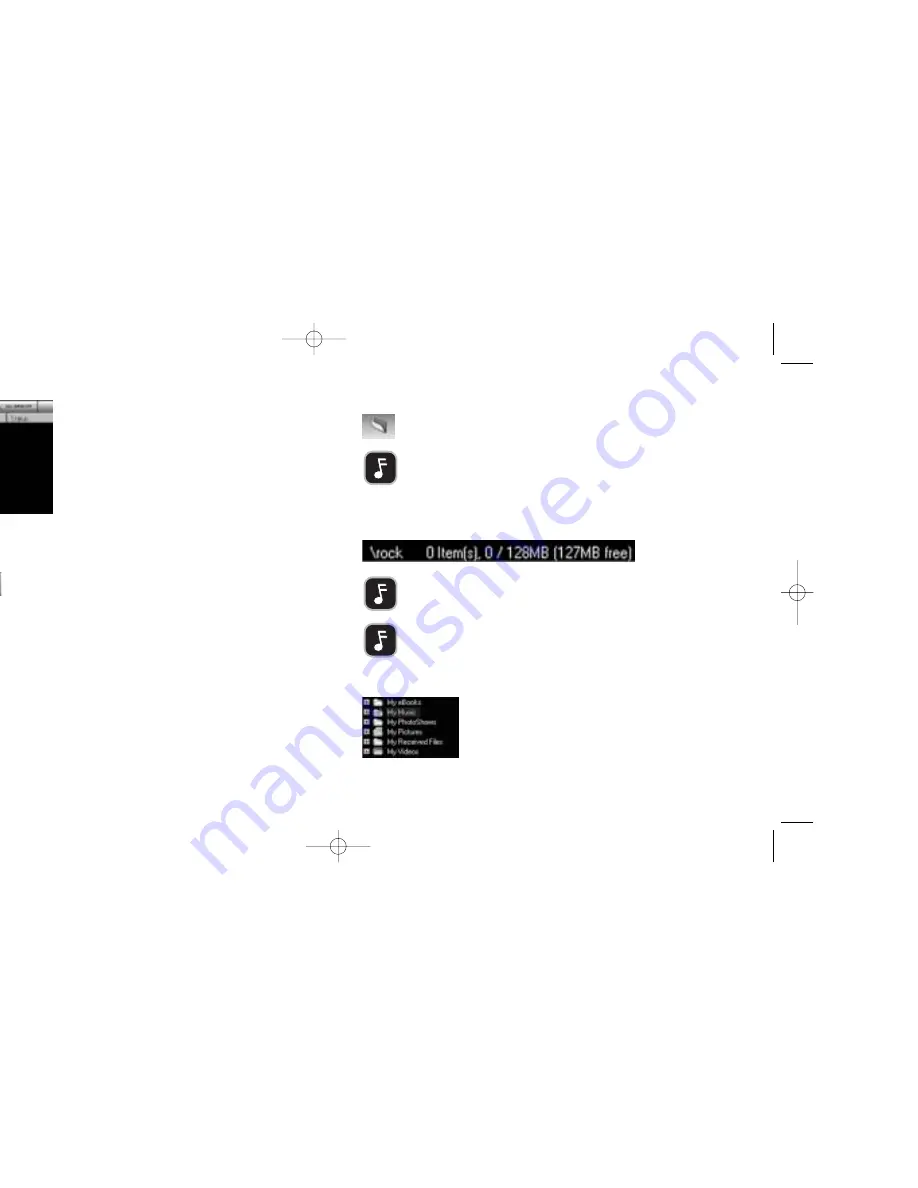
• The folder name will be displayed in the lower right-hand corner, along with the file information and 

free memory.  

NOTE:

A slash ("\") with no folder name means you are in the root, or main, directory of the MOJO.

NOTE:

Approximately 1MB of the MOJO's memory is dedicated to system files (which are not visible on the file 

manager).  As a result, total free space will always be approximately 1MB less than the total system memory.

7.

In the left side of the top half of the window, navigate to the folder that contains the music files or

folders you would like to transfer to MOJO.

11

2.

Start the UniFi Software.

• The top half of the window shows the files and folders on your computer's hard drive.

The bottom half of the window shows the files and folders (if any) currently loaded on MOJO.

3.

In the bottom half of the window, you can view the contents of the MOJO in three ways as follows:
• The 

FLASH MEMORY

button displays the files and folders (if any) in the internal memory of the MOJO.

• The 

MEMORY CARD

button displays the files and folders (if any) contained on an MMC/SD card (not included).

If there is no card inserted in MOJO, this button will not be clickable.

• The 

ALL MEMORY

button displays all files and folders in the MOJO (the combination of Flash Memory and 

Memory Card files).

4.

After you've clicked on one of the three buttons above to display the contents of the MOJO to your liking,

you can create folders on MOJO to facilitate organizing your music files. 

NOTE:

It is not necessary to create folders on MOJO. Music can be stored in MOJO’s root directory if desired.

1 0

TDK.087.03_Mojo128_256_UGv1  10/10/03  10:15 AM  Page 10

Содержание mojo 128F

Страница 1: ......

Страница 2: ...tallation This equipment generates uses and can if not installed and used in accordance with the instructions may cause unications However there is no guarantee that interference will not occur in pme...

Страница 3: ...d loaded into its memory card slot We recommend emory card loaded into memory card slot if you will not be using a functioning memory card ioning memory card will help prevent dust and other contamina...

Страница 4: ...pts to install the required song transfer plug in NOTE Windows Media Player is not included on the MOJO installation CD ROM but the application can be downloaded from www microsoft com and used to tra...

Страница 5: ...cally appear If the installer screen doesn t automatically appear double ck the drive typically D or E into which you loaded the installation w that opens double click SETUP EXE The installer screen w...

Страница 6: ...al free space will always be approximately 1MB less than the total system memory 7 In the left side of the top half of the window navigate to the folder that contains the music files or folders you wo...

Страница 7: ...he desired playlist is located click on the playlist and select OPEN To delete tracks from MOJO with the UniFi Software 1 Power on MOJO and use the USB cable to connect MOJO to your computer The USB C...

Страница 8: ...s shown in the illustration To remove the card steadily press in until it releases from the slot USING MOJO SDMMC want to delete and click it To choose multiple files or folders hold ile clicking the...

Страница 9: ...hange modes Press and hold the MODE button until FM MODE or MP3 MODE appears on the display NOTE When HOLD is ON all other buttons are disabled 17 MODE n into MP3 mode een ack Total number of tracks i...

Страница 10: ...button to start playback 19 RESS and hold PLAY PAUSE and hold PLAY PAUSE PLAY PAUSE REWIND and hold REWIND AST FORWARD and hold FAST FORWARD and hold NAV NAV MODE and hold MODE ECORD once and hold and...

Страница 11: ...the NAV button until the setup menu opens 3 With the SAVE CHANNEL icon highlighted press NAV 21 ess and hold PLAY PAUSE and hold PLAY PAUSE REWIND and hold REWIND AST FORWARD and hold FAST FORWARD MOD...

Страница 12: ...click the RECORD button The LCD display will show the filename e g VOICE001 WAV the elapsed recording time and the remaining recording time 5 To end the recording click the RECORD button again MOJO wi...

Страница 13: ...of the MP3 mode setup menu icons To access MOJO s MP3 mode setup menu 1 Enter the setup menu by holding down NAV while in MP3 playback mode The LCD screen will display the icons of the setup menu 2 By...

Страница 14: ...display USING STUDY MODE Study mode allows you to vary the playback speed of certain files This can come in handy when reviewing lectures audio books etc To use study mode 1 Enter the setup menu by ho...

Страница 15: ...l be marked with a check 4 Press the NAV button to activate the highlighted language The chosen display language will be engaged and the display will return to the main setup menu 5 Navigate to and cl...

Страница 16: ...and click NAV The currently activated mode will be marked with a check 4 Highlight the desired auto power off mode Default User Default When no music is playing MOJO will automatically power off afte...

Страница 17: ...ion and click NAV The currently activated mode will be marked with a check 4 Highlight the desired fade in out mode Disable Enable Disable Songs start and end as they were originally recorded Enable M...

Страница 18: ...phonic meaning the same audio signal will be played in the left and right headphone drivers Stereo Sound is stereo meaning that if the source is stereo most FM stations are distinct audio signal will...

Страница 19: ...ight sleep mode and information options can be reached from FM mode by using the same basic process described earlier in this user s guide 37 local stations when you are in various locations around th...

Страница 20: ...yback The HOLD function may be activated Put the HOLD switch in its OFF position The internal memory and or expansion card may not contain any music tracks If MOJO is not recognized by Windows Check t...

Страница 21: ...ayer comes in contact with water wipe it immediately with a dry cloth If the player does not function call TDK Technical Support KEEP THE PLAYER AWAY FROM CHILDREN AND ANIMALS The player contains smal...

Страница 22: ...15 minutes lifting the upper and lower eyelids while doing so until no evidence of the chemical remains Seek medical attention 43 ING BATTERIES recharge put in backwards or mix with used or other batt...

Страница 23: ...eb site at www tdksupport com for additional information HOW TO CONTACT US There are several ways for you to contact TDK s Technical Support Department Visit our web site at www tdksupport com for Hel...

Страница 24: ...ds to be defective at no charge except for defective Product may be with either new or rebuilt replacement parts that will he original warranty period Any exchanged parts under this warranty will emen...

Страница 25: ......

Отзывы: