background image

4

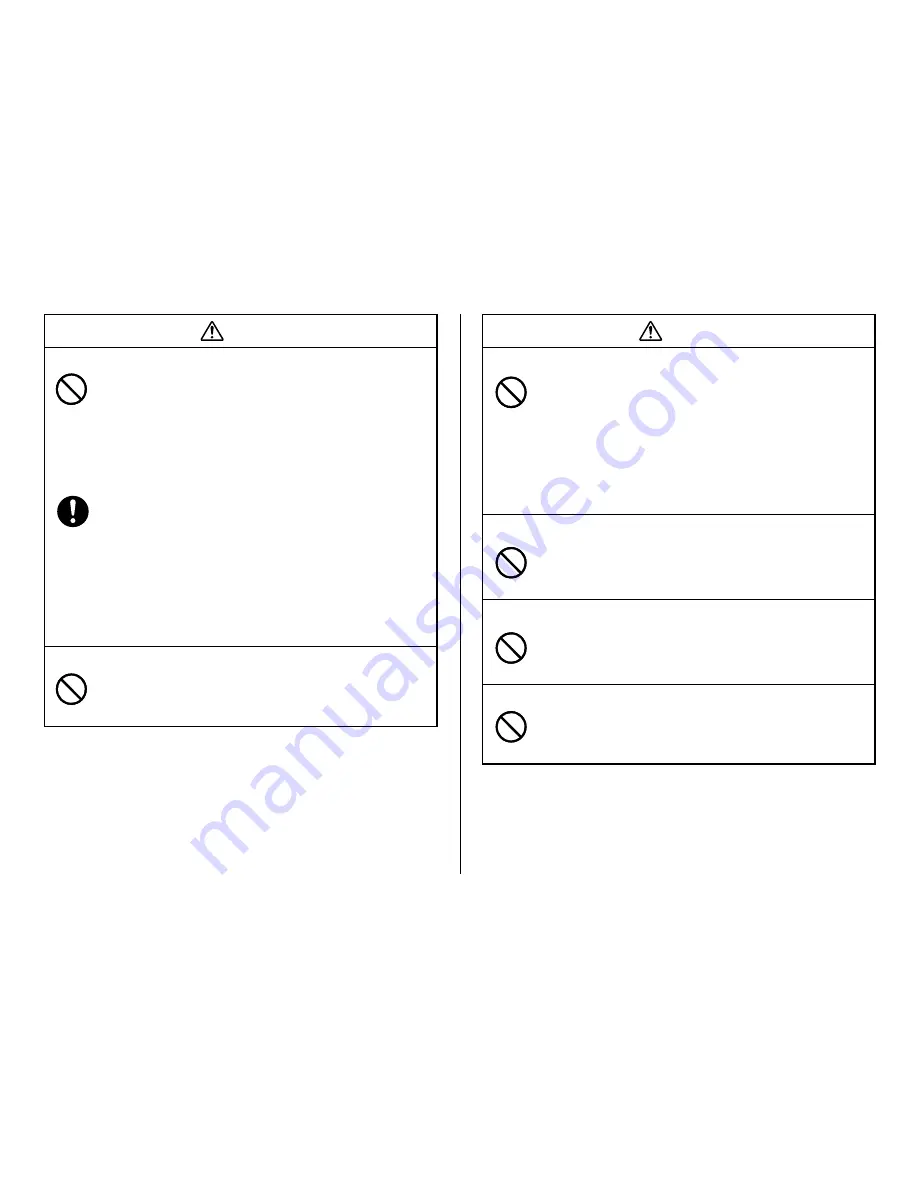
Caution

Location

Avoid the locations listed below for the pr oduct. Such

locations create the risk of fire and electric shock.

Areas subject to high humidity and large amounts of dust

Food preparation areas or other location subjected to oil

steam

Near heaters, on a heated carpet, in direct sunlight, in a

closed vehicle parked in the sun, and other areas

subjected to high heat.

Avoid unstable surfaces.

Never place the product on an unstable table, desk, etc.
Doing so can cause the product to fall, creating the risk of

personal injury.

Connection precaution

Connect only items that come bundled with the product to

its connectors. Connecting a non-bundled item creates the
risk of fire and electric shock.

High temperature precaution

Never touch the print head or other metal objects near the

head. These items become very hot, and touching them
creates the risk of burn injury.

Caution

Power cord, AC adaptor, USB cable

Misuse of the power cord, AC adaptor, or USB cable can

damage it and create the risk of fire and electric shock.
Make sure you follow the precautions listed below.

Never locate these items near a stove or other source of

intense heat.

When unplugging the power cord and USB cable, be sure

to grasp the plug. Never pull on the cord or cable.

Plug in the power cord into the wall outlet as far as it will
go.

Plug in the USB cable into the computer and the printer

as far as it will go.

Before leaving the product unattended for long periods

(such as when you go on a trip), unplug the power cord

and USB cable.

At least once a year, clean away any dust built up in the

area around the prongs of the power cord’s plug.

Keep heavy objects off.

Never place a heavy object on top of the product. Doing so
can cause the object to lose balance and fall, creating the

risk of personal injury.

Содержание LPCW-50

Страница 1: ...ta recorded on it may cause the data to become corrupted Note that TDK Recording Media Europe S A shall not be held liable for any loss or corruption of data recorded on CD R discs and other media ari...

Страница 2: ...son or entity that may arise through the use of this product Reproduction of this manual in any form either in part or its entirety is forbidden without the express permission of CASIO COMPUTER CO LTD...

Страница 3: ...here indicates you should unplug the unit from the wall outlet Warning Smoke abnormal odor overheating and other abnormalities Continued use of the product while it is emitting smoke or strange odor...

Страница 4: ...f suffocation Particular care is required in households where young children are present Warning Power cord AC adaptor USB cable Misuse of the power cord AC adaptor or USB cable can damage it and crea...

Страница 5: ...ad These items become very hot and touching them creates the risk of burn injury Caution Power cord AC adaptor USB cable Misuse of the power cord AC adaptor or USB cable can damage it and create the r...

Страница 6: ...10 C to 35 C 50 F to 95 F Never allow paper clips pins or other similar objects to get inside the printer mechanism Never place objects on top of the printer Never try to take the printer apart Doing...

Страница 7: ...bbon cassette into the printer 23 To replace the ink ribbon cassette 26 Label Making Overview Label Creation Basics 27 To create a label 27 To print a label 31 To save label data 32 To quit the CD DVD...

Страница 8: ...manually 64 To input text imported from a file 64 To configure font settings for the text in a field 65 To delete a text field 65 Inserting an Image into a Label Free Design Templete 65 To insert an i...

Страница 9: ...other soft dry cloth to wipe it lightly from the center of the disc outwards towards its edge Never use phonograph record cleaner or any other cleaning agent Never write on either of the disc s surfac...

Страница 10: ...using the keyboard Standard Windows window operations If you are not already familiar with these and other basic Windows operations see the user documentation that came with your PC or Windows packag...

Страница 11: ...operation under the English version of Windows XP Screens appear differently when running the application under another operating system Note that the screen images shown in this manual may differ som...

Страница 12: ...or digital image label template Creating an Original Label Layout page 57 This section describes how to layout text and images to create exactly the type of look you want A Free Text label template g...

Страница 13: ...discs You can also import track names from Windows MediaTM Player or Easy CD Creator or you can import CD Text from a CD page 38 Screen shots shown in this manual are based on Media Player for Window...

Страница 14: ...d print them on its label You can also type in information manually pages 33 and 42 Digital Image Discs You can import recording dates and image descriptions from your PC and print them on the label Y...

Страница 15: ...installed on your PC page 50 Support for both text and images page 52 Note that images are printed in monochrome A collection of preset templates lets you produce great looking labels with minimum eff...

Страница 16: ...te allows more control over the appearance and layout of text Free Text page 57 A Free Design template gives you almost total freedom for laying out text and images to create exactly the look you want...

Страница 17: ...If the disc tray will not open due to printer malfunction you can open it manually by inserting a thin pointed object at least 20 mm long and less than 1 5 mm thick into this hole Use this hole to ma...

Страница 18: ...B minimum recommended Hard disk At least 40MB available for installation of this application at least 60MB available for running the application Display Color display 256 colors minimum High Color rec...

Страница 19: ...ect installation The examples in this manual show installation from a CD drive named drive E To install the application 1 Start up Windows and place the CD DVD LABEL PRINTER Applica tion CD ROM into y...

Страница 20: ...be bound by the agreement click Yes 6 Check the installation location and then click Next This starts installation A screen appears to let you know when the installation is complete Note The InstallS...

Страница 21: ...sure about where you should keep a file select No To uninstall the application 1 Click the Windows Start button and then click Control Panel 2 Click the Add or Remove Programs icon This causes the Add...

Страница 22: ...ou connect directly to the USB port of the PC Connecting through a hub or chaining through another USB device may cause misoperation 3 Connect the AC adaptor to the printer s AC adaptor terminal 1 and...

Страница 23: ...ou are running Windows XP the message shown below will appear during USB driver installation When it does click Continue Anyway to proceed with the installation If you are running Windows 2000 the war...

Страница 24: ...cassette To load the Ink ribbon cassette into the printer 1 Remove the stopper from the ink ribbon cassette 2 Insert a pen or other similar object into the ink ribbon cassette s hub and rotate the hu...

Страница 25: ...When you purchase the printer the carrier is secured in place by packing materials at the locations shown in the illustration below Important Be sure to perform the procedures from page 18 through pag...

Страница 26: ...e 8 Close the front cover Important Always make sure you close the front cover before closing the disc tray 9 Close the disc tray Press the disc tray with your hand until it clicks Important If you pr...

Страница 27: ...vided in the printer cover To replace the ink ribbon cassette 1 Press the Eject button on the front of the printer This causes the disc tray to come out part way Important Make sure there is nothing i...

Страница 28: ...bel 1 On your Windows desktop double click the CD DVD LABEL PRINTER short cut icon Note You can also start up the application by clicking the Windows Start button and then All Programs Next point to T...

Страница 29: ...verflow appears when the text data you input does not fit inside the print area See Configuring Text Layout Settings page 48 and Configuring Font Settings page 50 for information about adjustments you...

Страница 30: ...s a dialog box for selecting the print pattern Note See page 47 for details about print pattern setting 5 Click 6 Click This displays a dialog box for selecting the text layout Note See page 48 for de...

Страница 31: ...settings 9 Confirm that Title tab is selected Note If a different tab is displayed click Title 10 For Size select 2 11 Click the Artist Name tab 12 Select 2 for Size and then click OK This completes i...

Страница 32: ...ay If the disc already has a logo or other marking on it position it so printing will be performed in a blank area of the disc Note See page 73 for full details about how to position the disc on the t...

Страница 33: ...ote See page 72 for details about printing To save label data 1 Click 2 On the menu that appears click Save 3 Check the file name and then click Save The label data is saved in your Windows My Documen...

Страница 34: ...On the main window click 2 On the menu that appears click New This displays a dialog box for selecting the label template 3 Click the label template you want to use You can select from among five lab...

Страница 35: ...34 Digital Image Label If you want to create your own original layout select the Free Text or Free Design template See Creating an Original Label Layout on page 57 for more information...

Страница 36: ...displayed Using the Assistant Screen When you are unsure of CD DVD LABEL PRINTER application opera tions Follow the instructions on the Assistant screen for quick and easy la bels Even after you are a...

Страница 37: ...is Create a new label page 33 Open an existing label data Save label data you are currently working on Import CD Text Media Player Easy CD Creator data for a music label or file names and folder names...

Страница 38: ...log box for selecting graphic images page 52 q Font Button Displays a dialog box for selecting the font type attributes and size w Magnifying Glass Button Displays a dialog box with an enlarged previe...

Страница 39: ...ave the disc whose CD Text data you want to import on hand What is CD Text CD Text is text data on a CD that provides the disc title artist names track names and other information You can import such...

Страница 40: ...boxes click OK The CD Text data is displayed in the label input boxes and the label preview image Important Depending on the type of disc you are trying to import from you may not be able to import C...

Страница 41: ...pears click Import and then Import Media Player Track Data This displays a dialog box for opening a file 7 Select the playlist you created in step 3 and then click Open A dialog box for selecting the...

Страница 42: ...rt up Easy CD Creator 2 Place the disc that contains the data you want to import into the CD drive of your computer 3 Use Easy CD Creator to save the project list This saves the project list Note See...

Страница 43: ...n the data label template or digital image label template main win dow move the cursor to the label input box where you want to import the file names and then click 2 Click Import and then Import File...

Страница 44: ...e date that is stamped is the one being kept by your PC s clock 8 Phrase Memory Shows a list of preset phrases Clicking a phrase inserts it at the current cursor position 9 Music Displays a list of pr...

Страница 45: ...the label data you are editing has already been saved this button name changes to Overwrite Clicking Overwrite replaces the existing data with the version you are editing on your PC screen Save as Th...

Страница 46: ...appears click Open This displays a dialog box for selecting the file you want to open 3 Select the name of the file you want to open and then click Open The data in the file is displayed in the label...

Страница 47: ...d create a data index file Note You can open a data index file using standard word processor or spreadsheet software and then print from there Creating a Data Index File For a disc that contains so mu...

Страница 48: ...nce with the print pattern you selected Configuring Layout Settings You can control the appearance of your labels using the printing pat tern and text layout panels and the Font and Image buttons Any...

Страница 49: ...e Location Image Information 1 3 2 4 5 6 7 8 9 0 To modify a preset print pattern 1 On the main window click This displays a dialog box for selecting a print pattern 2 Click This displays a dialog box...

Страница 50: ...and then click OK This causes the text layout panel and the label preview image to change in accordance with the text layout you selected To configure text layout settings 1 Click the panel This disp...

Страница 51: ...section to control the font attribute and size settings of label text 1 On the main window click the button This displays a dialog box for configuring font settings 2 Select a tab and then make the se...

Страница 52: ...ble to input only two lines of song title text Important With print patterns 8 through q page 47 only one line of text can be printed in each label print area regardless of the font size 1 2 3 setting...

Страница 53: ...ck To input an image from a file 1 On the main window click the button This displays the Image dialog box 2 Click Open Image 3 Select the file name of the BMP or JPEG image you want to input and then...

Страница 54: ...operation press the Esc key or right click your mouse 6 Locate the mouse pointer at one of the corners of the area you want to select for capture Holding down the left mouse button drag the pointer t...

Страница 55: ...rmat Controlling the Aspect Ratio of an Image Perform the following steps to specify whether the aspect ratio should be maintained when the image is resized and to specify the position of the image 1...

Страница 56: ...g you want under Image Position 3 When all the settings are the way you want click OK The settings you configure are reflected in the preview image on the main window Note To view the actual print ima...

Страница 57: ...l preview image on the screen Difference between Pattern and Error Diffusion Dithering With both dithering methods and dark colors are printed blacker while light colors are a lighter shade of gray Co...

Страница 58: ...ferent images for the upper label area and the lower label area Free Design Label Template The Free Design Label Template gives you maximum control over the appearance of the label you are creating It...

Страница 59: ...sign Label Template Main Window 1 Print Pattern Panel 2 Toolbar 3 Work Area 6 Print Area 3 Work Area 7 Measurement Unit Button 1 Print Pattern Panel 2 Toolbar 4 Insert Image Button 9 Insert Image Butt...

Страница 60: ...unit Each click of the measurement unit button cycles through the units in the following sequence mm millimeters Pel pixels inch mm 8 Work Area Size Button Clicking these buttons changes the size of...

Страница 61: ...ds so they are evenly spaced horizontally Center Vertical Centers the selected fields vertically in the print area Horizontal Centers the selected fields horizontally in the print area 3 1 5 Send To F...

Страница 62: ...r font size selection is reflected in the work area and the preview image If the font size you want is not included in the list select the font size box in the toolbar and type in the size you want To...

Страница 63: ...tion about print patterns To specify the image orientation 1 On the main window click This displays the Advanced Free Text Settings dialog box 2 Specify the orientation for the images in the upper lab...

Страница 64: ...re inside an image field to select it An image field that has a light gray boundary around it can be moved or deleted Common Text Field and Image Field Operations The following operations are the same...

Страница 65: ...a label 1 Using the procedure under Importing Text Data on page 38 import the text from a file A dialog box for selecting the specific text you want to impor t appears after all the text is imported 1...

Страница 66: ...t to delete 2 Press the Delete key on your computer keyboard This deletes the text field Inserting an Image into a Label Free Design Templete Use the procedures in this section to insert an image into...

Страница 67: ...dles on the boundary to resize the field Example Simple drag operation Simple Drag Operation Simply dragging a corner handle resizes the field without maintaining its aspect ratio Shift Drag This resi...

Страница 68: ...e fields What is alignment The CD DVD LABEL PRINTER application lets you align multiple fields vertically or horizontally in relation to a reference field that you specify Example To center fields ver...

Страница 69: ...eselect all of the currently selected fields simply click anywhere outside of the selected fields L L L L L Thin boundary 2 To make a different field the reference field hold down the Ctrl key as you...

Страница 70: ...e the relative location of the print area from the upper left corner of the work area Changing the values in the box causes the print area to move to the new location 3 Input the values you want The s...

Страница 71: ...he last operation you performed 2 Cut Cuts the currently selected field from the label and places it onto the clipboard 3 Copy Copies the currently selected field and places it onto the clipboard 4 Pa...

Страница 72: ...e size it was when captured or imported e Layout Use the commands on the submenus to align fields and to move them forward and back Note See Toolbars on page 59 See Aligning and Resizing Field on page...

Страница 73: ...isplayed in the label input boxes click the main window s button This causes the disc tray to come out part way Gently pull out the disc tray the rest of the way This displays a dialog box for printin...

Страница 74: ...e disc onto the tray upside down will result in printing on the recording side of the disc which will make the disc unrecordable 3 Place the positioning guide on top of the disc Note If the label of t...

Страница 75: ...hould continue with the following steps below When printing in both the upper label area LABEL 1 and lower label area LABEL 2 7 Rotate the disc 180 degrees and place it back onto the tray 8 Repeat ste...

Страница 76: ...or other markings Note that you cannot print over a logo Position the disc so the logo or other markings on the disc label are not inside the shaded area When performing separate upper block and lowe...

Страница 77: ...ray should be opened automatically or manually before printing is started 3 After everything is the way you want click OK Registering and Deleting a Phrase Memory Entry You can register frequently use...

Страница 78: ...ve one setup per label template Important The Text Layout panel page 48 and font button settings cannot be saved for the Free Text layout and Free Design layout Select the check box next to Show advan...

Страница 79: ...Help 1 On the main window click the button 2 Click Help 3 Use standard Windows online help procedures to find the informa tion you need You can also obtain assistance by accessing the TDK Website Whi...

Страница 80: ...e out part way 2 Gently pull out the disc tray as far as it will go If there is a disc in the disc tray remove it 3 Open the front cover If there is an ink ribbon cassette loaded in the printer remove...

Страница 81: ...riginal retailer Symptom Possible Cause Recommended Action Nothing works The disc tray does not open when the Eject button is pressed The software is not installed The USB cable AC adaptor or power co...

Страница 82: ...quality Printing is too light Printing is misaligned Cannot print Symptom Possible Cause Recommended Action The last part of input data does not print Cannot import CD Text Cannot create a data index...

Страница 83: ...Error Messages page 21 page 23 page 26 page 26 pages 31 and 72 The printer is turned off or it is not connected to the computer Check to make sure that the printer model specified by the print setting...

Страница 84: ...r Print Width Approximately 16mm Print Length Approximately 74mm Actual printing speed depends on printing environment conditions etc Power Supply Power Consumption 13W Power supplied both through hou...

Страница 85: ...TDK Recording Media Europe S A Z I Bommelscheuer P O Box 120 L 4902 Bascharage Grand Duchy of Luxembourg MO0209 A...

Отзывы: