2800 Laura Lane • Middleton, WI 53562 | 800.288.9383 | www.tcsbasys.com
202305
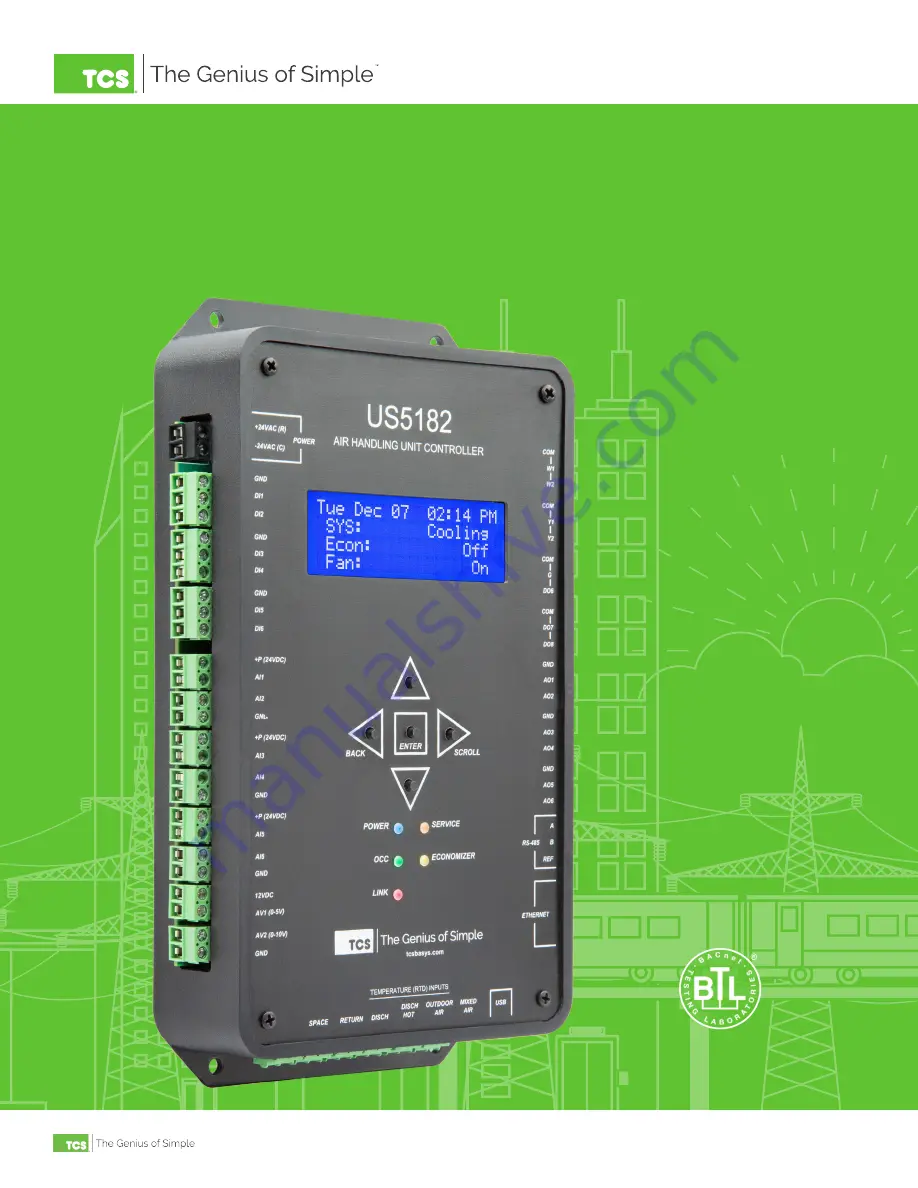
Air Handling Unit Controller
US5182
|
Configuration
Guide
Страница 1: ...2800 Laura Lane Middleton WI 53562 800 288 9383 www tcsbasys com 202305 Air Handling Unit Controller US5182 Configuration Guide...
Страница 2: ...rted 3 US5182 to Laptop Connection 3 Using Insight 4 Network Setup 4 Programming the US5182 5 Systems and Setpoints 6 Analog Inputs 7 Digital Inputs 8 Digital Outputs 8 Analog Outputs 9 Additional Fun...
Страница 3: ...a the unit s LCD screen If you have questions regarding your US5182 do not hesitate to contact TCS Technical Support at 800 288 9383 ext 2 Our Technical Support Department hours are Monday Friday 7 00...
Страница 4: ...h are beyond the scope of this manual We recommend following only the steps described herein as other steps may impact other controllers or your network Network Setup STEP 1 With the US5182 disconnect...
Страница 5: ...Click on the US5182 device icon to bring up the device tabs in the main window this can take several seconds STEP 2 Click on the Programming tab in the main window This will open up a new set of tabs...
Страница 6: ...tion Space Control System STEP 1 Click on the desired section to activate the relevant settings and program the fields NOTE Discharge Zone Control should be enabled only if the US5182 is being used as...
Страница 7: ...arge Air Discharge Hot Outdoor Air Mixed Air The folowing configurable values are available AI 1 6 AV 1 2 Input Source Limits and Lockouts Remote Occupied Setpoint STEP 1 Click on the desired field to...
Страница 8: ...settings STEP 3 Optional Click on the Read Page button to make sure all settings were entered Digital Outputs Under the Digital Outputs tab you can enable or monitor settings for the following Heat 1...
Страница 9: ...rogram the relevant settings STEP 2 After programming the Analog Outputs click on the Write Page button to save the settings STEP 3 Optional Click on the Read Page button to make sure all settings wer...
Страница 10: ...desired field to program the relevant settings STEP 2 After programming the Additional Functions click on the Write Page button to save the settings STEP 3 Optional Click on the Read Page button to m...