6-10
OPERATING PROCEDURES
087482-M
Operating Procedures
6
Cleaning
1.
Prepare an approved 100 PPM cleaning solution
(examples: 2.5 gal. [9.5 L] of Kay-5
®
or 2 gal. [7.6 L]
of Stera-Sheen
®
).
Use warm water and follow the
manufacturer's specifications
.
2.
With the prime plug down, pour 1 gal. (3.8 L) of
cleaning solution into the mix hopper and allow it to
flow into the freezing cylinder.
3.
While the solution is flowing into the freezing cylinder,
brush clean the mix hopper, the mix inlet hole, and
the mix level probe.
4.
Press the WASH key to cause the cleaning solution
in the freezing cylinder to agitate.
5.
Place an empty pail beneath the door spout and raise
the prime plug. When a steady stream of cleaning
solution is flowing from the prime plug opening in the
bottom of the freezer door, open the draw valve.
Draw off all of the solution.
6.
Once the cleaning solution stops flowing from the
door spout, close the draw valve, push the prime plug
down, and press the WASH key cancelling the
WASH mode.
7.
Repeat step 1 through step 6 for the other side of the
machine.
Disassembly
1.
Remove the handscrews and the freezer door.
Remove beaters, scraper blades, and drive shafts
from the freezing cylinders. Take these parts to the
sink for cleaning.
2.
Remove the front drip tray, splash shield, and drip
pans from the machine. Take them to the sink for
cleaning.
3.
Remove the rear drip pan and take to the sink for
cleaning.
Note:
If the drip pan was filled with an excessive amount
of mix, the drive shaft O-ring of the beater assembly
should be replaced or properly lubricated.
Brush Cleaning
1. Prepare a sink with an approved cleaning solution
(examples: Kay-5
®
or Stera-Sheen
®
).
Use warm
water and follow the manufacturer's
specifications
.
Important!
Follow label directions. Too
strong
of a
solution can cause parts damage, while too
weak
of a
solution will not provide adequate cleaning. Make sure all
brushes provided with the machine are available for
brush cleaning.
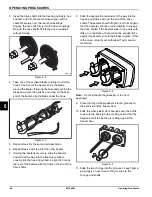
2. Remove the seals from the drive shafts.
3. From the freezer door, remove design caps, pivot
pins, draw handles, gaskets, front bearings, prime
plugs, and draw valves. Remove all O-rings.
Note:
To remove O-rings, use a single-service towel to
grasp the O-ring. Apply pressure in an upward direction
until the O-ring pops out of its groove. With the other
hand, push the top of the O-ring forward; it will roll out of
the groove and can be easily removed. If more than one
O-ring needs to be removed, always remove the rear
O-ring first to allow the O-ring to slide over the forward
rings without falling into the open grooves.
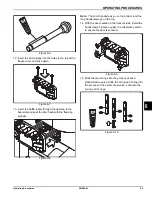
4. Remove the O-rings from the air tubes and air
orifices.
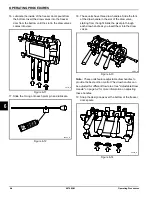
5. Return to the machine with a small amount of
cleaning solution. With the black bristle brush, brush
clean the rear shell bearings at the back of the
freezing cylinders.
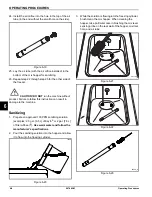
6. Thoroughly brush clean all disassembled parts in the
cleaning solution. Make sure all lubricant and mix film
is removed. Take particular care to brush clean the
draw valve cores in the freezer door. Place all the
cleaned parts on a clean, dry surface to air dry
overnight.
7. Wipe clean all exterior surfaces of the machine.
Содержание C791
Страница 8: ...1 4 TO THE INSTALLER 087482 M To the Installer 1 ...
Страница 38: ...9 2 PARTS REPLACEMENT SCHEDULE 087482 M Parts Replacement Schedule 9 Notes ...
Страница 42: ...10 4 LIMITED WARRANTY ON EQUIPMENT 087482 M Limited Warranty on 10 Notes ...
Страница 46: ...11 4 LIMITED WARRANTY ON PARTS 087482 M Limited Warranty on Parts 11 Notes ...


