


TAU STERIL
N° 11 - Rev. 3 03/02/20
User Manual
Page 1
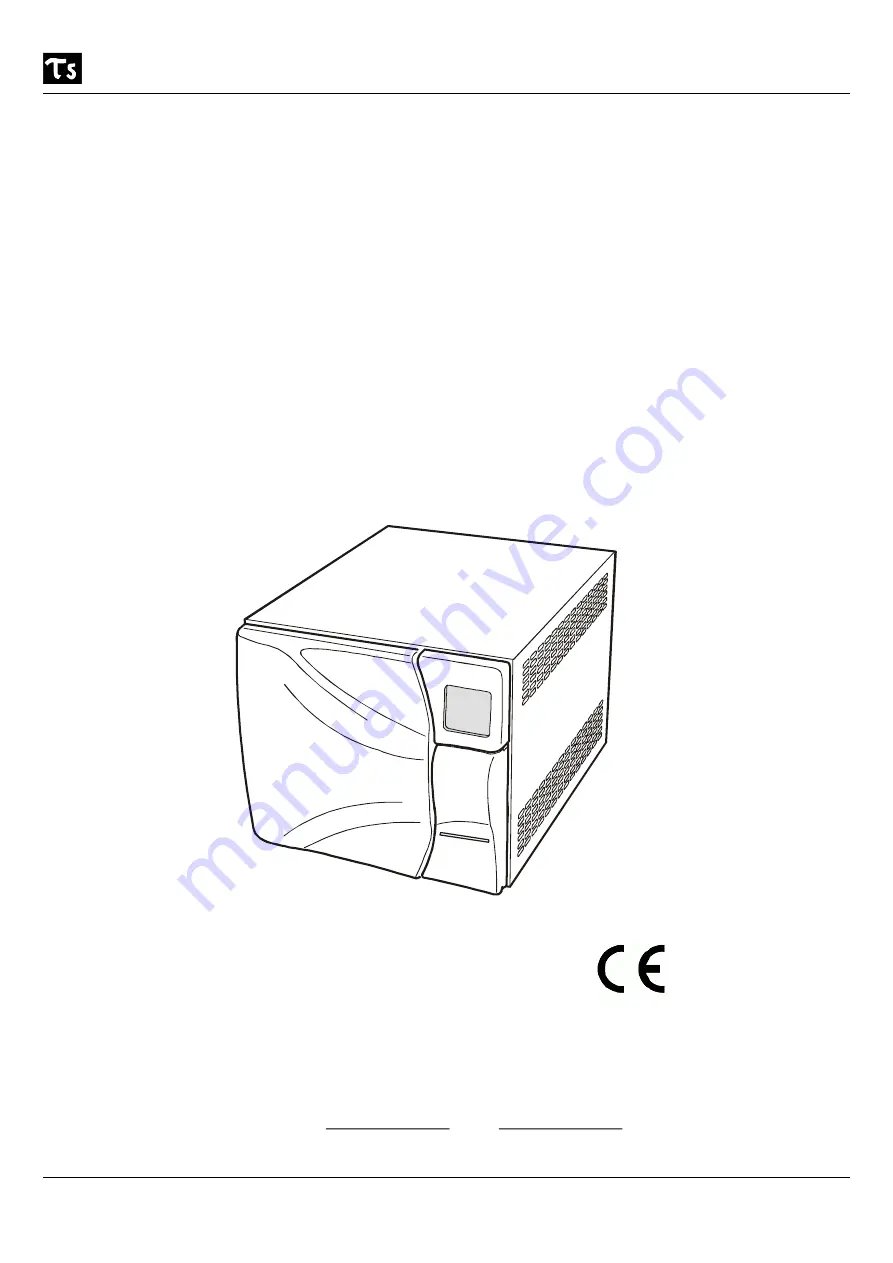
FAST B
User Manual
Fast B
0426
DIRECTIVE 93/42 CEE E S.M.I.
MEDICAL DEVICES
Via Gorizia 6/a – 22073 Fino Mornasco – COMO –IT
Phone 0039 31 927226 Fax 0039 31 880734
E-mail: [email protected] Web: www.tausteril.com


