L7C SERIES LCD Monitor Service Manual (v1.0)
9
5.
General Connection and Applications
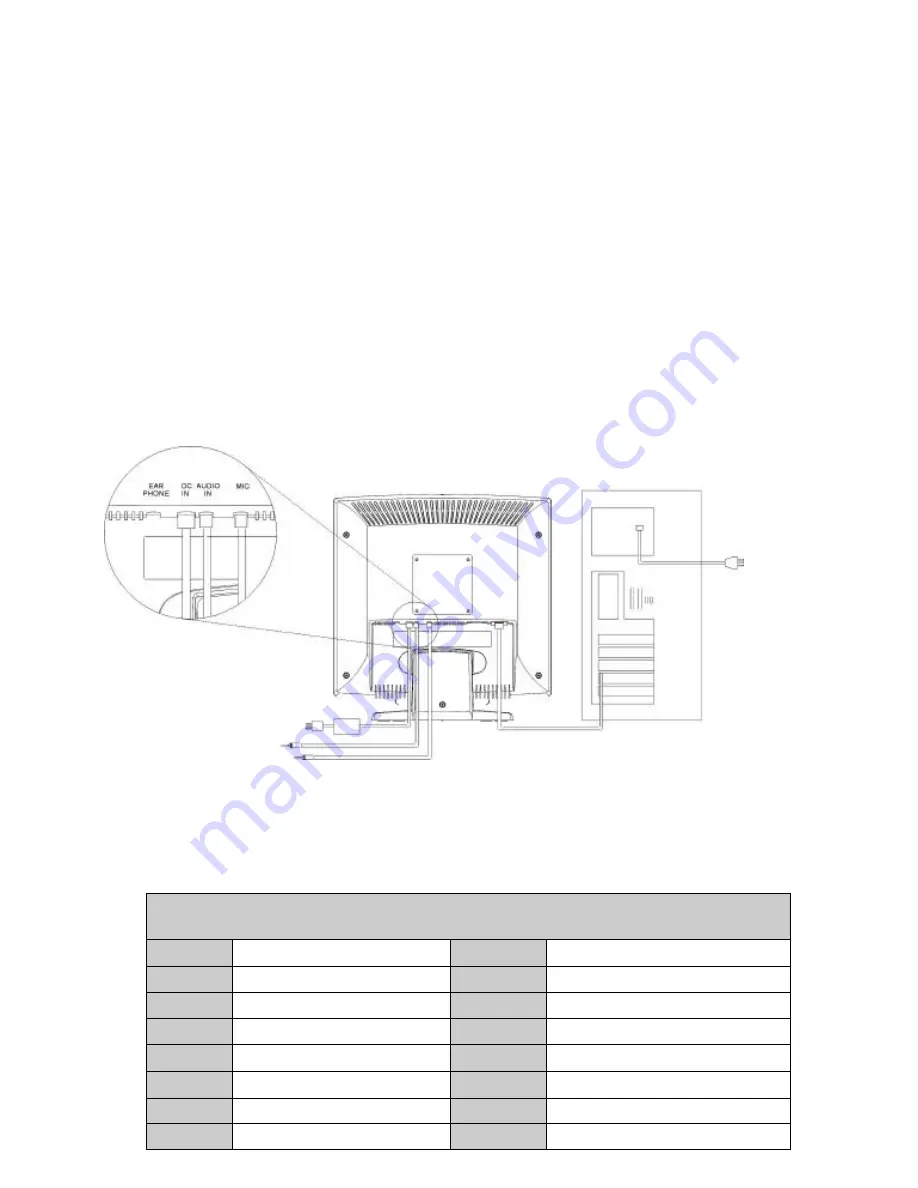
Procedures for installing and using this CML171SX LCD monitor are described as
below.
5.1
Connecting the monitor to the computer
1)
Place the display on a flat, sturdy surface. Choose an area free from excessive heat,
moisture, and sunlight. Avoid possible sources of electromagnetic interference, such as
transformers, motors, and fluorescent lighting.
2)
Locate the AC power adapter with attached power cable and then connect the power cable
to the power jack on the back of the display. Plug the three-prong power cord into a power
outlet, and plug the other end into the AC power adapter. The three-prong power cord is a
shielded type and is provided as a safety precautions to ensure proper electrical grounding.
Plug the D-SUB 15-pin analog signal cable into the Analog Input port on the back of the
display. Connect the other end of the signal cable into your computer’s VGA output port. The
assignment of the pins of the connector is as follows:
Pin Assignment of 15-pin D-SUB connector
1
Red Video
9
+5V for DDC circuit
2
Green Video
10
Logic Ground
3
Blue Video
11
Monitor Ground
4
Monitor Ground
12
DDC-Serial Data
5
DDC-Return
13
H-Sync.
6
Red Ground
14
V-Sync.
7
Green Ground
15
DDC-Serial Clock
8
Blue Ground


