


This system provides a full 24 tracks of 24-bit digital recording using three
TASCAM DA-78HRs, and mastering to 24-bit DAT using the TASCAM DA-45HR.
Points to note with this setup:
•
The DA-78HR will act as the word clock master for the system. The word clock
signal is transmitted along the TDIF-1 connection to the DM-24. The DM-24
then transmits the word clock to the DA-45HR DAT recorder, using a dedicated
cable, with the DA-45HR being set to accept the word clock through this connection.
The
WORD SYNC
switch on the DM-24 should be in the left position (
OFF/THRU
).
• One cable carries eight channels of input and eight of output digital audio between
the DM-24 and the DA-78HR DTRS recorder.
Most common functions of the DTRS recorder are controlled from the DM-24
through the
DTRS REMOTE CONTROL
cable. The third DA-78HR must be fitted
with a terminator on its REMOTE OUT connector.
• The DM-24 contains two high-quality effect processors, but in this example, we are
showing how to connect an external effects processor.
The DM-24 contains its own dynamic processors. However, external dynamic
processors may be used with channel inserts or the assignable sends and returns.
• The
CR
outputs are used for monitoring in the control room. We have not shown any
separate studio monitoring here, but the
STUDIO
outputs are used to drive a studio
monitoring system (a headphone splitter box, for example)..
Before switching on the DM-24, make sure that all connections have been made.
Follow the usual rule for switching on audio chains; from source to destination.
Then follow the steps below to set up the word sync clock on the system.
1
Set the DA-78HR to use internal word sync.
2
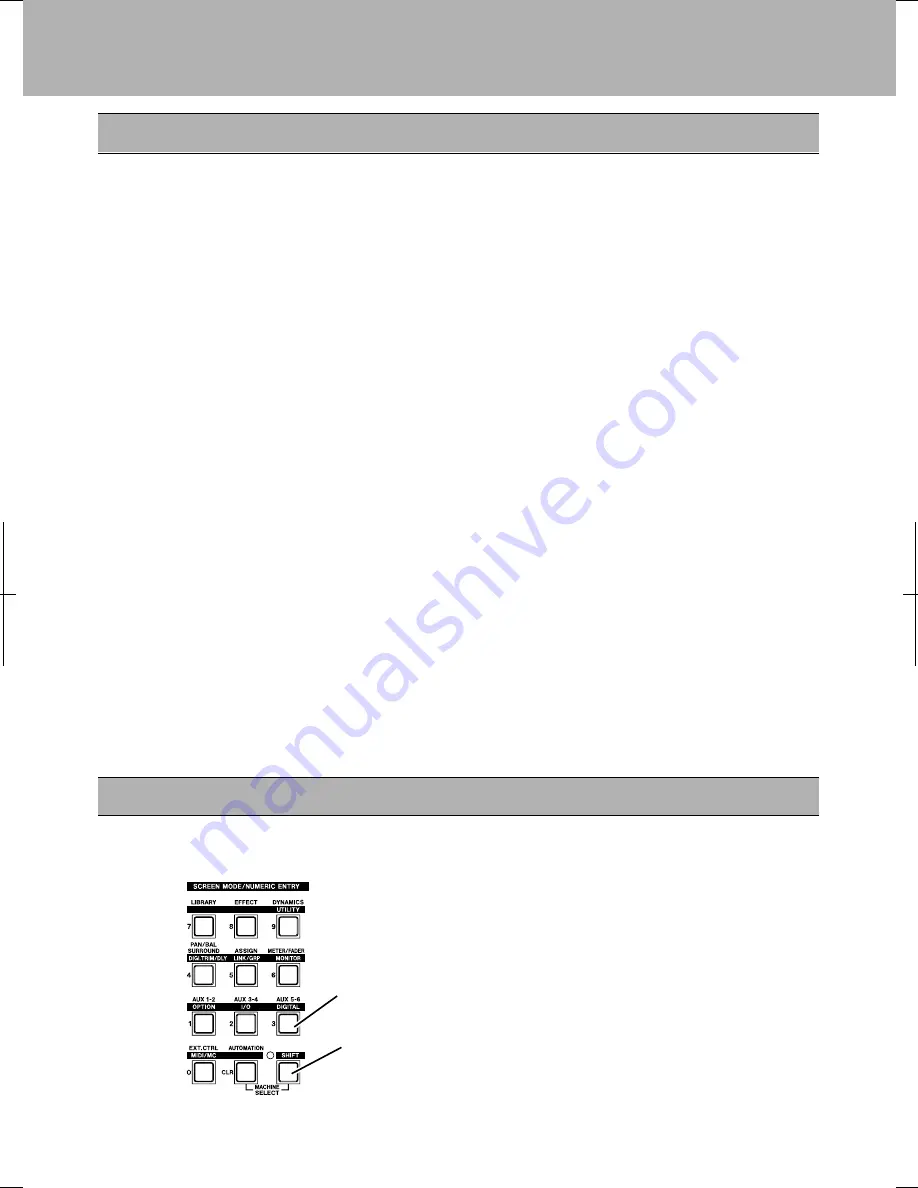
With the
SHIFT
indicator lit, press the
DIGITAL
key.
The
SHIFT
key is a “smart” key. Press and
release quickly it to latch it on or off, or
press and hold it for longer to turn it on only
for as long as it is held down.
Setting up the system
Word Sync
4
DM-24 Quick Start Guide