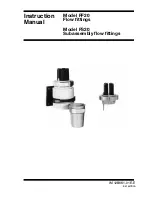
General Instructions
Installation:
1. Shut off water supply and drain
lines. Drill (2) two holes, approxi-
mately 1-3/8” [34 cm] diameter in wall
with 8” [20 cm] center to center.
5
4
cartridge
assembly
3
1/2”
NPT
supply
l i n e
4. Attach no.
1
onto no.
10
and
supply
pipes; tighten with a wrench.
5. Replace no.
5
, then no.
4
and make
sure no.
4
is flush against wall.
6. Replace no.
6
, attach no.
7
, no.
8
and
no.
9
.
10
7.Attach no.
13
to outlet pipe using
Teflon Tape or pipe joint compound.
Make sure no.
13
is flush against wall.
8. Turn on water and check for leaks.
2. After unpacking unit, remove
cartridge assembly
from no.
1
.
(Loosen and remove no.
3
at base of
no.
4
, slide no.
4
off no.
1
.)
8” [20 cm]
Note: The unit is also available with
6” [15 cm] center to center inlets.
1
3. Remove no.
10
from no.
1
and
attach to roughed-in piping (1/2” Iron
Pipe Size female inlets) using Teflon
Tape or pipe joint compound.
1/2”
NPT
supply
l i n e
3/4” IPS
supply
line to
tub
1
10
10
6
5
4
3
wall
13
3/4” IPS
supply
line to
tub


