


H.264 Network DVR
- 19 -
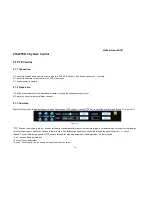
3.3 Preview
Upon normal startup the DVR will enter into the preview screen.
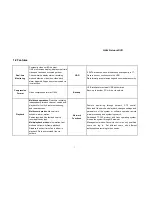
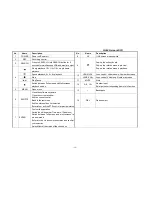
The preview screen will display the current time and date, the name and status of each channel. The screen icons and their description are below.
1
This icon is displayed on any channel that is
recording
2
This icon is displayed on any channel with video
loss
3
This icon is displayed on any channel if motion
is detected
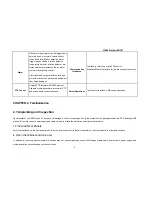
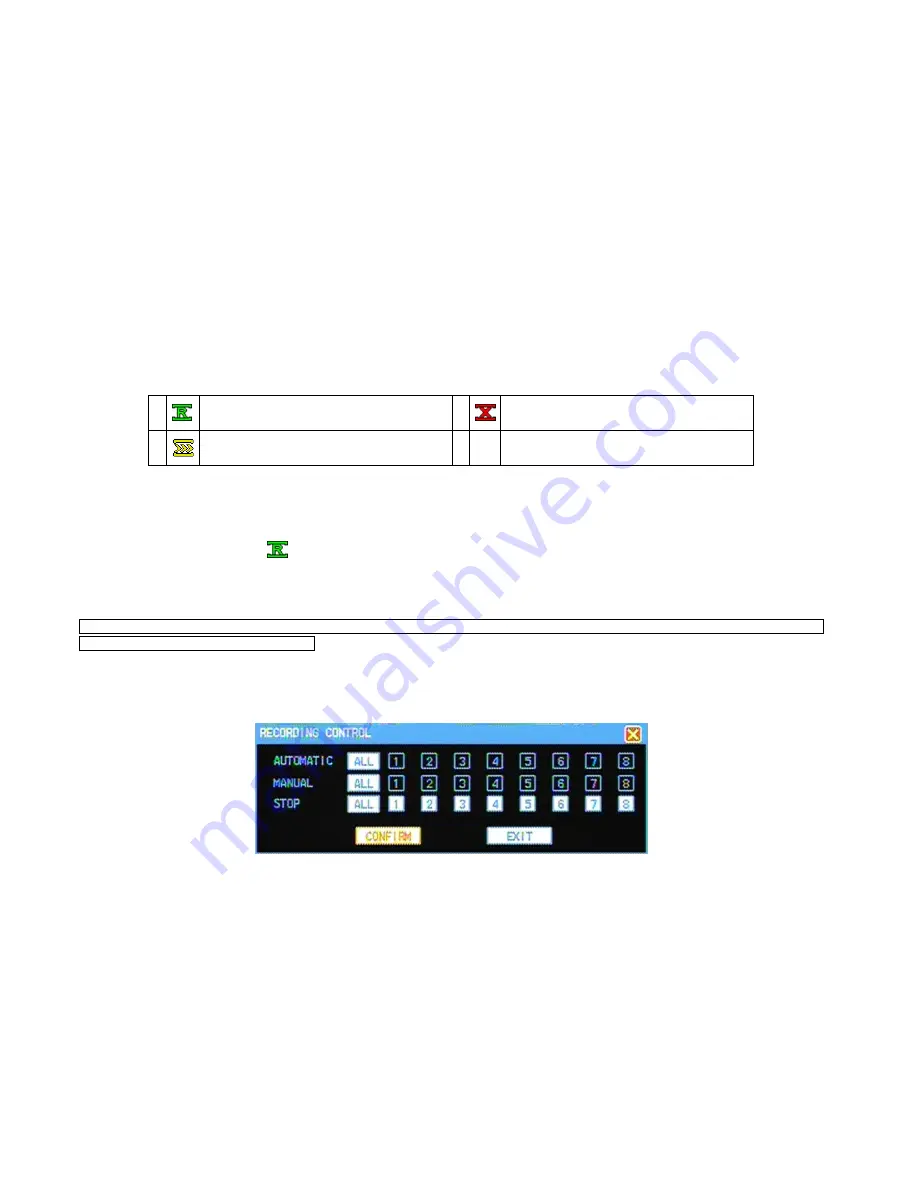
3.4 Record
Each channel can record in different modes depending on specific needs. If an attempt is made to change the recording mode while recording, this
icon will be displayed on the screen.
3.4.1 Recording
Note: A user must have recording authority to record. Prior to recording, please confirm that a hard disk has been installed in the DVR and
the hard disk has been formatted correctly.
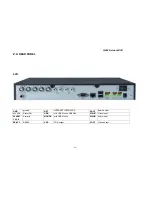
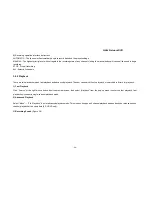
1)
Enter into the recording control interface
Click the right mouse button in the preview screen and select “Recording Control” from the pop-up menu. Or through the "Menu"
→
"Recording
Control". Press the ”REC” button while in preview mode to enter the "Recording Control" interface directly. (Figure 3-5)
Figure 3-5
Содержание H.264 Network DVR
Страница 1: ...H 264 Network DVR 1 H 264 Network DVR User Manual September 2010 ...
Страница 12: ...H 264 Network DVR 12 2 5 Remote Control Operation Use the remote to control the DVR ...
Страница 54: ...H 264 Network DVR 54 Figure 7 3 Figure 7 4 ...
Страница 63: ...H 264 Network DVR 63 3 Click Properties to open local area connection properties Figure 8 4 Figure 8 4 ...


