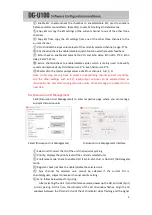
5
④
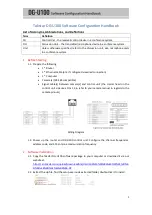
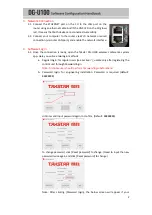
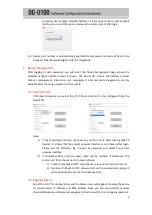
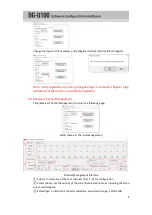
Enable EQ: check/uncheck the checkbox to enable/disable EQ; used to compare
before-and-after sound effects. [Reset EQ] to set all EQ settings to default zeros.
⑤
Copy EQ to: copy the EQ settings of the current channel to one of the other three
channels.
⑥
Copy EQ from: copy the EQ settings from one of the other three channels to the
current channel.
⑦
VOL: controls the input volume level of the currently selected channel, range: 0~31.
⑧
SQ: check/uncheck to enable/disable squelch function which prevents feedback.
⑨
Echo: check to enable and adjust Echo VOL and Echo delay. Echo VOL: 0~25; Echo
delay: 22ms~197ms.
⑩
Excite: check/uncheck to enable/disable exciter, which is mainly used to beautify
sound and improve clarity. Odd harmonics: 0~6; Even harmonics: 0~6.
⑪
Master VOL: the master output volume of all four channels, A, B, C, D.
Note: In this step, we only have to select a corresponding channel and set its priority,
and the other settings such as EQ, input/output volume can be adjusted later as
required by live test after syncing discussion units. Close this page to proceed to the
next step.
5.4.
Discussion Unit Management
Click [Discussion Unit Management] to enter respective page where you can manage
and sync discussion units.
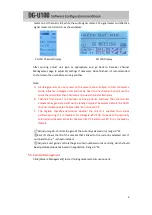
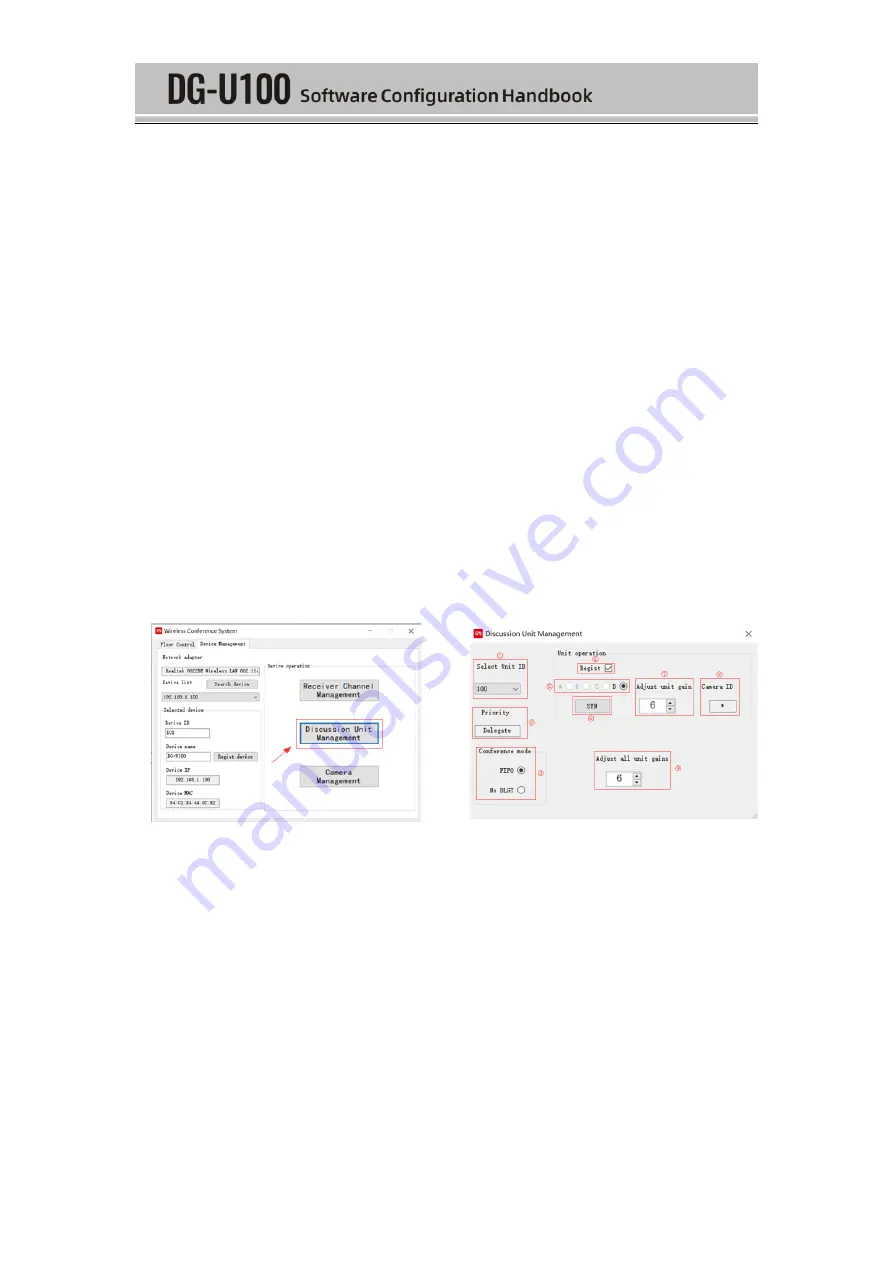
Select [Discussion Unit Management]
Discussion Unit Management Interface
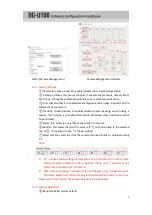
① Select unit ID: select the ID of
the unit that requires syncing.
② Priority: displays the priority level of the currently selected unit
.
③ Conference mode
: check to enable FIFO (First-In-First-Out) or No DLGT (No Delegate)
mode.
④ Register: check/uncheck to enable/disable the selected unit.
⑤ Sync channel for selected unit: cannot be selected if the current
DU is
chairman/guest; subject to receiver channel priority setting.
⑥
Sync: follow below steps for syncing.
After selecting the Unit ID and Conference mode, power up the DU, and click [Sync]
to start pairing. At this time, the indicator of the CU IR window flashes. Align the IR
windows between the DU and CU until the LED indicator stops flashing and the signal
Содержание DG-U100
Страница 1: ......


