3. INSTALLATION
3. Installation
This chapter describes how you install this mower. Before starting the
installation read the previous chapter 2. Presentation.
Read the whole of this chapter too before starting the installation. How
the installation is made also affects how well the mower will work. It is
therefore important to plan the installation carefully.
3.1 Preparations
Training
- Read the instructions carefully. Be familiar with the controls and the
proper use of the appliance.
- Never allow people unfamiliar with these instructions or children to use
the appliance. Local regulations may restrict the age of the operator.
- The operator or user is responsible for accidents or hazards occurring
to other people or their property.
3.2 Hardware adjustments
Blade adjustment
The mowing system used by this mower is based on an effective and
energy efficient principle. Unlike normal lawn mowers, the mower cuts the
grass instead of striking it off.
Rain sensors on the mower can be selected(see P38), we recommend
you allow the mower to mainly mow in dry wether to obtain the best
possible result. Even the mower can mow in rain, however, wet grass
easily collects on the mower and the risk of slipping on steep slopes is
greater.
The blades must be in good condition to obtain the best mowing result. In
order to keep the blade sharp for as long as possible it is important to
keep the lawn free from branches, small stones and other objects
(especially the objects less than 6cm height).
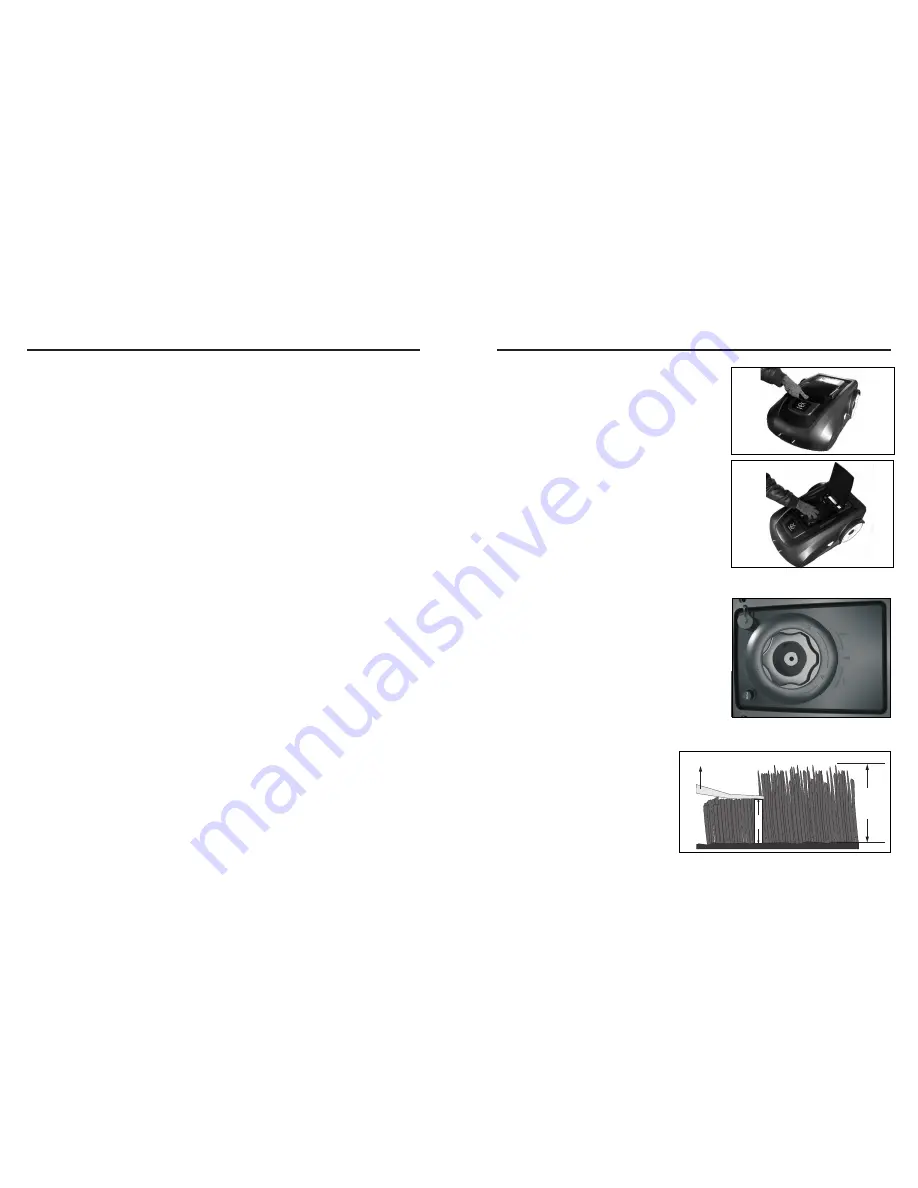
How to adjust the cutting height:
1.Press the clamshell and open
it.
2. Screw the adjusting knob to the
cutting height you are willing to.
3. Close the clamshell.
Cutting height from 2.5cm to 6cm.
3C
M
Cutting height explanation :
For example the cutting height
is in 3cm level.
Grass
Height
Cut ting he igh t: 3c m
3. INSTALLATION
Adjusting knob
-
P16
-
-
P15
-


