8
7. Installation
⚠
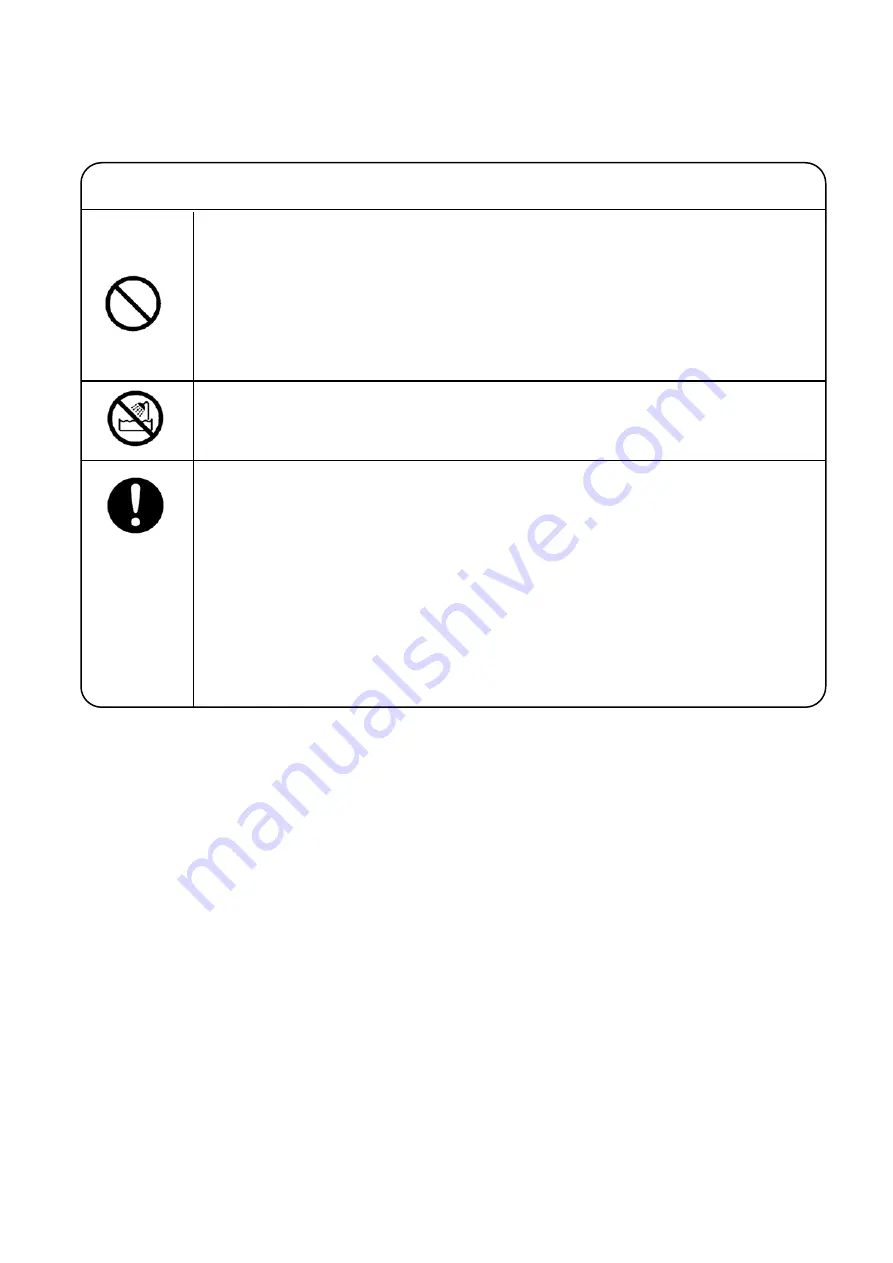
Caution
* Do not install the oil cooler where explosive dust or gas may be produced.
(It may cause an explosion or a fire.)
* Do not step on the oil cooler.
(It may cause a breakdown or an injury.)
* Do not install the oil cooler where it may directly contact with flame.
(It may cause a fire.)
* Do not install the oil cooler in a humid place.
(It may cause an electric shock or a fire.)
* Be sure to take sufficient space in front of the air inlet/outlet sides of the oil
cooler.
(Performance may decrease or it may cause a breakdown of the fan motor)
* Installation, operation, and maintenance must be done by a proper technician.
(It may cause an electric leakage or an injury.)
* Carry out wiring work safely and securely in accordance with the electrical
equipment standards and internal wiring rules.
(A loose connection or a wrong connection may cause an electric shock or a fire.)
1) Install the oil cooler securely on a firm and steady frame.
Take sufficient space around the oil cooler for installation, inspection, cleaning, and maintenance.
Especially, be sure to clear of obstacles in front of the air inlet/outlet sides, otherwise
performance may decrease by the air quantity reduction.
Minimize the vibration of the oil cooler during operation as much as possible.
In case of large vibration, use rubber cushions to prevent it.
8. Piping
1) Check the oil inlet and outlet before connecting the pipes.
2) The pipe joint of the radiator is Rc threaded.
Wrap the pipe tip with seal tape and screw into the joint.
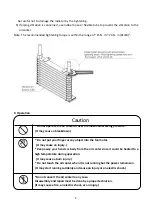
3) When connecting the pipes to the radiator, tighten the pipes within the recommended tightening
torque range while holding the hexagonal part of the oil inlet/outlet with a wrench, etc.
If the hexagon part is not held or is tighten with excessive torque, the radiator may be damaged.
4) The radiator is made of aluminum. In case of connecting the pipes harder than aluminum,


