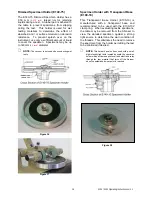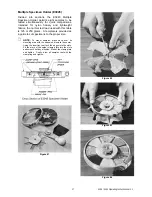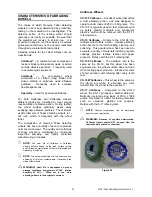
General Set-Up
Figure 12
1. The Abraser unit should be placed on a
flat, level and rigid surface.
2. Position the vacuum unit in a ventilated
area near the Abraser. Remove the motor
housing and install the vacuum cartridge
filter and filter bag.
3.
Insert the stainless steel vacuum hose
elbow into the vacuum hose receptacle
found in the rear of the Abraser housing.
Connect the flexible rubber suction hose
to the vacuum unit and the elbow.
U
WARNING:
DO NOT place the vacuum in a closed
cabinet without adequate ventilation. Failure to
provide sufficient airflow may cause the motor to
overheat. Resulting in damage to the vacuum.
Powering-Up
1. Plug the female connector of the Abraser
line cord into the rear of the instrument.
2. Attach the male connector of the vacuum
power cord into the receptacle marked
“VACUUM” at the rear of the Abraser.
When operating at 115V, a patch cord is
used to connect the vacuum unit to the
Abraser.
3. If any accessories are to be used (Grit
Feeder or Wheel Refacer), connect the
male connector to the receptacle marked
“ACCESSORY” at the rear of the Abraser.
4. Connect the instrument to a 115 or 230
volt, 60 or 50-cycle circuit. Two power
cords (115V and 230V) are provided for
your convenience. Discard the power
cord not used.
5. Turn the instrument on. The ON / OFF
power switch is located on the back of the
instrument immediately above the cord.
The instrument is now ready to operate.
U
WARNING:
Failure to connect the Rotary
Platform Abrasion Tester to a surge protector or
surge suppressor may result in damage to the
instrument’s electronic components.
7
5135 / 5155 Operating Instructions ver 1.1


