


16
Chapter
3
Chapter 3:
Install DSM on RackStation
After hardware setup is finished, please install DiskStation Manager (DSM) – a browser-based operating system
specifically designed for Synology NAS.
We highly recommend using Synology’s
Web Assistant
to install DSM with a web browser. Synology Web
Assistant can automatically download the latest software from the Internet and guide you through installation.
Install DSM with Web Assistant
Your RackStation comes with a built-in tool called
Web Assistant
to help you configure and install DSM. To use
Web Assistant, please follow the steps below.
1
Power on the RackStation.
2
Open a web browser on a computer in the same network as the RackStation.
3
Depending on your network environment, do either of the following:
a
If you have Internet access, go to
find.synology.com
.
b
If you do not have Internet access, go to
rackstation:5000
and follow the onscreen instructions.
4
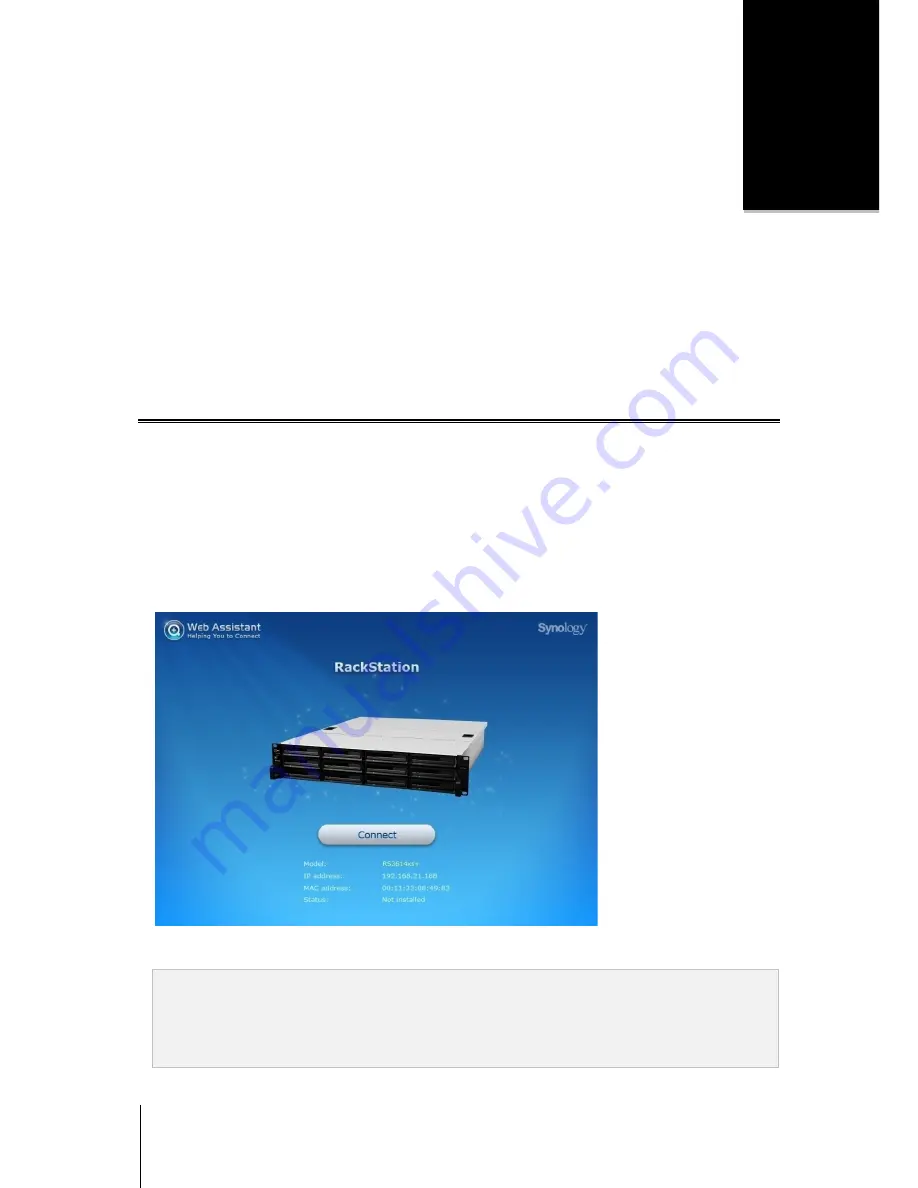
Web Assistant will be launched in your web browser. It will search and find your RackStation within the local
network. The status of your RackStation should be
Not Installed
.
5
Click
Connect
to start the setup process. Follow the onscreen instructions to complete the setup process.
Note:
1.
Suggested browsers: Chrome, Firefox.
2.
Both the RackStation and the computer should be in the same local network.
3.
Internet connection must be available during DSM installation with Web Assistant.


