background image

7

  Chapter 2: Hardware Setup

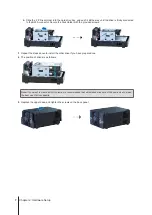
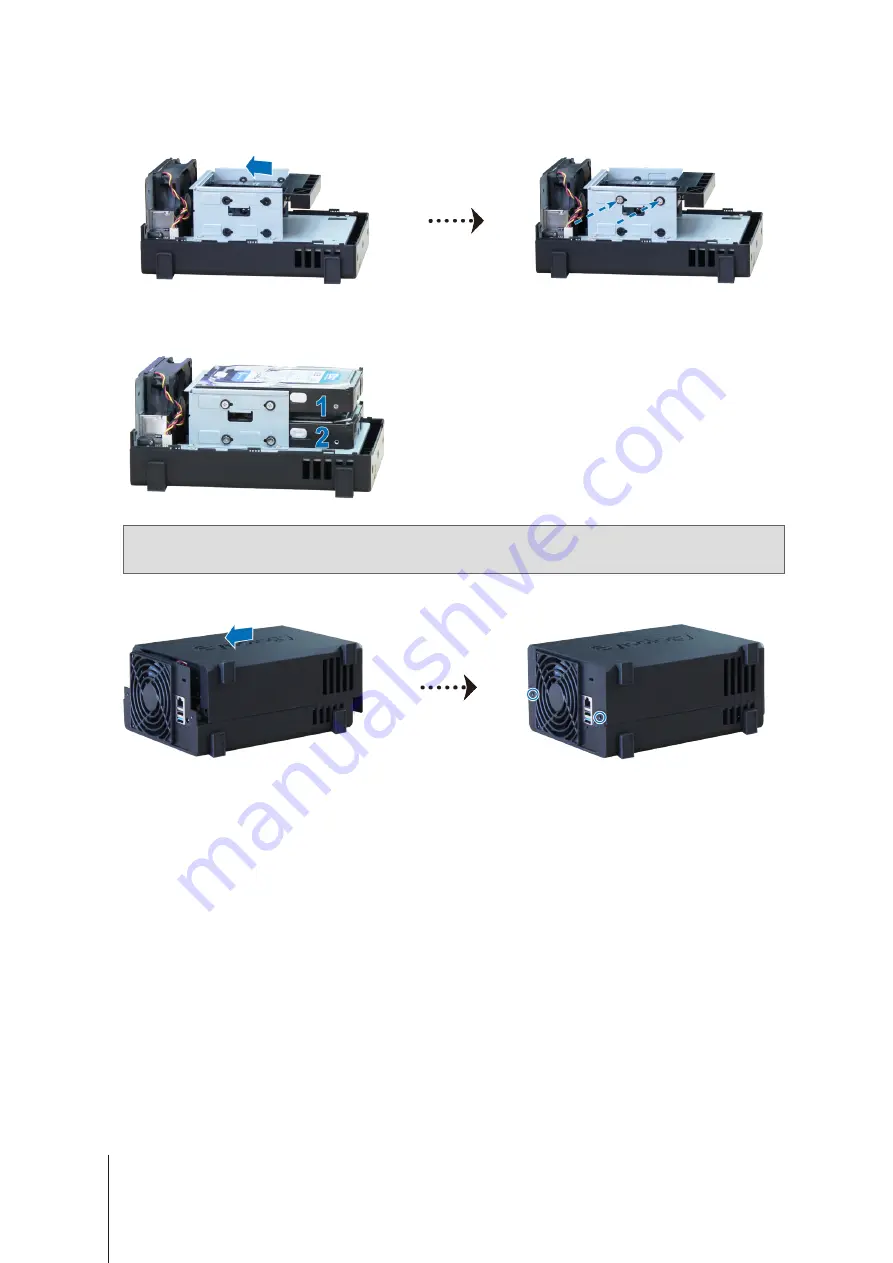
Slide the 2.5" Disk Holder into the hard drive bay, and push it all the way until the drive is firmly connected 

to the SATA connector. Secure the Disk Holder with the provided screws.

Repeat the steps above to install the other drive if you have prepared one.

The position of drives is as follows:

Note:

 If you want to create a RAID volume, we recommended that all installed drives are of the same size to make 

the best use of drive capacity.

Replace the upper case, and tighten the screws on the back panel.

Содержание DS216play

Страница 1: ...Synology DiskStation DS216play Quick Installation Guide...

Страница 2: ...fety Instructions 5 Chapter 2 Hardware Setup Tools and Parts for Drive Installation 6 Install Drives 6 Start Up Your DiskStation 8 Chapter 3 Install DSM on DiskStation Install DSM with Web Assistant 9...

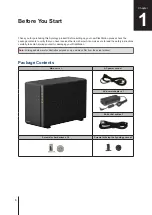
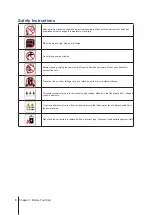
Страница 3: ...e to read the safety instructions carefully to avoid harming yourself or damaging your DiskStation Note All images below are for illustrative purposes only and may differ from the actual product Packa...

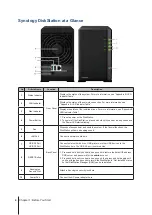
Страница 4: ...LED starts blinking 5 Fan Back Panel Disposes of excess heat and cools the system If the fan malfunctions the DiskStation will emit a beeping sound 6 LAN Port Connect a network cable here 7 USB 2 0 Po...

Страница 5: ...r cord Wipe with damp paper towels Do not use chemical or aerosol cleaners To prevent the unit from falling over do not place on carts or any unstable surfaces The power cord must plug in to the corre...

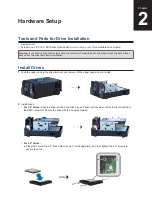
Страница 6: ...rtant data before installation Install Drives 1 Push the upper case in the direction as shown below Lift the upper case and set it aside 2 Install drives For 3 5 drives Slide the drive into the hard d...

Страница 7: ...e the Disk Holder with the provided screws 3 Repeat the steps above to install the other drive if you have prepared one 4 The position of drives is as follows Note If you want to create a RAID volume...

Страница 8: ...r to the power port of the DiskStation Connect the other end to a power outlet 2 Use the LAN cable to connect the DiskStation to your switch router or hub 3 Press the power button to turn on the DiskS...

Страница 9: ...will be launched in your web browser It will search for and find the DiskStation within the local network The status of the DiskStation should be Not Installed DS216play 5 Click Connect to start the...

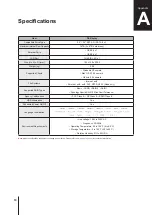
Страница 10: ...t3 FAT NTFS HFS Read only Supported RAID Types Basic JBOD RAID 0 RAID 1 Synology Hybrid RAID 1 Disk Fault Tolerance Agency Certifications FCC Class B CE Class B BSMI Class B HDD Hibernation Yes Schedu...

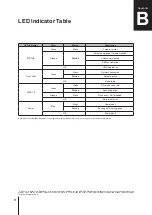
Страница 11: ...1 Off No internal drive Power Blue Static Powered on Blinking Booting up Shutting down Off Powered off Note Model specifications are subject to change without notice Please refer to www synology com f...

Страница 12: ...hosted by Synology NAS server to any third party for commercial purpose Section 6 Open Source The Software may contain components licensed to Synology under the GNU General Public License GPL Compone...

Страница 13: ...nd finally by arbitration conducted by three neutral arbitrators in accordance with the procedures of the R O C Arbitration Law and related enforcement rules In such cases the arbitration will be limi...

Страница 14: ...g the Warranty Period Synology warrants the Software as set forth in the accompanying end user license agreement provided with the Product if any Synology provides no warranty to Refurbished Product s...

Страница 15: ...RANTY WHETHER BASED ON CONTRACT TORT INCLUDING NEGLIGENCE STRICT LIABILITY OR OTHER THEORY EVEN IF SYNOLOGY HAS BEEN ADVISED OF THE POSSIBILITY OF SUCH DAMAGES 3 3 Limitation of Liability SYNOLOGY S A...

Страница 16: ...forcement rules The arbitration shall take place in Taipei Taiwan R O C and the arbitration proceedings shall be conducted in English or if both parties so agree in Mandarin Chinese The arbitration aw...

Отзывы: