Synology DS-101j
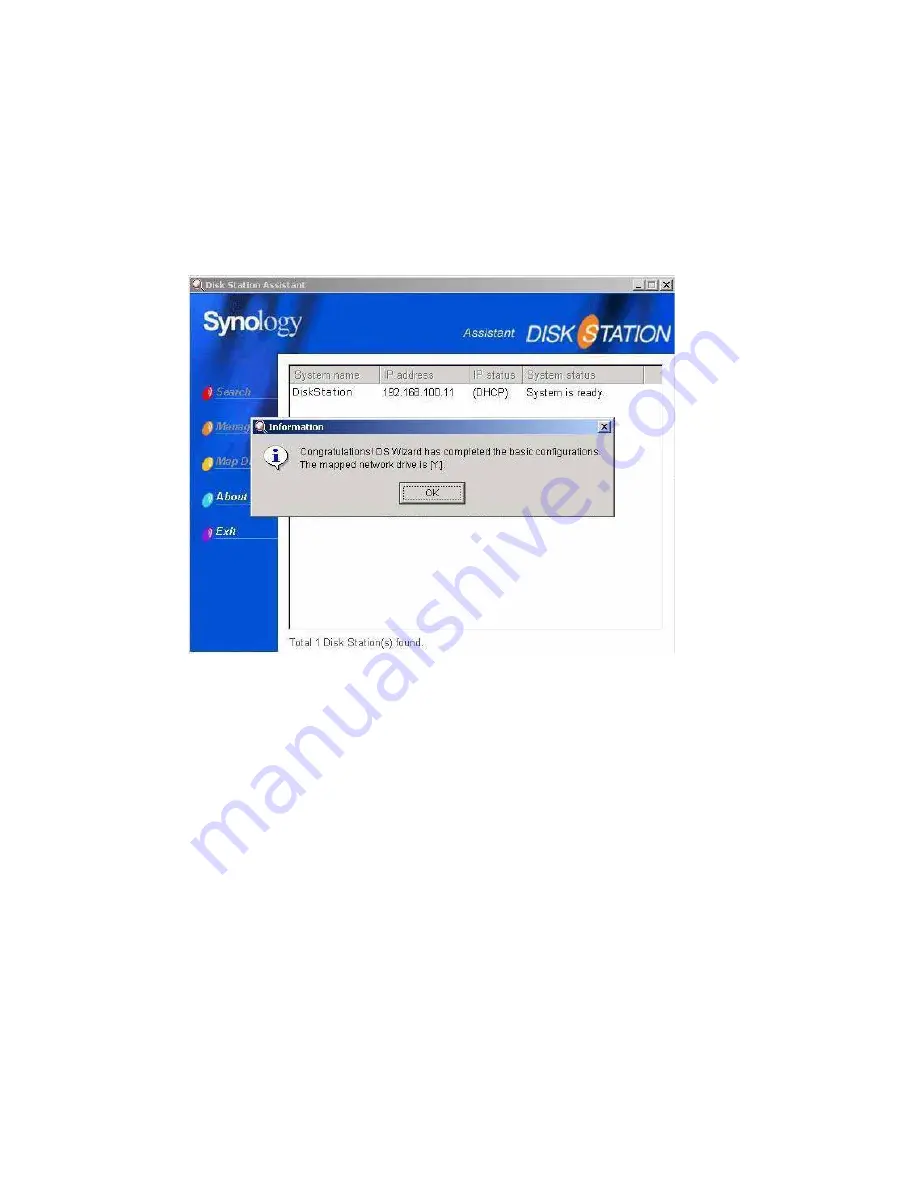
Step 3. You can start to use DS-101j Disk Station.
Welcome to use the DS-101j Disk Station; and you can start to store your data.
3.1.
After the DSAssistant setup completed, please enter the administrator’s password
which you entered in 3-13, and you can start to use the DS-101j Disk Station.
3.2.
The system will automatically display the mapped drive/volume (public share), at
the end of setup.
3.3.
You can start to store your data to this drive/volume (public share.)
3.4.
Other users on the same network can now start using the DS-101j Disk Station.
(Refer to the ‘Tips’ at the following page.)
36
Содержание DS-101j
Страница 1: ...User s Guide Document SDS2 0 050915_enu Based on DS2 0 Ver 2 0240 ...
Страница 11: ...Synology DS 101j 11 ...
Страница 43: ...Synology DS 101j 2 4 Then you can start to manage your DS 101j Disk Station from the management page 43 ...
Страница 45: ...Synology DS 101j 3 4 Then you can view your account information on this Disk Station and modify it 45 ...
Страница 84: ...Synology DS 101j 6 Click Add to finish 84 ...
Страница 89: ...Synology DS 101j 89 ...
Страница 96: ...Synology DS 101j 4 Finish 96 ...
Страница 100: ...Synology DS 101j 10 Finish 100 ...
Страница 116: ...Synology DS 101j 4 Click OK to finish 116 ...


