13
Chapter 3: Install DSM on DiskStation
For Mac OS X
1
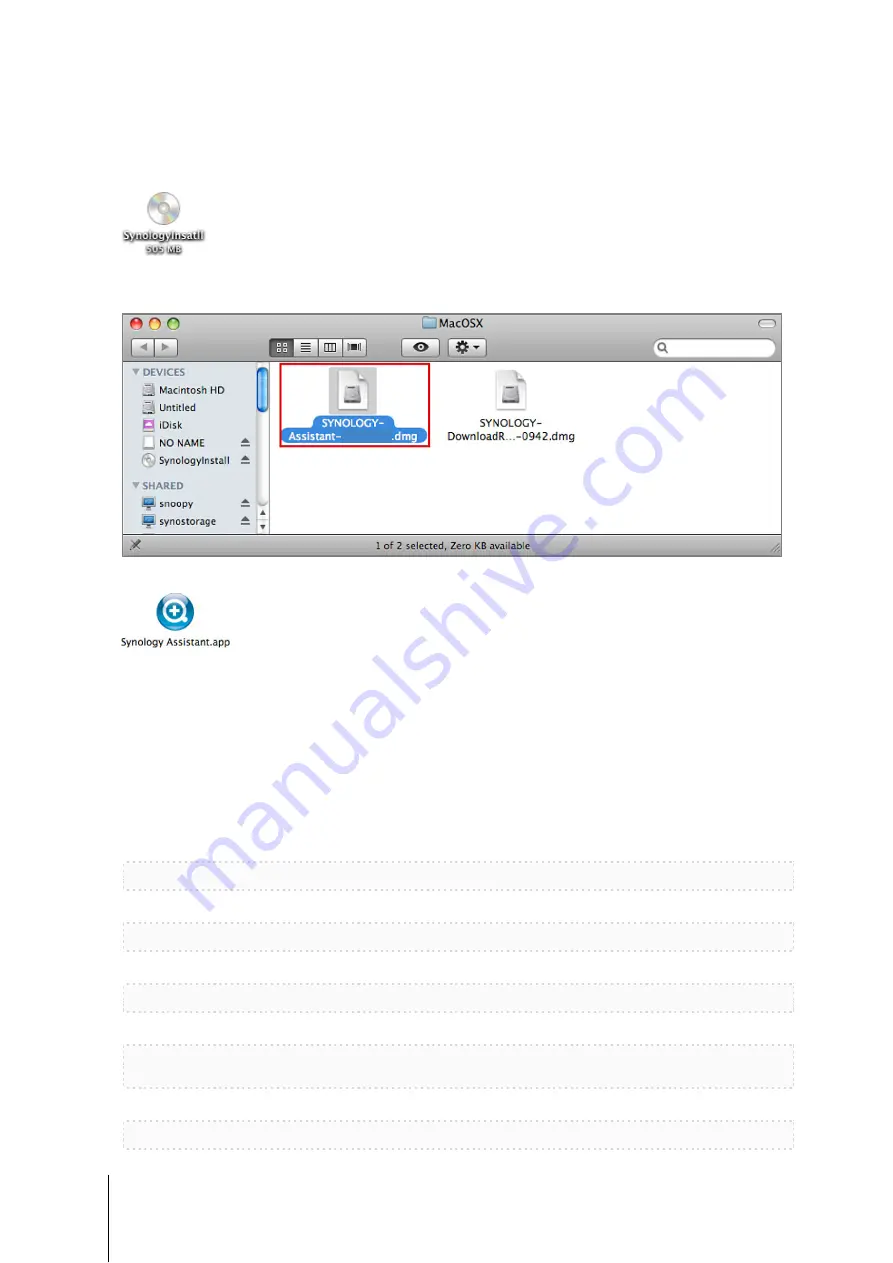
Insert the installation disc into your computer, and then double-click the
SynologyInstall
icon on the desktop.
2
In the window that appears, double-click the
MacOSX
folder, and then double-click
Synology Assistant-
[number].dmg
.
3
Double-click the
Synology Assistant.app
in the window that appears.
4
Follow step 2 to 4 of the “Install from Windows” section to finish setup.
For Linux
The Linux version is optimized for
Ubuntu
distribution version 8 and 9. You can still try installation on other Linux
distributions (for evaluation purpose only).
If you want to install using the command lines:
Run the script
install.sh
in the
Linux
folder of the installation disc, which will guide you through the steps below.
1
Remove the beta version of Synology Assistant (if any).
sudo rm -rf /usr/local/Synology /usr/local/bin/SynologyAssistant
2
Extract
SynologyAssistant-[number].tar.gz
to the directory you want, such as
“/usr/local”
or
“.”
tar -C ./ -zxvf SynologyAssistant-[number].tar.gz
3
If you are using 64bit Ubuntu, install the 32bit libraries.
sudo apt-get install ia32-libs
4
Create the shortcut to
/usr/local/bin
.
sudo ln -sf /path/install/SynologyAssistant/SynologyAssistant \
/usr/local/bin/SynologyAssistant
5
To run Synology Assistant, you can either use the following command:
/path/install/SynologyAssistant/SynologyAssistant
4.2-3224


