Sylvania SDPF1089 Скачать руководство пользователя страница 4

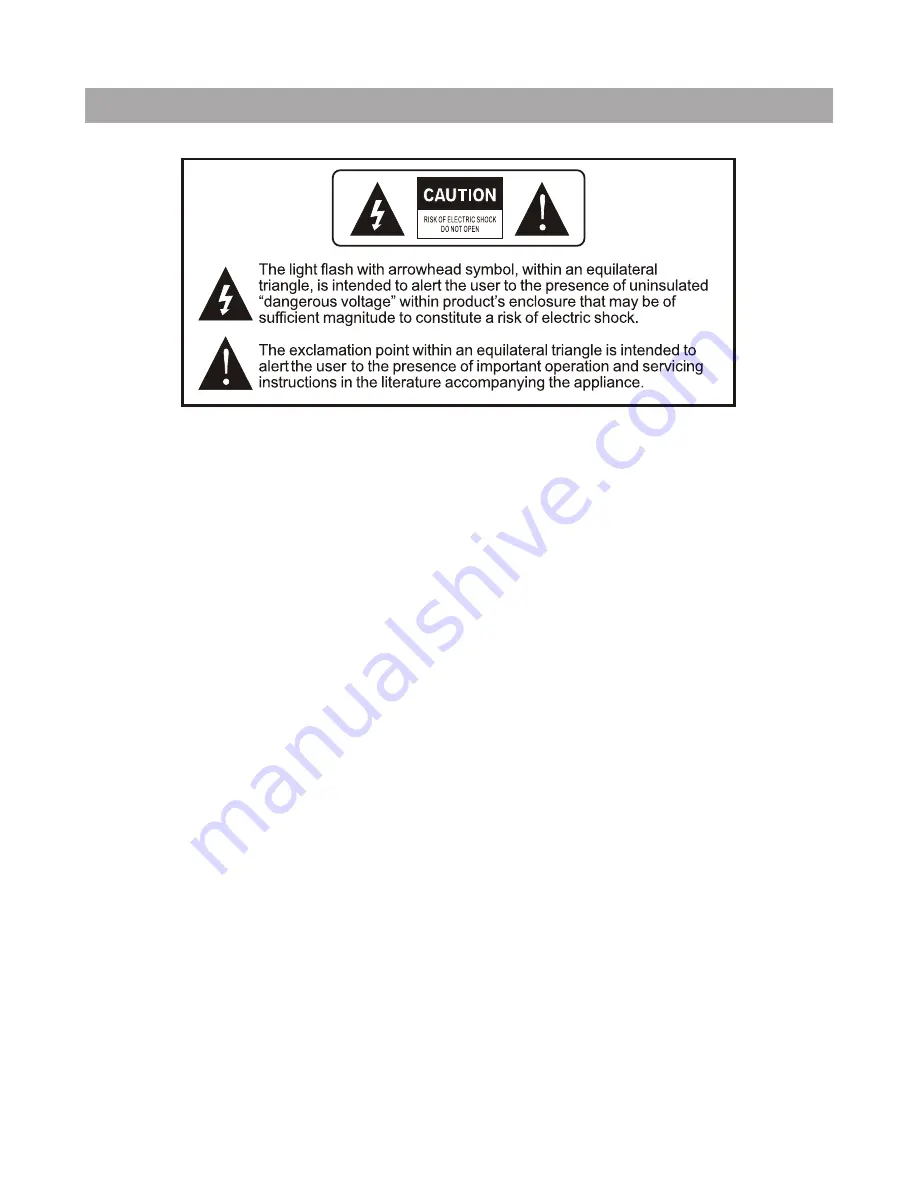
Warning: To reduce the risk of fire or electric shock, do not expose this 
apparatus to rain or moisture.

     
1) Please read the instruction manual carefully and follow all the requirements 
    of safe operation to operate the device.    

2) Do not use this unit near water. Do not place over the unit any container 
    with liquid inside.  

3) Do not install near any heat sources such as radiators, heat registers, 
    stoves, or other apparatus (including amplifiers) that produce heat.

4) Unplug this unit during lightning storms or when unused for long time.

5) About Cleaning: Unplug the system, use only wet cloth to clean. Do not use 
    liquid detergent or aerosol.

6) Only use accessories specified by the manufacturer. 

7) Refer all servicing to qualified service personnel, servicing is required when 
    the unit has been damaged in any way, such as power supply cord or plug 
    is damaged, liquid has been spilled or objects have fallen into the unit, 
    exposed to moisture, does not operate normally. Don't try to repair the 
    machine by yourself because of the danger of high voltage and electric 
    shock.

Safety Precaution

1

Содержание SDPF1089

Страница 1: ...File Name Designer Checked Customer Material technique P Size Scale Tolerance Project Rivision Design Date 17PHZ176 IM V1 1 DPF1060 CTIS 80g 1 1 V1 1 3mm 2017 09 26 100 135mm 44P Description Remarks...

Страница 2: ...SDPF1089 SYLVANIAis a registered trademark of OSRAM SYLVANIAINC used under license...

Страница 3: ...ols System Connection 8 14 Using Your Digital Picture Frame On The Remote Control Using Your Remote Control 1 3 3 4 5 6 7 7 13 Safety Precaution Introduction Installing Your Unit Browsing Images Setti...

Страница 4: ...that produce heat 4 Unplug this unit during lightning storms or when unused for long time 5 About Cleaning Unplug the system use only wet cloth to clean Do not use liquid detergent or aerosol 6 Only u...

Страница 5: ...l interference in a residential installation This equipment generates uses and can radiate radio frequency energy and if not installed and used in accordance with the instructions may cause harmful in...

Страница 6: ...le to create a slideshow using multiple transition effects or display one picture at a time This Digital Photo Frame is compatible with the following popular memory card formats USB SD MultiMedia Card...

Страница 7: ...rt 4 USB port 5 ON OFF turn on and turn off the unit 6 Use this button to move cursor up and down when at setting menu and at main menu you can use this button to select media device Use this button t...

Страница 8: ...d into the AC power receptacle Please refer to the illustration above Upon using an SD card insert it to the corresponding slot flatly with the label side backward Using your SD card Note Please do no...

Страница 9: ...the picture to 125 150 175 200 225 250 ROTATE when displaying pictures press it to rotate the picture to 90 180 270 0 Use this button to move cursor up and down when at setting menu and at main menu...

Страница 10: ...ws highlight the desired SD MMC MS USB media device press button to select one device then you can enter into Photo Calender Setting interface by press button OK OK When displaying the pictures you ca...

Страница 11: ...ar Setup System Setup Press to select setting icon press to enter Press Setup button on the remote control to enter setup menu when you are at other menu In the Setup menu press button to highlight th...

Страница 12: ...ec 5Min 15Min Slideshow Repeat Select the manner of repeating photos Once Repeat Slideshow effect Adjust the transition effect between eachimage in a slideshow Optional effect includes Random S curve...

Страница 13: ...splay mode Monthly calendar Calendar Clock Date When the cursor position moving to the Icon using the directional arrows to adjust the date Clock Mode When the cursor position moving to the Icon using...

Страница 14: ...he cursor position moving to the Icon using the directional to select the unit auto Power off time Auto Power Frequency When the cursor position moving to the Icon using the directional to select the...

Страница 15: ...press OK button 7 Copy Finished will display on the top left coner 8 The image is copied to the frame storage Delete 1 Choose the image you need select Browse Mode 2 Press button 3 It will display for...

Страница 16: ...nect the AC adaptor to the frame and power on the unit even without a memory card you should see the main menu If you don t see it check if the power is connected to the Digital Photo Frame and make s...

Страница 17: ...Resolution Output Input Working Temperature Display Mode File Format Cards Dimension Weight 10 1 inch Digital Photo Frame 1024 600 Pixel 5V 1 0 A AC100 240V 50 60Hz 0 40 C 16 9 JPEG SD MMC MS 320 229...

Отзывы: