background image

4

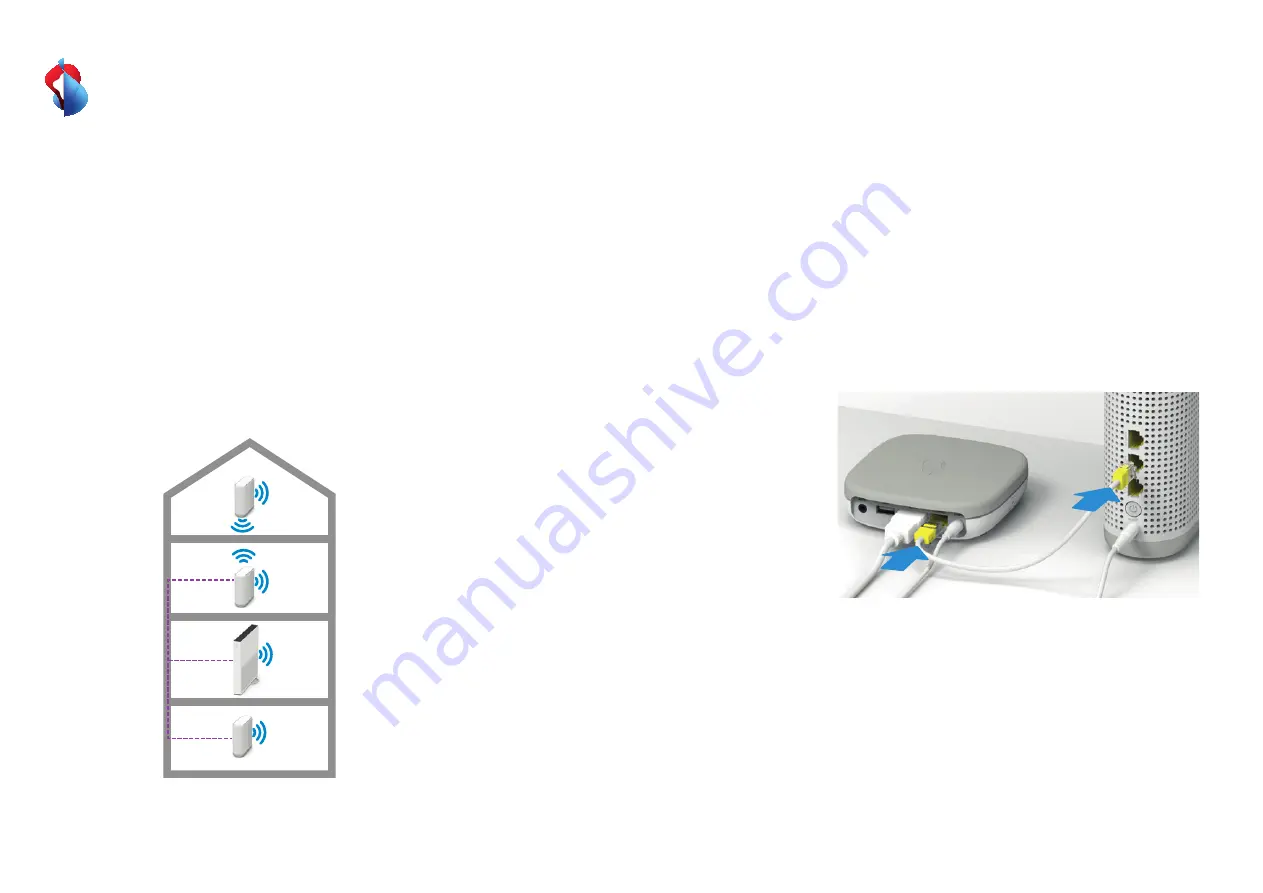
Connect your WLAN-Box 3 to the Internet-Box 

If possible, use a cable to connect the WLAN-Box 3 to the  

Internet-Box. Use the network ports in the rooms if available. In 

the absence of network ports, you can install an Ethernet cable 

(available from the Swisscom Shop).  

If you use WLAN to connect the WLAN-Box 3 to the  

Internet-Box, position the WLAN-Box 3 roughly halfway 

between your Internet-Box and an area not covered by WLAN.

Your optimal WLAN network

The WLAN-Box 3 ensures an optimal WLAN network throughout 

the entire house by means of «WLAN-Mesh». Your devices 

(smartphones, tablets, etc.) are automatically connected to the 

best WLAN signal - either to the Internet-Box or to a  

WLAN-Box 3, depending on your location. When you move 

around the room, the best connection is always created 

automatically.

Connect devices via 

cable

You can connect up to 3 devices via Ethernet to the WLAN-Box 3. 

We always recommend a direct cable connection between the 

TV-Box and Internet-Box for Swisscom blue TV (in same room). If 

this is not possible, please connect the TV-Box to the  

WLAN-Box 3 with the enclosed Ethernet cable (if TV-Box and 

Internet-Box are not in the same room or there are no network 

connections in the rooms).

WLAN-Box 3 setup

(Extend your WLAN using 1-4 WLAN-Boxes 3.)

Tips for good WLAN

• Position the Internet-Box in a central  location

• Place all devices in a free-standing position

• We recommend you use a cable to connect the WLAN-Box 3

WLAN-Box 3 positioning

The WLAN-Box 3 transmits the WLAN in all directions. You 

should therefore position it as close to the centre of a room as 

possible. Place the WLAN-Box in a free-standing position on 

a piece of furniture, not in the direct vicinity of other objects 

or metal casings. You will obtain better WLAN coverage if you 

maintain a clearance of around 20 cm to walls and do not 

position a WLAN-Box in the same room as the Internet-Box.

Содержание WLAN-Box 3

Страница 1: ...e best WLAN place the WLAN Box 3 in an upright position away from other objects and metal casings 1 The package includes Ethernet cable Power adapter WLAN Box 3 5 a Cable connection Use the enclosed Ethernet cable or connect the WLAN Box 3 to your home cabling Cable connections between the Internet Box and WLAN Box 3 guarantee optimum WLAN for your devices Alternatively you can link your WLAN Box ...

Страница 2: ...directly via WLAN install the WLAN Box 3 halfway between your Internet Box and an area not covered by WLAN See also page 4 6 Connect the WLAN Box 3 to the power and switch it on Then wait 2 minutes until the Status LED lights up red 5a or flashes red 5b 1 2 WLAN Box 3 Internet Box 8 Wait until the LED lights up white constantly approx 5 minutes The WLAN settings are automatically transferred from ...

Страница 3: ... no connection to the Internet Box Either the WLAN Box 3 is not paired see What is pairing or it is too far away from the Internet Box see WLAN Box 3 setup LED pulses red poor connection to the Internet Box Reposition the WLAN Box 3 Please note the WLAN Box 3 setup tips LED lights up red no connection to the Internet Box or error message Check if the Internet Box WLAN is switched on Perform pairin...

Страница 4: ... up to 3 devices via Ethernet to the WLAN Box 3 We always recommend a direct cable connection between the TV Box and Internet Box for Swisscom blue TV in same room If this is not possible please connect the TV Box to the WLAN Box 3 with the enclosed Ethernet cable if TV Box and Internet Box are not in the same room or there are no network connections in the rooms WLAN Box 3 setup Extend your WLAN ...

Страница 5: ...o do press both buttons Internet Box and WLAN Box 3 within 2 minutes to automatically pair the 2 devices You can connect your WPS ready devices with the WLAN at the touch of a button either with the Internet Box or with a paired WLAN Box 3 1 2 My WLAN Box 3 is not working Are you using an Internet Box 2 or newer and is the WLAN switched on step 3 Is your WLAN Box 3 switched on step 6 Is your WLAN ...

Отзывы: