


English version
7
The Setup Wizard
Start the Internet browser, and type the following in the address bar: http://192.168.123.254. For security reasons, the router has password
protection.This password is: “admin”. Then click on “OK”. The password can be changed.
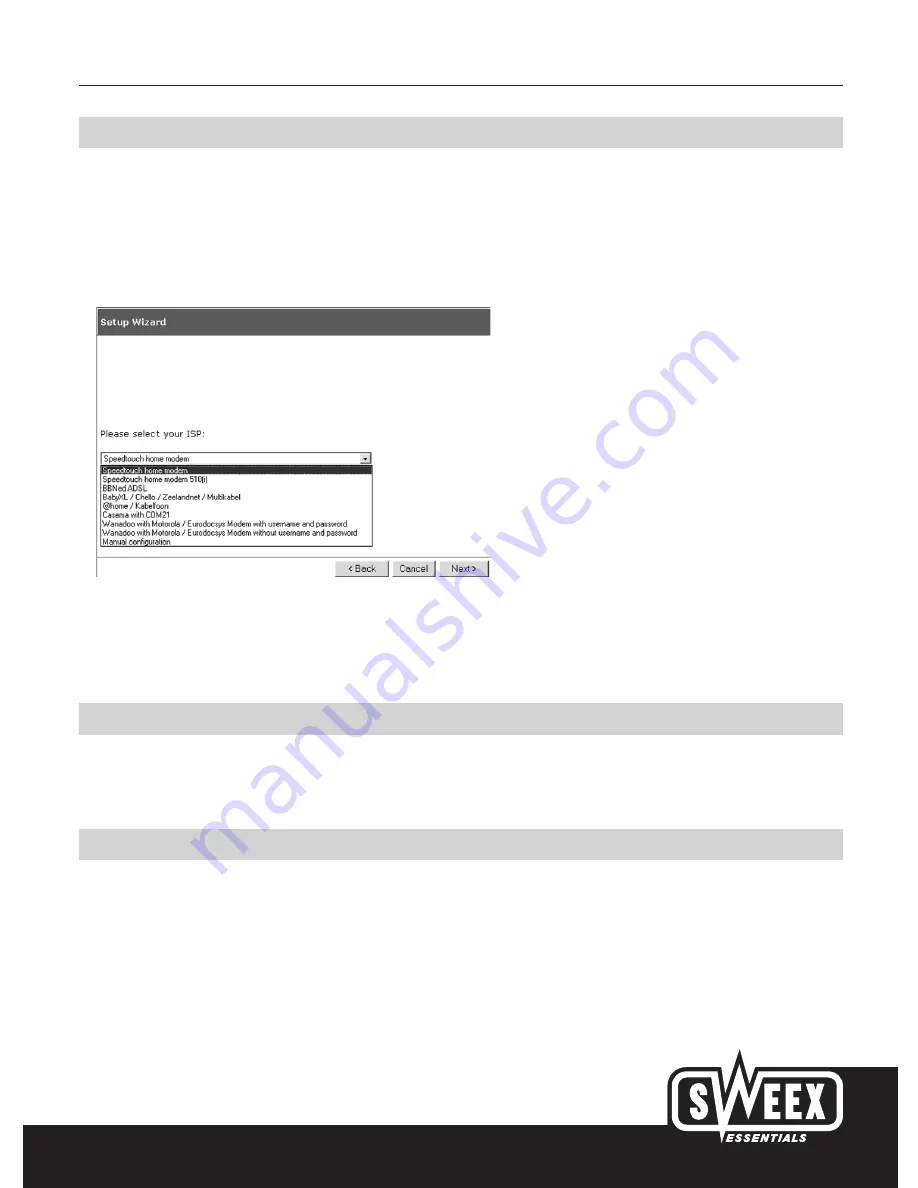
The status screen shall first appear. The option “wizard” can be selected on the left side in the menu. Now click on “Next”. The following screen
shall appear. Sweex has set a number of presets. Select an option out of these presets or select “Manual Configuration” to configure the modem
manually.
For certain providers, a so-called MAC address has to be specified during the configuration of the Sweex Wireless Router. A MAC address is the
unique number of the network card. This address can be quickly entered in the router using the “Clone MAC Address” button. This number can be
recovered in the following manner and can then be entered manually.
MAC address for Windows 98SE
Go to “Start”, select “Run” and type in the following: WINIPCFG. Then press “Enter”. An IP configuration window will now appear. Here, select
the network card (Attention! This is not a NDIS adapter or PPP adapter!). Now accurately enter the adapter address.
MAC address for Windows 2000 and XP
Go to “Start”, select “Run” and type in the following: CMD. Press Enter and a Command window will appear. Type in the command: IPCONFIG
/ALL and press Enter. A list showing technical details will appear; from these note down the Physical Address of the LAN connection.
In some cases, you will have to perform the following actions if an Internet connection is not made. Close Internet Explorer. Shut down the
computer, wait for 10 seconds and then switch off the modem as well. Leave the router switched on at all times! Again wait for 10 seconds and
then switch on the modem. Wait for 10 seconds and switch on the computer. Internet can be used after Windows starts up.


