


Setting Time and Date
Manual Recording
To start recording at any time press the
REC
button. This will give you continuous recording,
and will ignore any motion sensing settings.
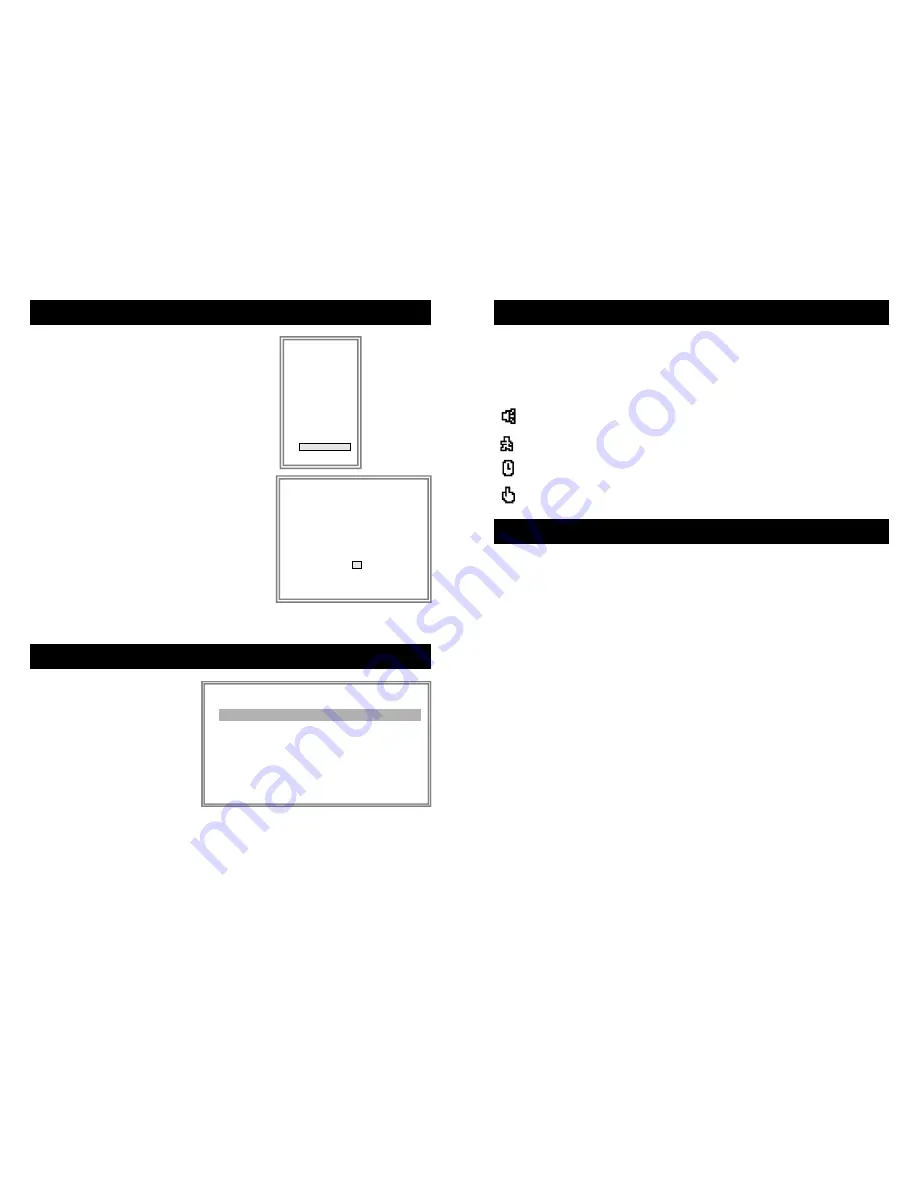
When recording different icons will be shown on the screen depending what method of trigger
was used to start recording.
Indicates Alarm triggered recording
Indicates Motion triggered recording
Indicates Timer triggered recording
Indicates Manual triggered recording
Press the “
Play
” button to play back the last video recording.
To use
Fast Forward
while video is playing, press the
FF
button to fast forward. Each time you
press the
FF
button again the fast forward speed will double until you reach 32x, which is the
fastest speed.
To use
Fast Rewind
while video is playing, press the
REW
button to fast rewind. Each time you
press the
REW
button again the fast rewind speed will double until you reach 32x, which is the
fastest speed.
To use
Slow Forward
, press the slow button while video is playing, then the
FF
button to
change the slow forward speed. Each time you press the
FF
button again the slow forward
speed will halve until you reach 1/32x, which is the slowest speed.
To use
Slow Rewind
, press the slow button while video is playing, then press the
REW
button
to slow rewind. Each time you press the
REW
button again the slow rewind speed will halve
until you reach 1/32x, which is the slowest speed.
To pause the playback at any time, press the
Pause
button.
To use the jog mode, while the playback is paused press the
FF
or
REW
button to move one
frame forward or backward.
To stop recording and return to monitor and record mode, press
Stop
at any time.
Before using the DVR PRO 4000, you will need to
set the time and date: Press the “
Menu
” button, then
use the
Up
or
Down
arrow until “
System
” is
highlighted and press the “
Enter
” button. Use the
Up
or
Down
button to highlight “
Time
” then use
the
Left
or
Right
button to highlight the digits. Use
the
+
or
-
button to adjust the digits to the correct
time. Use the
Up
or
Down
button to highlight
“
Time
” then use the
Left
or
Right
button to highlight
the digits. Use the
+
or
-
button to adjust the digits
to the correct time. Use the
Up
or
Down
button to
highlight “
Date
” then use the
Left
or
Right
button to
highlight the digits. Use the
+
or
-
button to adjust
the digits to the correct date then press “
Menu
” until
you return to the main screen to save the settings.
Configuring Motion Recording
Next you need to set up the Motion
Recording settings: Press the “
Menu
”
button and use the
Up
or
Down
button until “
Motion
” is highlighted
then press the “
Enter
” button. Use
the
Up
or
Down
button to highlight
the “
OFF
” next to
“
MOTION
RECORD
” and press the
+
or
-
button until “
ON
” is shown. Use the
Up
or
Down
button to Highlight the
(MENU)
TIMER
CAMERA
RECORD
ALARM
DWELL
PIP
MOTION
DISPLAY
REMOTE
USER
SYSTEM
EVENT
(SYSTEM)
AUDIO INPUT 1
BUZZER ON
EXT ALARM ON
VLOSS ALARM ON
MOTION ALARM ON
HDD OVERWRITE YES
MESSAGE LATCH YES
DATE DISPLAY D/M/Y
DATE 17-AUG-2004 [SAT]
TIME 20:15:34
CLEAR HDD YES
SYSTEM RESET YES
(MOTION)
SEN MD-NVM RE DET
CAM1 70 03 64 ON AREA
CAM2 70 03 64 OFF AREA
CAM3 70 03 64 ON AREA
CAM4 70 03 64 ON AREA
MOTION RECORD : ON
DAY START END
DAILY 00 : 00 00 : 00
(MOTION)
SEN MD-NVM RE DET
CAM1 70 03 64 ON AREA
CAM2 70 03 64 OFF AREA
CAM3 70 03 64 ON AREA
CAM4 70 03 64 ON AREA
MOTION RECORD : ON
DAY START END
DAILY 00 : 00 00 : 00
Camera you wish to enable, then use the
Left
or
Right
button to highlight the “
OFF
” next to
that camera and press the
+
and
-
keys to adjust the setting to “
ON
”.
Use the
Right
key to
highlight “
AREA
” next to the camera you wish to enable, and press the “
Enter
” button. Press
the
-
button to turn on Motion Detection for the whole screen as shown by a green overlay,
then do the same for your other active cameras.
Playing Back Recorded Video


