13
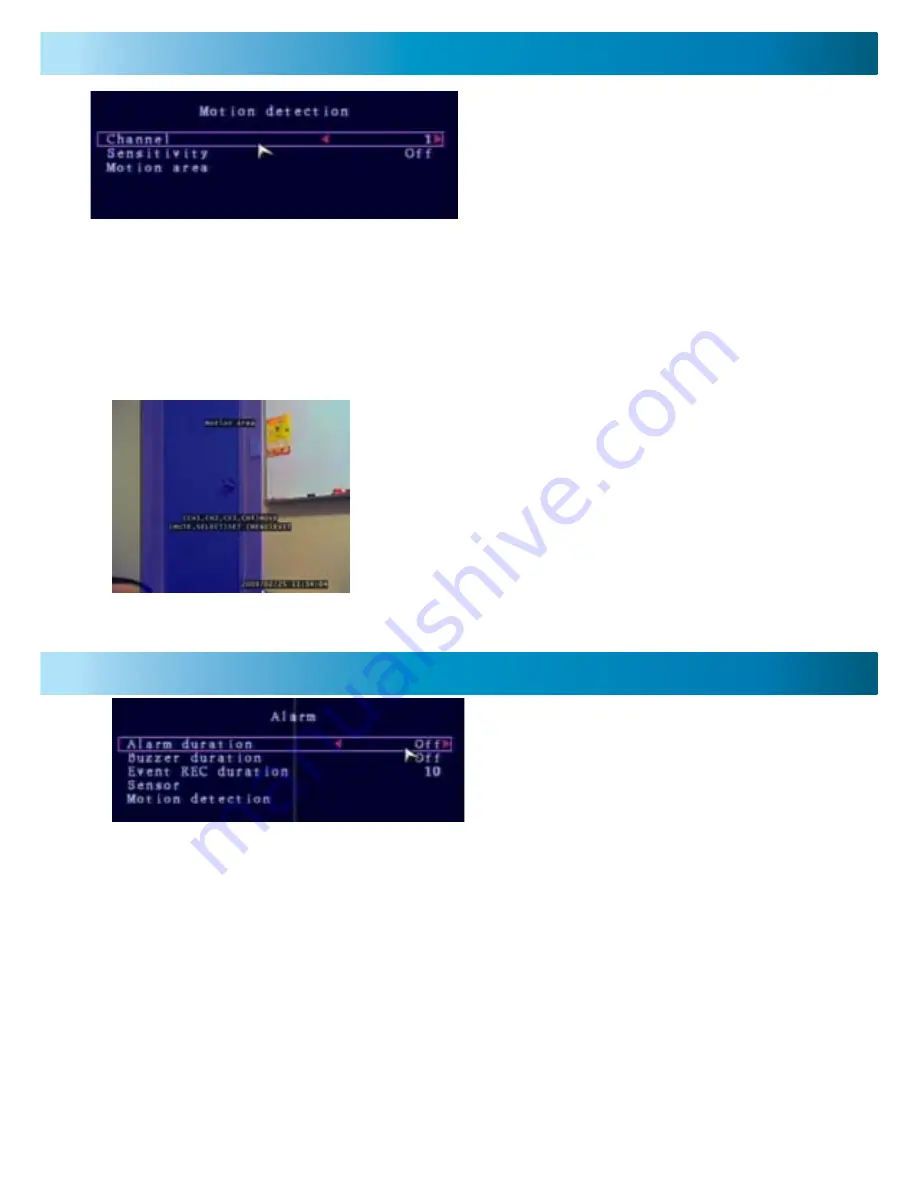
The Motion Detection menu allows you
to set motion options for each camera.
It is located in the Alarm menu.
Note:
The DVR detects motion based
on the level of change in the picture.
The Alarm Menu lets you custom-
ize the behavior of the DVR when it
detects motion or is triggered by an
external sensor.
Channel:
Select which camera attributes to change from camera 1-4.
Sensitivity:
Set the amount of movement necessary before motion detection
triggers recording. Set from 1 (most sensitive) to 4 (least sensitive), default Off.
Note: this feature must be set from 1-4 to enable motion recording.
Motion Area:
Select the area of the Camera to detect motion. Motion
occurring outside this designated area will not trigger a recording.
Alarm Duration:
Set the length of time the alarm will sound when motion is de-
tected. Set to Off, 5, 10, 15, 20, 25, 30 seconds or Continuous. Note: If the Alarm
Duration is set to Continuous the alarm will continue until this setting is changed.
Buzzer Duration:
You can set the legnth of time the buzzer in the DVR will
sound. This is useful if you want a long alarm duration, but don’t want the con-
tinual noise (or vice versa, having a short alarm but a long buzzer).
Event REC Duration:
The time that the DVR will record after an alarm event.
The measurement is in seconds.
Sensor:
Opens the Sensor submenu. If you have external sensors attached to the
DVR, you’ll need to select whether they are
Open
or
Closed
sensors here.
Use the mouse or the CH1-CH4 buttons to move the
cursor. Press the SEL/EDIT button to begin to draw
the motion detection area. Using the mouse or arrow
buttons draw your desired motion area and press the
SEL/EDIT button again once complete.
In the example to the left, the blue motion box is
drawn over the door. Only motion occurring in this
area will trigger recording (i.e. the door opening).
Important: To enable Motion Recording you must set the Sensitivity, Motion
Area for each camera AND set Motion Record in the Record Schedule menu.
Motion Detection Menu
Alarm Menu


