background image

Control and Display Elements

3-2

3.1

OSD / Power Keys

The On Screen Display (OSD) keys allow you to adjust settings such as the bright-
ness, contrast, H-/V-position etc. using a menu displayed on the monitor. The OSD 
keys are located on the side of the monitor.

To activate the OSD menu, press any OSD key.

3.2

Status-LED

The status-LED on the side of the monitor has the following functions:

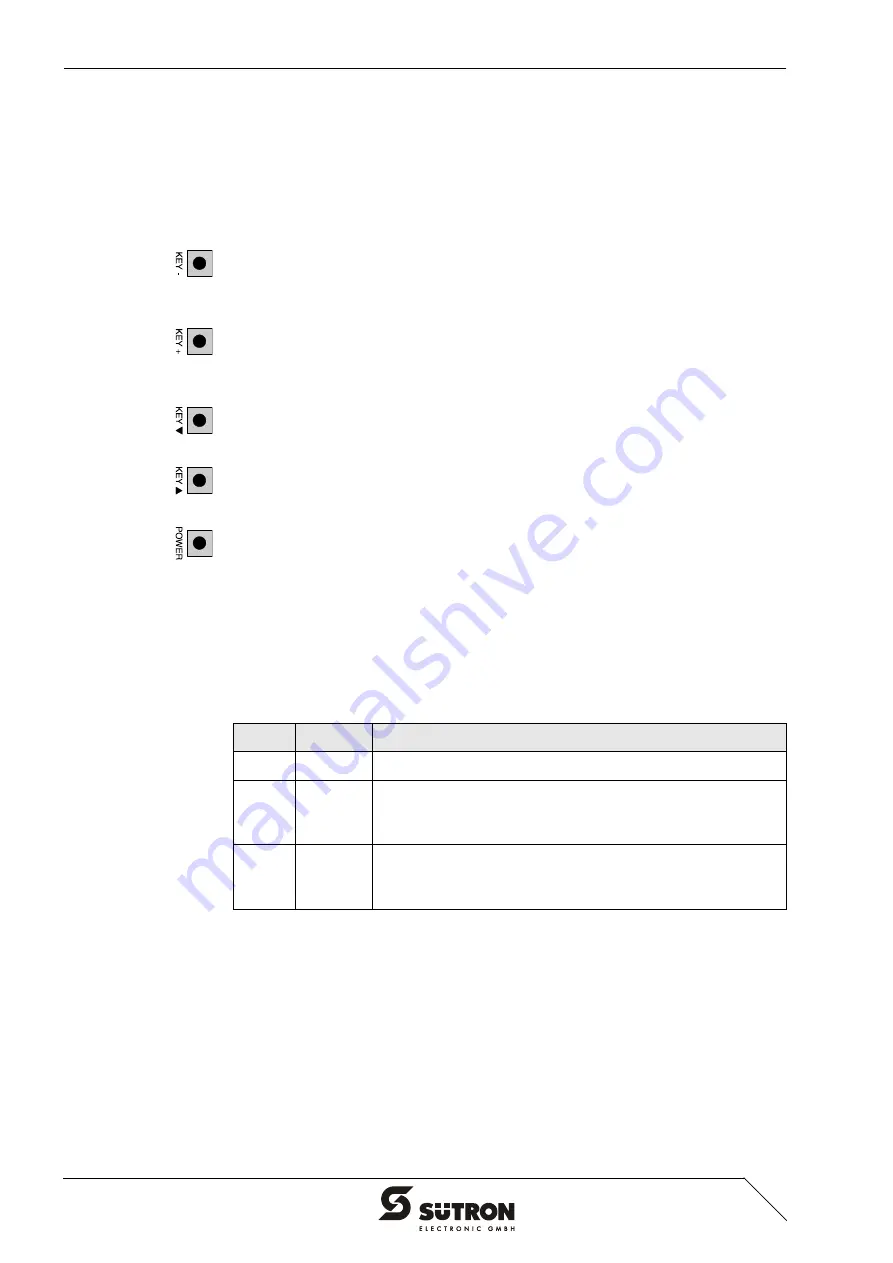
You can use this key to change the values of the current option.
Within the menus, use this key to select a menu item or to change the values of the 
current option.

Pressing this key once activates the contrast setting option.
Within the menus, use this key to select a menu item or to change the values of the 
current option.

Pressing this key once activates the brightness setting option.
Within the menus, this key is used for navigating.

Pressing this key once activates the OSD menu.
Within the menus, this key is used for navigating.

Use this key to switch the monitor on or off.

Table 3-1

Status-LED functions

Color

State

Description

Green

On

Monitor is Ready for Operation

Yel-
low

On

No Signal
Check if the VGA Cable is Properly Connected or if the PC 
has been Switched on.

Off

Monitor is Switched off or has no Supply Voltage.
Make sure that the Monitor is Switched on and that the Ca-
bles for the Supply Voltage are Connected.

Содержание TesiMon TM1500

Страница 1: ...User Manual TesiMon Touch Monitor TM1500 Part Number 80 860 585 Version 2 Date 15 June 2004 Valid for TM1500...

Страница 2: ...third party in departure from the copyright provision is forbidden No part of this manual may be reproduced trans lated or electronically or photographically archived or altered without the express wr...

Страница 3: ...t 2 3 2 2 3 Side View Mounting Depth 2 4 2 3 Connecting the Device 2 5 2 3 1 Touch Screen Option and VGA 2 5 2 3 2 Supply Voltage 100 240 V 2 6 2 4 Power up 2 6 2 5 Identification 2 6 3 Control and Di...

Страница 4: ...Overall Table of Contents ii...

Страница 5: ...jury or even up to the death of the operator Danger This symbol is used to refer to instructions which if ignored or not carefully followed could result in personal injury Note This symbol indicates a...

Страница 6: ...ce is state of the art and has been built to the latest standard safety re quirements However dangerous situations or damage to the machine itself or other property can arise from the use of this devi...

Страница 7: ...315 1 Insert the operating device from the front through the mounting cutout 2 Fasten the operating device using hexagon nuts When installing the operating device keep a minimum clearance of 30 mm 1...

Страница 8: ...Installation and Commissioning 2 2 2 2 1 Front Panel Dimensions Figure 2 1 Front panel dimensions...

Страница 9: ...2 3 Installation and Commissioning 2 2 2 Mounting Cutout Figure 2 2 Mounting cutout A Mounting Cutout B Front Panel...

Страница 10: ...3 Side view and mounting depth for the standard device 1 Front Panel 2 Circumferential Seal 3 Press in Threaded Bolt M4 x 18 mm 0 709 4 Mounting Surface Thickness 1 mm to 8 mm 0 039 to 0 315 5 Spring...

Страница 11: ...ct the female connector of the touch screen cable with the serial interface COM of your PC and fasten the connector using the knurled screws 3 Connect the VGA cable with the 15 pin female connector of...

Страница 12: ...he monitor is not active turn it on 2 Switch the PC on The status LED changes to green If the status LED remains yellow or if the monitor displays the message NO SIGNAL INPUT check whether the VGA cab...

Страница 13: ...splay Elements 3 Control and Display Elements A number of operating and display elements are located on the side of the monitor Figure 3 1 Operating elements 1 Key 2 Key 3 Key Down 4 Key Up 5 Status L...

Страница 14: ...this key once activates the contrast setting option Within the menus use this key to select a menu item or to change the values of the current option Pressing this key once activates the brightness s...

Страница 15: ...reement by choosing Yes 10 Select the serial port to which you connected the monitor and select Next 11 Select Finish to complete the installation The PC reboots 3 3 2 Calibrating the Touch Screen Aft...

Страница 16: ...e Table 3 2 Display modes Resolution Type Monitor Frequency Hz 640 x 350 VGA 70 720 x 400 VGA 70 640 x 480 VGA 60 640 x 480 VESA72 72 640 x 480 VESA75 75 800 x 600 SVGA 56 800 x 600 SVGA 60 800 x 600...

Страница 17: ...device 15 pin D SUB female connector Table 4 1 Pin assignment touch screen Pin Designation Function 1 Not Connected 2 RD Received Data 3 TD Transmitted Data 4 Not Connected 5 GND Ground 6 Not Connecte...

Страница 18: ...r the cable sheath When fastening the cable with the cable clip as much of the shielding as possible must be in contact with the housing and sufficient strain relieve must be ensured 4 nc Not Connecte...

Страница 19: ...5 1 Maintenance and Servicing 5 Maintenance and Servicing 5 1 Front Panel You should use a damp cloth only to remove any dirt from the panel...

Страница 20: ...Maintenance and Servicing 5 2...

Страница 21: ...A Connection System D SUB Female and Male Connector Strips 9 Pin and 15 Pin Female Connector and Male Connector 3 Pin Type KC 008 Environmental Conditions Operation 5 C to 40 C 41 F to 104 F Storage T...

Страница 22: ...uminum Varnished 346 mm x 434 mm x 4 mm H x W x D 13 622 x 17 087 x 0 157 Seal Circumferential Rubber Seal on the Rear Mounting Cutout 321 mm x 409 mm H x W 12 638 x 16 102 Mounting Depth Approx 63 mm...

Страница 23: ...se 1 2 K Keys 3 2 M Maintenance 5 1 Mounting 2 1 P Pin assignment Touch screen 4 1 VGA 4 1 Power up 2 6 S Safety notes 1 2 Servicing 5 1 Standards 6 1 Status LED 3 2 Supply voltage 100 240 V 2 6 Symbo...

Страница 24: ...A 2...

Страница 25: ......

Страница 26: ...S tron electronic GmbH Kurze Stra e 29 D 70794 Filderstadt Phone 0049 711 77098 0 Fax 0049 711 77098 60 E mail doku suetron de Internet www suetron com...

Отзывы: