Lubrication
It is important that the tool be properly lubricated. Every 10,000 cycles the tool should be oiled with
lubricating oil. There may be insufficient oil if the stroke of the tool is too small for proper
installation. Without proper lubrication the tool will not work properly and parts will wear
prematurely.
1) Keep the tool upright during all operations.
Disconnect the tool from the air supply.
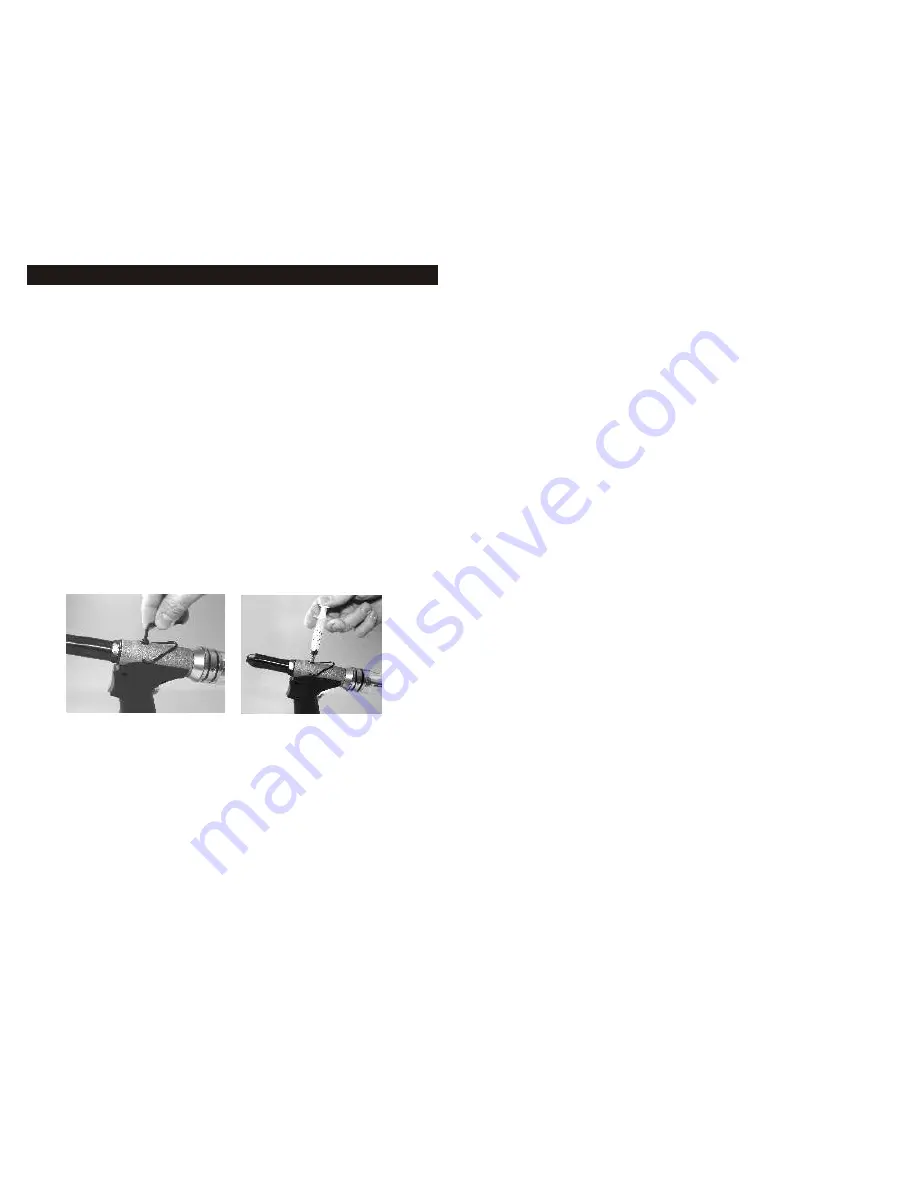
2) Unscrew the oil fill screw from the body using the allen wrench included. (Fig. 5.)
3) Fill the syringe (included) with hydraulic oil.
4) Screw the filled syringe in the oil fill screw hole. (Fig. 6.) Then slowly inject the oil into the tool
(Make sure no air is injected). Adequate oil has been added as soon as resistance is sensed.
The excess oil will flow back when the syringe is release if more oil is added than necessary.
5) Unscrew and remove the syringe from the body.
6) Screw the oil fill screw into the hole using the allen wrench.
7) Wipe off any excess oil.
To test oil level, reconnect rivet tool to air supply and depress trigger 2-3 times. insert rivet into
nosepiece (use the largest diameter rivet that tool accepts). Check to see if rivet mandrel can be
inserted completely into nosepiece - head of rivet must touch nosepiece. If rivet cannot be
completely inserted into tool, too much oil has been added and some must be removed. To remove
excess oil unscrew oil fill screw approximately 1/4 turn. Once the tool is properly adjusted tighten
the oil fill screw firmly with the allen wrench and wipe off any excess oil. When the oil fill screw is
unscrewed, oil will seep from the chamber. After the rivet mandrel is full seated into the nosepiece,
the oil level is then ready for operation.
(Fig. 5.) (Fig. 6.)
Servicing and Cleaning Jaws
To access jaws, remove nose housing to expose pulling mechanism and jaw case. To remove jaw
case from pulling mechanism, use 2 wrenches (included). Jaws will be under slight spring pressure
from the jaw pusher. Separate jaw case from pusher. Jaws will be loose. Clean jaws with a wire
brush. Place a small dab of multi-purpose Lithium grease or Lubriplate
™ on outside of jaws (not
serrated side). Return jaws into jaw case ensuring proper placement of jaws. All serrated faces
should be touching each other.
Air Supply Requirements
Use a dry, filtered air supply regulated to 75 - 100 psi (5-6 bar) . A minimum of 3.0 scfm is
recommended. If the recommended operating pressure is exceeded the tool may not function
because of built up line pressure.
For optimum performance connect the tool air line to an air supply of at least 1/4". The 6"
lightweight hose included with the tool is designed to reduce operator fatigue by reducing
weight.
If problems should occur with the setting of the pressure, disconnect the tool from the
compressed air supply, to release pressure from the tool.
Mode of Operation
When the tool is connected to an air supply and the trigger is pulled, pressurized air pushes
the air piston which acts on the hydraulic ram assembly. The hydraulic ram assembly forces
hydraulic fluid from the reservoir in the handle into the main hydraulic bore where it moves
the hydraulic piston together with the attached pulling mechanism rearward. As the pulling
jaws move rearward they close on and grip the rivet mandrel and set the rivet.
When the trigger is released air at line pressure forces the hydraulic piston forward to the
starting position. As the hydraulic piston moves forward the hydraulic fluid is also forced
back returning the hydraulic fluid and the ram assembly and air piston to the starting
position. The compressed air used to set the rivet is exhausted through the base of the
intensifier chamber. When the hydraulic piston is fully returned the broken rivet mandrel is
released as the jaws are forced open again by the nosepiece.
7
4
MAINTENANCE


