SC113 Chassis Manual
5-10
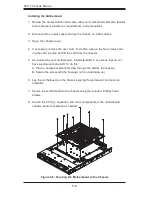
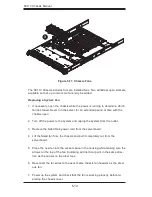
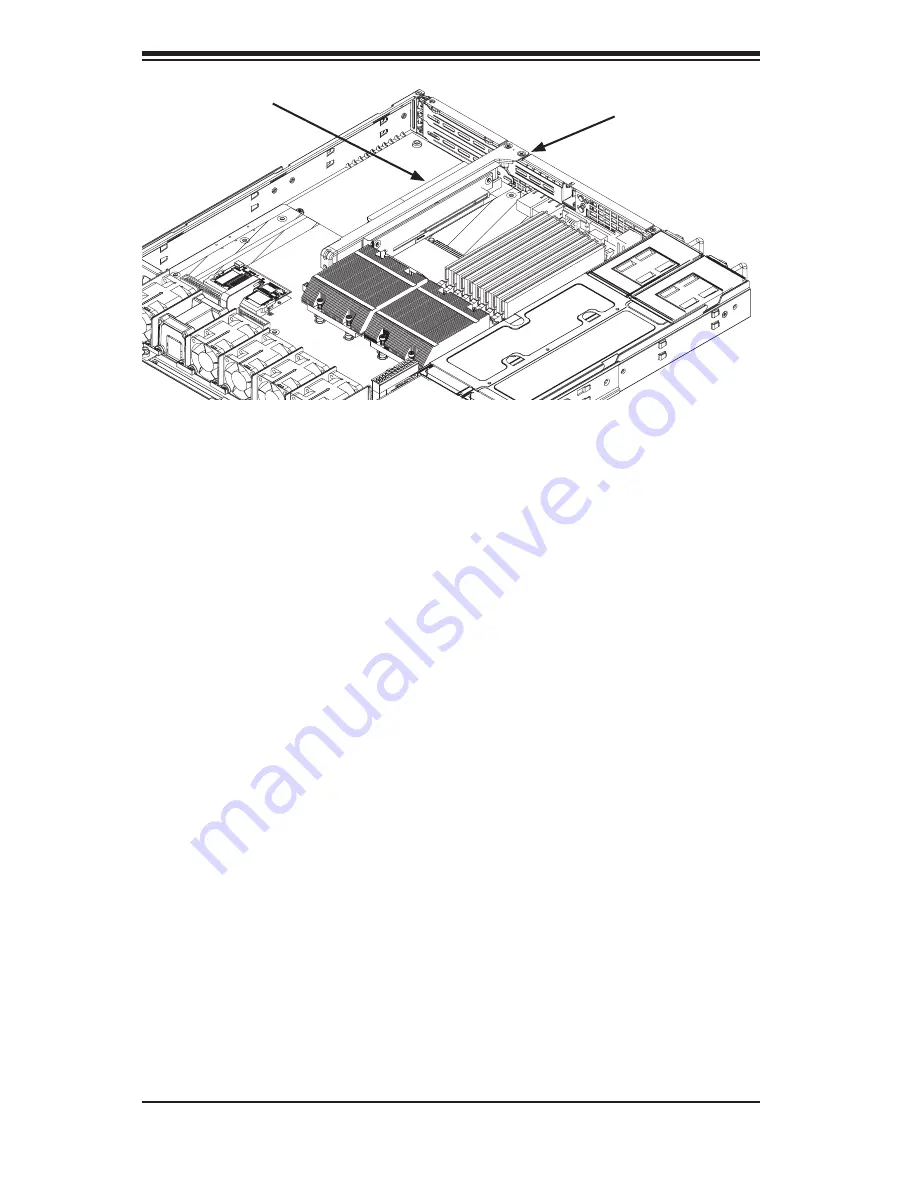
Installing an Expansion Card
Confirm that you have the correct riser card for your chassis model and the
add-on card includes a standard bracket.
Remove the chassis cover.
Install the riser card onto the bracket. Insert the card and bracket into the
appropriate slot on the motherboard. Secure the riser bracket to the chassis
using screws as illustrated.
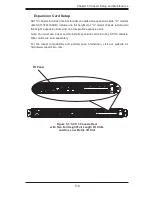
Choose the I/O panel in which to place the add-on card.
In that slot, open the I/O panel lever and slide the I/O panel sideways.
From inside the chassis, remove the I/O panel.
Slide the add-on card into the riser card and attach the add-on card bracket
in place of the I/O panel.
Secure the add-on card by closing the I/O panel lever.
Connect cables to the add-on card if necessary.
1.
2.
3.
4.
5.
6.
7.
8.
9.
Figure 5-8: Chassis with a Riser Card
Riser Card
Riser Card
Bracket Screws
Содержание SC113 Series
Страница 7: ...vii Preface Appendix B SC113 Power Supply Specifications Appendix C BPN SAS 113TQ Backplane ...
Страница 8: ...SC113 Chassis Manual viii Notes ...
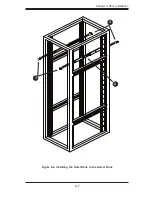
Страница 47: ...6 7 Chapter 6 Rack Installation SCALE 0 380 Figure 6 4 Installing the Outer Rails to the Server Rack 2 3 3 ...
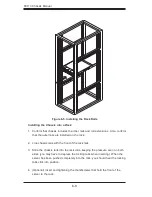
Страница 50: ...SC113 Chassis Manual 6 10 Notes ...
Страница 54: ...SC111 Chassis Manual A 4 Notes ...
Страница 56: ...SC111 Chassis Manual B 2 Notes ...
Страница 66: ...C 10 SC113 Chassis Notes ...

