41
Chapter 3: Maintenance and Component Installation
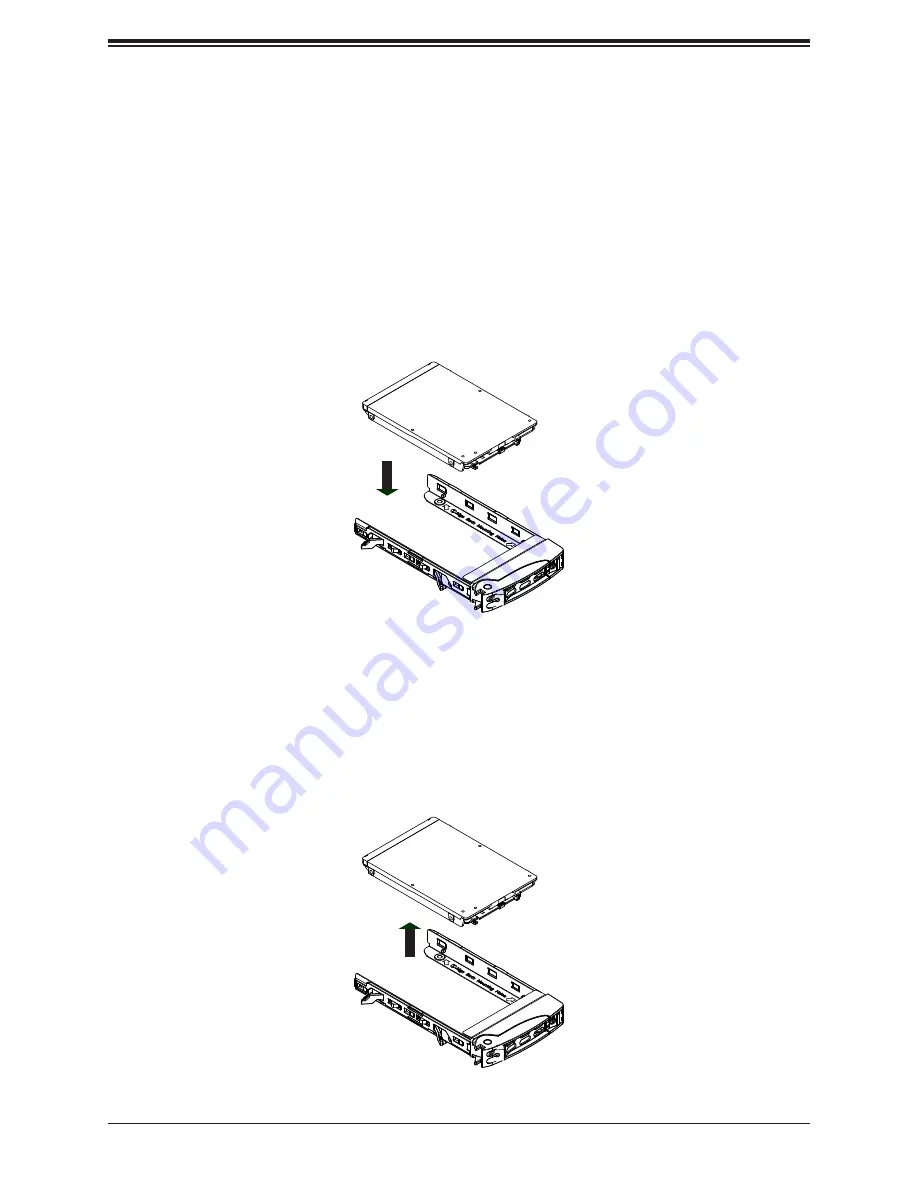
Figure 3-4. Installing a 2.5" Hard Drive
Figure 3-5. Removing a 2.5" Hard Drive
Installing a 2.5" Hard Drive
1.
Place the hard drive carrier on a flat surface.
2. Orient the drive with the connector facing the bottom rear of the carrier. The drive can
be inserted from above into the clips until a "click" is heard.
3. Use the open handle of the drive carrier to insert the carrier into the open drive bay.
4. Secure the drive carrier into the drive bay by closing the drive carrier handle. Toolless
drive carriers (supported) have a lock feature that functions by turning with a small flat-
head screwdriver when the latch is in the closed positon.
Removing a 2.5" Hard Drive
1. After removing the carrier from the system, push up from the bottom of the drive to
remove it from the carrier.
2. Replace with a new drive and insert the carrier back into the open drive bay.
Push down until click
Push up from bottom


