SL-PPC-174P4T
User’s Manual
32
4.
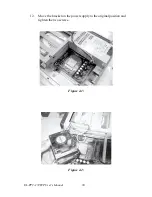
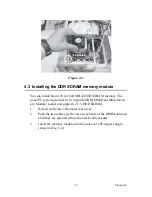
Push the two ejected levers towards the vertical posts at each end of
the socket until the module is upright.
4.4 Installing the 3.5” Hard Disk Drive (HDD)
You can attach one enhanced Integrated Device Electronics (IDE) hard
disk drive to the panel PC's internal controller which uses a PCI local-bus
interface. The following are instructions for installation:
1.
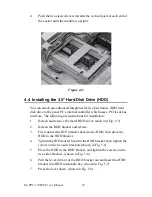
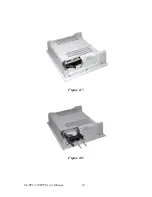
Detach and remove the metal HDD cover. (shown in Fig. 5-5)
2.
Detach the HDD bracket and screws.
3.
First connect the IDE trransfer board to the HDD, then place the
HDD in the HDD bracket.
4.
Tighten the IDE transfer board to the HDD bracket; then tighten the
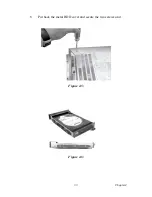
screws on the two side brackets (shown in Fig. 5-6)
5.
Place the HDD in the HDD bracket, and tighten the screws on the
two sides brackets. (shown in Fig. 5-6)
6.
Pull the lever in front of the HDD bracket out and insert the HDD
bracket into HDD removable bay. (shown in Fig. 5-7)
7.
Press the lever down. (shown in Fig. 5-8)
Figure 4.4:
Содержание SL-PPC-174P4T
Страница 1: ...SL PPC 174P4T Pentium 4 processor based panel PC with 17 TFT LCD User s Manual...
Страница 8: ...SL PPC 174P4T User s Manual viii...
Страница 18: ...SL PPC 174P4T User s Manual 8 1 4 Dimensions Figure 1 1 Dimensions of the SL PPC 174P4T Units mm...
Страница 26: ...SL PPC 174P4T User s Manual 16...
Страница 36: ...SL PPC 174P4T User s Manual 26...
Страница 37: ...CHAPTER 4 Hardware Installation and upgrading...
Страница 43: ...33 Chapter4 8 Put back the metal HDD cover and secure the two screws on it Figure 4 5 Figure 4 6...
Страница 44: ...SL PPC 174P4T User s Manual 34 Figure 4 7 Figure 4 8...
Страница 45: ...Appendix A Pin Assignments...
Страница 56: ...SL PPC 174P4T User s Manual 46 Exit extended function mode MOV DX 2EH MOV AL AAH OUT DX AL...

