Sun Microsystems Sun StorageTek SL24 Скачать руководство пользователя страница 11

16 Verifying the installation

Verify that the Autoloader has the current firmware revision.

To find the firmware revision on the front panel:

1.

From the Home screen, press

Next

until the display shows

Status/Information

. Press

Enter

.

2.

Press

Next

until the display shows

Autoloader Information

.

Press

Enter

.

3.

Press

Next

until the display shows the

Firmware Rev

.

4.

Press

Cancel

until the display shows the home screen.

To find the current firmware revision, visit the

http://sunsolve.sun.com

website.

After configuring the Autoloader, you can save the configuration
database to a USB flash drive from the OCP or to a file from the
RMI

Configuration > Save/Restore

screen. Having a backup of

the Autoloader configuration is helpful when recovering from a
configuration error, setting up multiple Autoloaders with similar
configurations, or if the Autoloader needs service.

17 Configuring additional features

The Autoloader has many features to customize it for your
organization. See the

Sun StorageTek

SL24 Tape Autoloader and SL48

Tape Library User and Service Guide

on the documentation CD for

more information about these features and instructions for their
configuration.

Partitioning an Autoloader with two tape drives into two logical
libraries.

Configuring IPv6 networking.

Enabling and configuring SNMP network management.

Naming the Autoloader.

Helpful websites

For other product information, see the following websites:

http://sun.com

http://sunsolve.sun.com

http://docs.sun.com/app/docs

http://www.sun.com/storagetek/tape_storage

http://www.sun.com/bigadmin/home/index.html
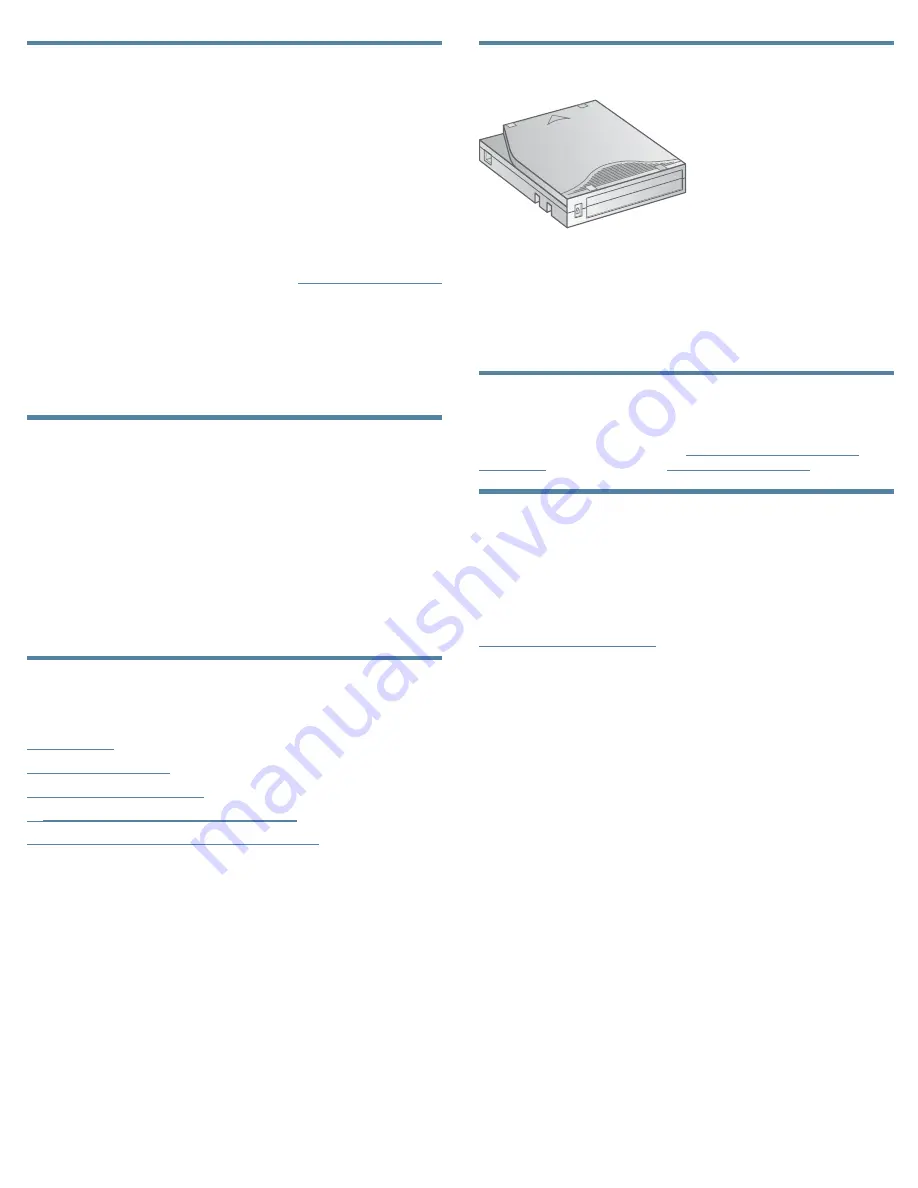
Ordering media

11383

Use Sun storage media to prolong the life of the
Autoloader and tape drives. To order data and
cleaning cartridges please use the contact information
below to locate the nearest Sun tape media reseller:
In the US contact 1

877

STK

Tape

In EAME contact 33 (0) 1 69 038341

Technical support

Call your local Sun Solution Center for warranty or contractual
support. Contact numbers are at:

http://www.sun.com/service/

contacting/

. Or, get self help at

http://sunsolve.sun.com

.

Related documentation

The

Sun StorageTek

SL24 Tape Autoloader and SL48 Tape Library

User and service guide

on the documentation CD includes additional

information about installing, configuring, upgrading, and
operating the Autoloader. English, Japanese, French, German,
Spanish, Simplified Chinese, Korean, and Italian versions of
the guide can be found on the Sun documentation website at:

http://docs.sun.com/app/docs

.

Page 11

Содержание Sun StorageTek SL24

Страница 1: ...ng and storing the shipping lock WARNING The Sun StorageTek SL24 Tape Autoloader weighs 15 6 kg 34 3 lb without media and 20 4 kg 44 9 lb with media 24 cartridges When moving the Autoloader to reduce...

Страница 2: ...rnet port 6 Serial port Factory use only 7 USB port 8 Magazine release hole 9 Pull out tab containing product information 10 Tape drive LED Back panel overview Fibre Channel 11362 4 8 8 9 10 2 2 3 6 5...

Страница 3: ...s online help and is easier to use However the RMI is not required to use the product except to configure SNMP IPv6 and logical libraries The only tasks you cannot do from the RMI are Opening the mail...

Страница 4: ...ackets of rack hardware 9 Product documentation 1 Removing and storing the shipping lock 11400 IMPORTANT Shipping lock The shipping lock must be removed for the robotics to work properly A robot move...

Страница 5: ...ack hardware packet and the packet of alignment pins and clip nuts marked 9 5 mm square hole rack Customizing the rails for 10 32 threaded hole racks 11421 Using a flat screwdriver replace the two ali...

Страница 6: ...he blue thumbscrews with your fingers until the tape drive is secure 5a Planning the Fibre Channel configuration 11418 The Fibre Channel tape drive has two Fibre Channel ports Only one port may be use...

Страница 7: ...s qualified with the Autoloader The server might not be able to boot when the Autoloader is connected to a non supported SAS RAID controller 6 Changing the SCSI ID On a parallel SCSI Autoloader if you...

Страница 8: ...n located on the front panel Check the LCD screen to make sure the Autoloader is receiving power Power on the host server and all devices you powered off earlier 10 Configuring the network Configuring...

Страница 9: ...number is displayed Click Enter to accept the number Repeat for each number in the date and time 4 Press Cancel until the display shows the home screen NOTE When setting the hours the time is based on...

Страница 10: ...hesive backed bar code label Only apply labels as designated 15 Loading cartridges Use the front panel Operations Unlock Left Magazine option to release the left magazine Pull the magazine straight ou...

Страница 11: ...tructions for their configuration Partitioning an Autoloader with two tape drives into two logical libraries Configuring IPv6 networking Enabling and configuring SNMP network management Naming the Aut...

Страница 12: ...Count Configure Mailslot Set Logical Libraries Change Drive 1 Change Drive 2 SCSI ID Enable Autoldr Password Locks Force Drive To Eject Tape Configure Network Settings Inventory Autoloader Informatio...

Отзывы: