background image

6

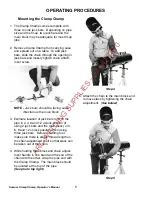
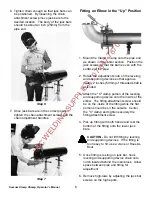
6.  Tighten chain enough so that jack bars can 

be positioned.  By loosening the chain 
attachment screws move jack bars to the 
desired location.  The body of the jack bars 
should be about an inch (25mm) from the 
pipe end.

Step 6

7.  Once jack bars are in the correct position, 

tighten the chain attachment screws and the 
chain adjustment handles.

Step 7

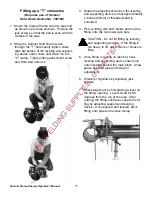
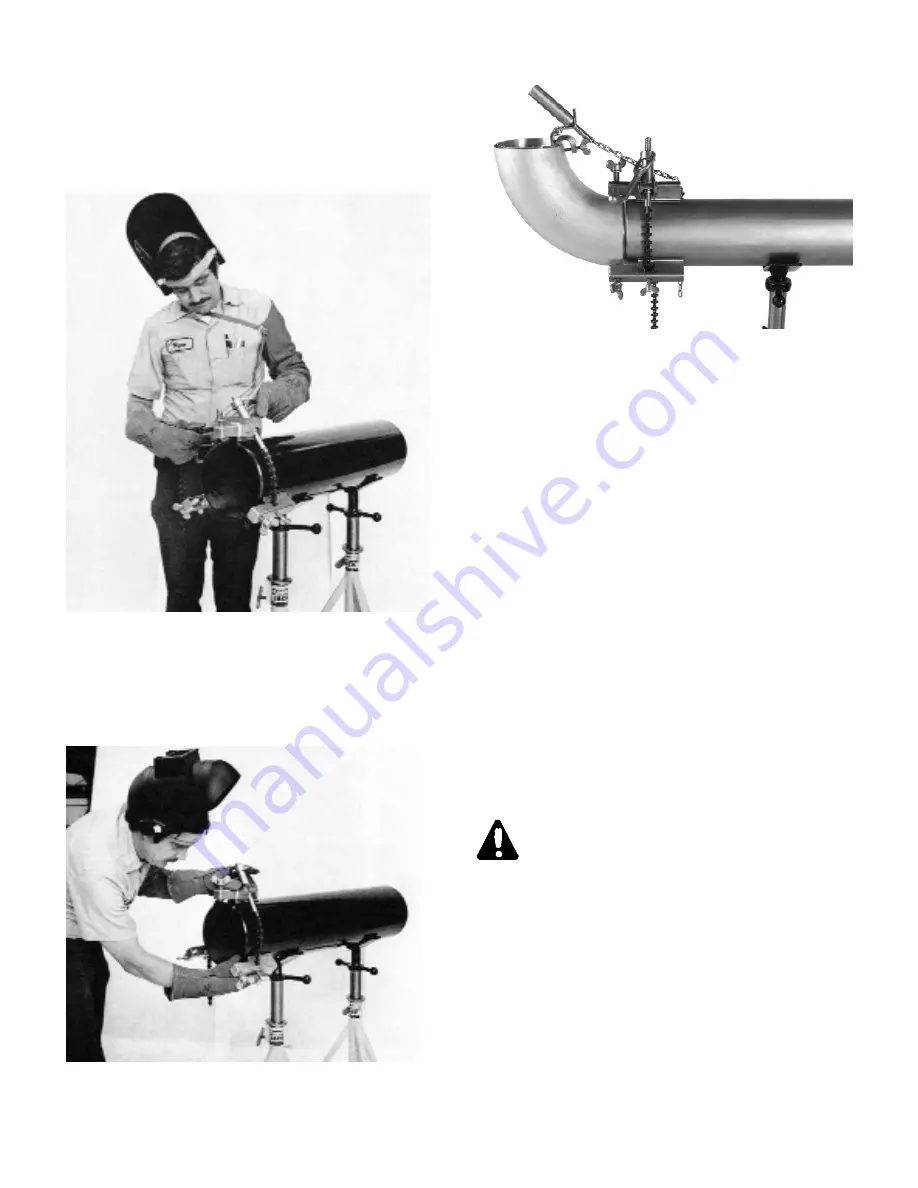
Fitting an Elbow in the “Up” Position

1.  Mount the Clamp Champ onto the pipe end 

as shown in the earlier section.  Position the 
jack screws so that the ball is even with the 
surface of the pipe.

2.  Rotate the adjustment knob on the leveling 

and supporting devices so that approxi-
mately 2 inches (50mm) of threaded shaft is 
extended.

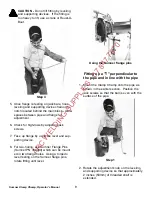
3.  Attach the "C" clamp portion of the leveling 

and supporting device onto the inside of the 
elbow.  The fitting attachment screw should 
be on the inside of the fitting while the flat 
portion should be on the outside.  Center 
the "C" clamp and tighten securely the 
fitting attachment screw.

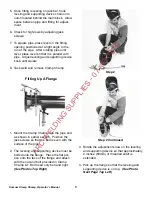
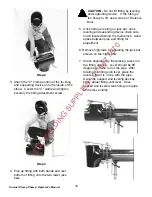
4.  Pick up fitting with both hands and rest the 

bottom of the fitting onto the lower jack 
bars.  

CAUTION - 

Do not lift fitting by leveling

and supporting devices.  If the fitting is
too heavy to flit, use a crane or Roust-A-

Bout.

5.  Once fitting is resting on jack bar, hook 

leveling and supporting device chain onto 
notch located behind the main block.  Allow 
space between pipe and fitting for 
adjustment.

6.  Remove high-lows by adjusting the jack bar 

screws on the high spots.

Sumner Clamp Champ, Operator’s Manual

ARC WELDING SUPPLIES - 07 847 7870

Содержание Clamp Champ

Страница 1: ...esfield 9 Telford Shropshire TF7 4QW phone 44 0 1952 586517 fax 44 0 1952 588920 Canada 470 Collier MacMillan Drive Unit 2 3 CDambridge ON N1R 5Y7 phone 519 623 2300 fax 519 623 0744 WARNING Before us...

Страница 2: ...fe practices which could result in severe personal injury or death CAUTION Hazards or unsafe practices which could result in minor personal injury product or property damage IMPORTANT Indicates inform...

Страница 3: ...ly requires dexterity and mechanical skills as well as sound safety habits Although the Clamp Champ is manufactured for safe dependable operation it is impossible to anticipate those combinations of c...

Страница 4: ...2 o clock position if using 2 jack bars and the main block or 3 6 9 and 12 o clock position when using three jack bars Before mounting tool make sure there is ample thread length on the chain adjustme...

Страница 5: ...ft is extended 3 Attach the C clamp portion of the leveling and supporting device onto the inside of the elbow The fitting attachment screw should be on the inside of the fitting while the flat portio...

Страница 6: ...of the pipe 2 Wrap the Sumner Hold Down Device around the middle of the fitting and loosely tighten chain Slide flat portion of the level ing and supporting device under chain on the back side of the...

Страница 7: ...e Clamp Champ onto the pipe end as shown in earlier section Position the jack screws so that the ball is even with the surface of the pipe 2 The leveling and supporting device must be bolted onto the...

Страница 8: ...ing devices If the fitting is too heavy to lift use a crane or Roust A Bout Step 4 5 Once flange is resting on jack bars hook leveling and supporting device chain onto notch located behind the main bl...

Страница 9: ...nce fitting is resting on jack bar hook leveling and supporting device chain onto notch located behind the main block Allow space between pipe and fitting for adjustment 6 Remove high lows by adjustin...

Страница 10: ...of threaded shaft is extended 4 Pick up fitting with both hands and rest the fitting onto the two lower jack bars CAUTION Do not lift fitting by leveling and supporting devices If the fitting is too...

Страница 11: ...reducers and 45 s Maintenance and Care 1 Always keep Clamp Champ clean and free of dirt 2 Apply light oil on chain and threaded parts 3 Replace worn parts 4 Use only Sumner replacement parts 12 Sumner...

Страница 12: ...SCREW 10 20 4 781210 JACK SCREW 10 20 5 781261 MAIN BLOCK CCII 0 1 5 781258 MAIN BLOCK CCII 0 1 6 781009 ADJUSTMENT NUT HANDLE 2 2 6 781009 ADJUSTMENT NUT HANDLE 2 2 7 781011 ADJUSTMENT ROD 2 2 7 7810...

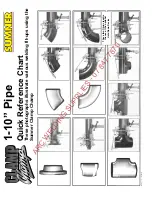
Страница 13: ...eference Chart These photographs illustrate various welding fit ups using the Sumner Clamp Champ These two fit ups require the use of the optional Hold Down Device A R C W E L D I N G S U P P L I E S...

Отзывы: