11
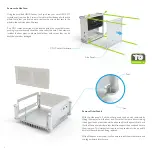
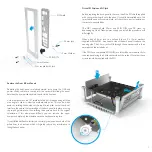
Replace the Acrylic Panels
The panels consist of two identical acrylic sheets and a single PVC NET
that is sandwiched between them. The acrylic sheets may have a different
finish on each side so you can choose which is preferred (gloss or matt)
but it makes no difference to the assembly which is used.
Ensure there are no cables in the way then slide the acrylic panels
between the bumper tabs and into the slots on the heat sink.
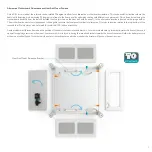
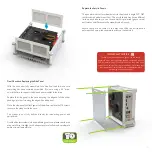
Final Check and Replacing the Side Panel
With the case now fully assembled, take one final look to make sure
everything has been correctly assembled. If you are using a 2.5" drive,
now is the time to connect the data and power cables to the drive.
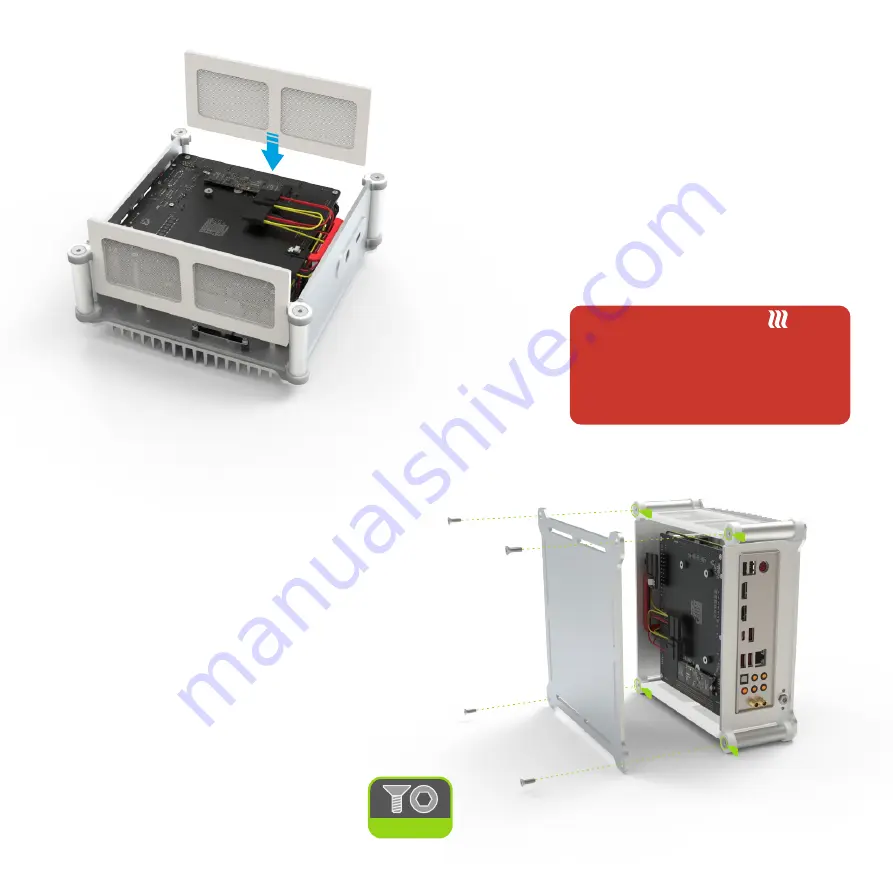
Replace the side panel to the case ensuring the edges of all the other
panels go into the slots along the edge of the side panel.
Once the side panel sits flush against all the pillars, replace the M4 screws
to secure the side panel to the case.
The system is now fully built and ready for connecting power and
peripherals.
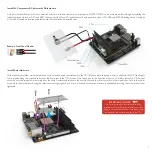
As with all fanless systems, when positioning your case, please consider an
area out of direct sunlight, with adequate natural airflow and a moderate
ambient room temperature.
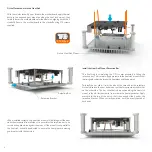
IMPORTANT NOTICE
Passively cooled products can get hot to the touch,
especially when running at high loads for extended periods.
This is a normal part of their operation and they have been
tested to run safely under these conditions, but please take
their operational temperature into consideration when
positioning and handling them.
HCS-M4x12
2.5
Содержание DB1
Страница 1: ...DB1 ...
Страница 12: ...Designed in Europe Printed in China Copyright 2020 All Rights Reserved ...


