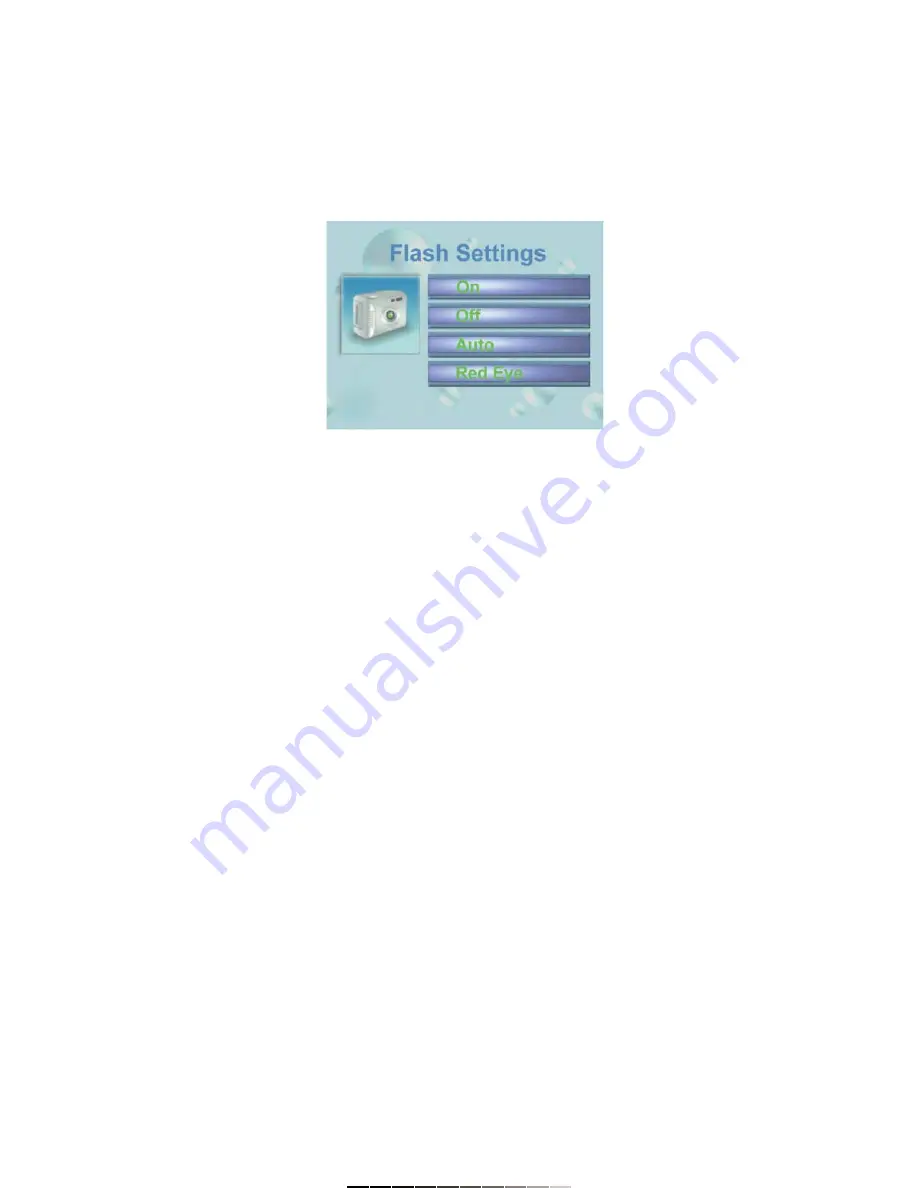
4.- Seleccione la opción de Conf Flash y presione ENTER (8) para
confirmar.
5.- Seleccione una de la siguientes opciones:
- Activado: activa el flash
- Desactivado: desactiva el flash
- Automático: dependiendo de las condiciones de luz se activa o
se desactiva de forma automática el flash
- Ojos rojos: Activa la función de reducción de ojos rojos
6.- Presione ENTER (8) para confirmar la selección.
7.- Presione el botón de Menú (10) para regresar al modo de Captura de
fotografía.
GRABACIÓN DE VÍDEO
1.- Deslice el interruptor de Encendido / Apagado (12) a la posición de
REC. En pantalla se mostrará la imagen actual.
2.- Seleccione el modo de vídeo (en pantalla aparece un icono de una
cámara de vídeo).
3.- Sostenga la cámara y presione el botón disparador (8).
4.- La grabación comenzará. Una vez que desee realizar una pausa o
detener la grabación por completo, presione una vez más el botón
disparador (8).
AJUSTANDO LA CALIDAD Y EL TAMAÑO DE VÍDEO
La cámara digital le permite ajustar el tamaño del vídeo así como su
calidad.
Los ajustes de calidad de vídeo son:
(5*) Ultra fino (Ultra fine)
(*4) Super fino (Super fine)
(*3) Fino (Fine)
(*2) Normal
Para ajustar la calidad de vídeo:
1.- Presione el botón de Menú (10).
2.- Seleccione la opción Conf de Calidad (Quality Settings) y elija la
opción Cal. Pelíc.
3.- Elija la opción deseada y presione ENTER para confirmar. Utilice el
botón de Selección (8) para realizar los ajustes.
4.- Presione el botón de Menú (10) para salir.
Los tamaños de vídeo disponibles son:
640 x 480
320 x 240
Para ajustar los tamaños de película:
1.- Presione el botón de Menú (10).
2.- Seleccione la opción Conf. de Calidad (Quality Settings).
3.- Ubique y seleccione la opción Tamaño de película y seleccione una de
las opciones de acuerdo a sus necesidades. Presione ENTER para
confirmar. Utilice el botón de Selección (8) para realizar los ajustes.
4.- Presione el botón de Menú (10) para salir.
4.- Choose Flash settings option and press ENTER (8) to
confirm.
5.- Choose one of the next options:
- On: enables the flash
- Off: disables the flash
- Auto: depending of the light conditions, the flash will
be activated or deactivated automatically
- Red-eye: enables red-eye reduction function
6.- Press ENTER (8) to confirm the selection.
7.- Press Menu (10) button to back to picture capture mode.
VIDEO RECORDING
1.- Switch the On / Off (12) button to REC position. The current image will
displays on the LCD screen.
2.- Choose the video mode (a video camera icon displays on the LCD
screen).
3.- Keep the camera up firmly, and press ENTER (8) button.
4.- The recording begins. If you want to make a pause or stop the
recording, press ENTER (8) once again.
SETTING VIDEO QUALITY AND VIDEO SIZE
You can set the video quality and video size on the digital camera.
The video quality settings are:
(5*) Ultra fine
(*4) Super fine
(*3) Fine
(*2) Normal
To set the video quality, follow these steps:
1.- Press Menu (10) button.
2.- Choose Quality Settings and then choose Movie quality option.
3.- Choose the desired option and press ENTER to confirm the selection.
Use 5-way (8) button to store the changes.
4.- Press Menu (10) button to exit.
The available video sizes are:
640 x 480
320 x 240
To set the video size, follow these steps:
1.- Press Menu (10) button.
2.- Choose Quality settings option.
3.- Locates and choose Movie Size option, then choose of the options in
accord to your necessities. Press ENTER to confirm the selection. Use
5-way (8) button to move over the options.
4.- Press Menu (10) button to exit.


