background image

A100K10333 v.5.5 

Configuration Guide 

Page 7

 AudioCodes 

MP-114/118 

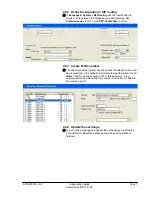
2.2.2 Define 

the 

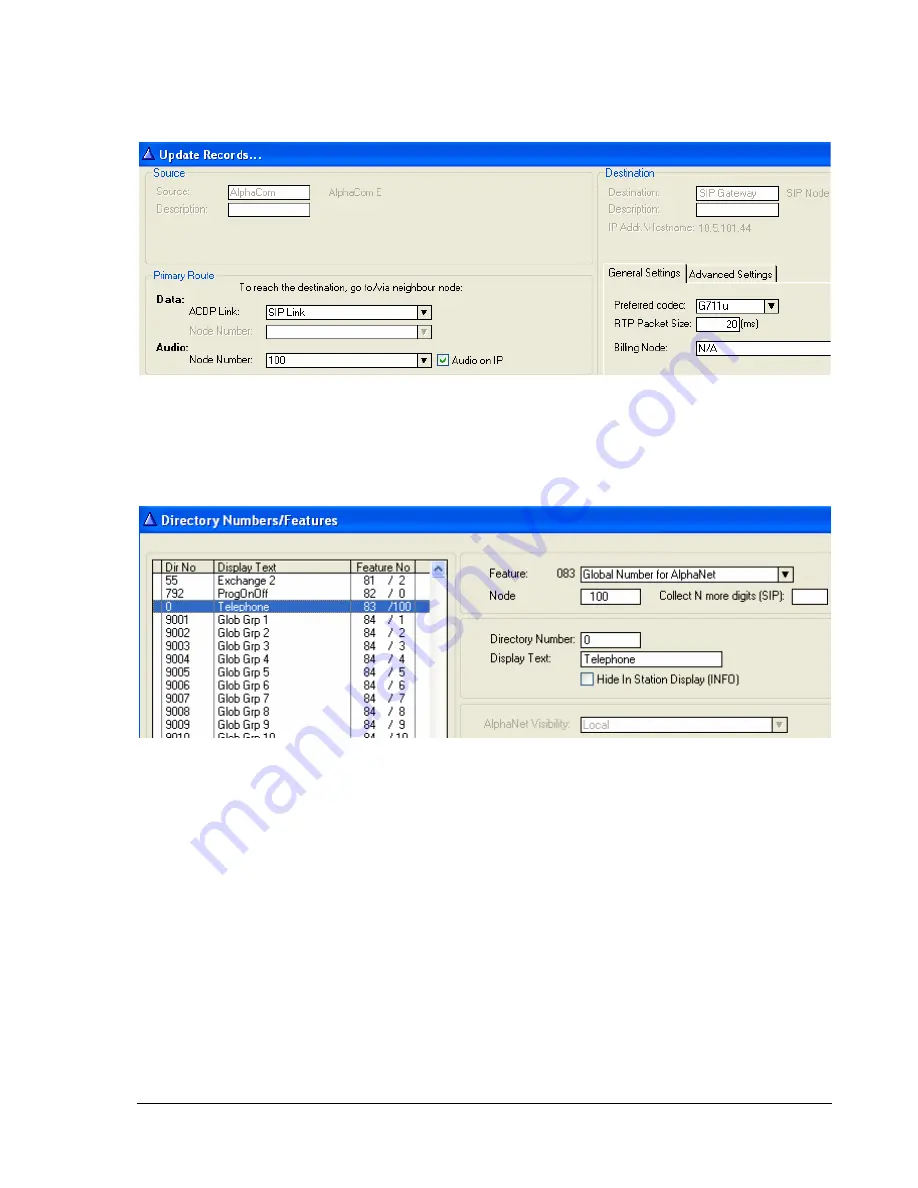
AlphaCom / SIP routing 

;


In 

Exchange & System > Net Routing

 use the 

Insert

 button to 

create a route between the AlphaCom and SIP Gateway. Set 

Preferred codec

 to 

G711u

 and 

RTP Packet Size

 to 

20 ms.


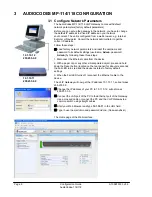
2.2.3  Create Prefix number 

;


The directory number (prefix) used to access the telephone line must 
be programmed in the AlphaCom directory table with 

feature 83

 and 

Node

 = SIP Trunk node number (100 in this example). In the 

example below the default directory number 0 has been modified to 
be used as a prefix. 


2.2.4  Update the exchange 

;


Log on to the exchange and update the exchange by pressing the 

SendAll


button. Reset the exchange after the send operation is 

finished. 

Содержание AudioCodes MP-114

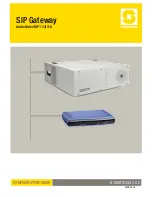
Страница 1: ...SIP Gateway AudioCodes MP 114 118 CONFIGURATION GUIDE A100K10333 v 5 5 2009 02 04 ...

Страница 2: ...is publication or for damages arising from the information in it No information in this publication should be regarded as a warranty made by Zenitel Norway AS The information in this publication may be updated or changed without notice Product names mentioned in this publication may be trademarks they are used only for identification Zenitel Norway AS February 2009 ...

Страница 3: ...ges 10 3 6 Backup and Restore 10 3 7 AlphaCom to Telephone Network 10 3 7 1 Group Hunt 10 3 7 2 FXO Line Select 11 3 8 Telephone Network to AlphaCom 12 3 8 1 Selective Dialing 12 3 8 2 Automatic Dialing Call to Switchboard 12 3 8 3 Delayed Automatic Dialing 13 3 8 4 Caller ID 13 4 FAR END DISCONNECT FED 14 4 1 Call Termination options in the SIP Gateway 14 4 1 1 Detection of polarity reversal curr...

Страница 4: ...chnical data for the concept This document is aimed at z Sales and marketing personnel z Consultants z Installers z End users 1 2 Related Documents For detailed information on the AudioCodes product please see User Manual MP 11x_and_MP 124_SIP_User s_Manual_Ver_5 4 pdf found on the CD packed with the product For detailed information on the AlphaCom E please see the System Management and Operation ...

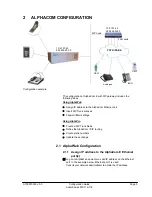
Страница 5: ...sing AlphaWeb z Assign IP address to the AlphaCom Ethernet port z Insert SIP Trunk licenses z Firewall filter settings Using AlphaPro z Create a SIP Trunk Node z Define the AlphaCom SIP routing z Create prefix numbers z Update the exchange 2 1 AlphaWeb Configuration 2 1 1 Assign IP address to the AlphaCom E Ethernet port s Log on to AlphaWeb and enter a valid IP address on the Ethernet port In the...

Страница 6: ... AlphaPro Configuration 2 2 1 Create a SIP Trunk Node From the AlphaPro main menu use the button next to the Select Exchange dropdown list to create a new exchange The exchange type must be set to SIP Node Set the parameters as follows The SIP Trunk IP address must be identical to the IP address of the SIP Gateway Note If the AlphaCom is configured with a SIP Registrar node in addition to the SIP ...

Страница 7: ...20 ms 2 2 3 Create Prefix number The directory number prefix used to access the telephone line must be programmed in the AlphaCom directory table with feature 83 and Node SIP Trunk node number 100 in this example In the example below the default directory number 0 has been modified to be used as a prefix 2 2 4 Update the exchange Log on to the exchange and update the exchange by pressing the SendA...

Страница 8: ...g these three steps 1 Disconnect the Ethernet cable from the device 2 With a paper clip or any other similar pointed object press and hold down the Reset button located on the rear panel for about six seconds the Fail LED turns red and the device restores to factory default settings 3 When the Fail LED turns off reconnect the Ethernet cable to the device The VoIP Gateway will now get the IP addres...

Страница 9: ...PC from the Gateway Reconnect the Gateway and PC to the LAN The PC and Gateway must be on the same sub net Restore the PC s IP address and subnet mask to what they originally were and re access the Gateway using the new assigned IP address Click Burn to permanently apply the changes 3 3 SIP Parameters In the Proxy Registration page Configuration tab Protocol Configuration menu Protocol Definition ...

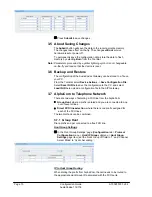
Страница 10: ...ct Save INI File to save the configuration to the PC and select Load INI File to upload a configuration file to the SIP Gateway 3 7 AlphaCom to Telephone Network There are two ways of selecting a FXO line from the AlphaCom z Group Hunt where a prefix is dialed and you are connected to one out of several lines z Direct FXO line selection where there is one prefix assigned for each of the FXO lines ...

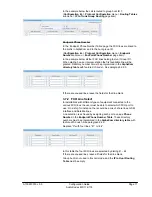
Страница 11: ...the AlphaCom directory table with feature 83 node See paragraph 2 2 3 If there are unused lines leave the fields for that line blank 3 7 2 FXO Line Select In installations with different types of equipment connected to the various FXO lines the user must be able to select which FXO port to use On a ship for instance there could be a mix of shore lines GSM interface and Satellite lines Line selecti...

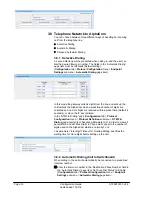
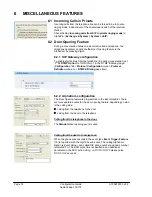
Страница 12: ...digits are collected and no more digits are received within a preset time default 4 seconds or when the key is dialed In the DTMF Dialing page Configuration tab Protocol Configuration menu Protocol Definition submenu DTMF Dialing page item select Advanced Parameter List in order to view all parameters and set Max Digits In Phone Num equal to the number of digits used on the AlphaCom stations norma...

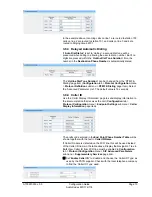
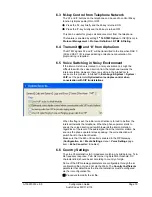
Страница 13: ... page item Select the Advanced Parameter List The default value is 16 seconds 3 8 4 Caller ID Use the Caller Display Information page to send display information to the intercom station that receives the call Configuration tab Protocol Configuration menu Endpoint Settings submenu Caller Display Information page item The prefix code entered in the End Point Phone Number Table will be shown together...

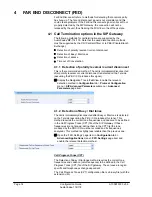
Страница 14: ...assuming the PBX CO produces this signal Display the Navigation Tree in Full View Enable the relevant detection method in Configuration tab Protocol Configuration menu SIP Advanced Parameters submenu Advanced Parameters page item 4 1 2 Detection of Busy Dial tones The call is immediately disconnected after Busy or Dial tone is detected on the Tel side assuming the PBX CO produces this tone This me...

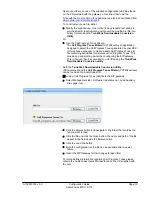
Страница 15: ...s for all relevant Call Progress Tones This provides a good starting point when configuring the SIP gateway This ini file can then be converted to a dat file using the TrunkPack Downloadable Conversion utility Both the TrunkPack Downloadable Conversion Utility DConvert exe and the Call Progress Tones Wizard CPTWizard exe can be found on the AudioCodes CD Load a Call Progress Tones dat file to the ...

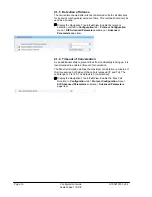
Страница 16: ...Advanced Parameters submenu Advanced Parameters page item 4 1 4 Timeout of Conversation As an additional safety to prevent lines from accidentally locking up it is recommended to enable a timeout of conversation The Max Call Duration defines the maximum call duration in minutes If this time expires both sides of the call are released IP and Tel The valid range is 0 to 120 The default is 0 no limit...

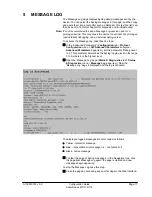
Страница 17: ... Configuration tab Protocol Configuration menu SIP Advanced Parameters submenu Advanced Parameters page item set the parameter Debug Level to 6 This parameter determines the Syslog logging level in the range 0 to 6 where 6 is the highest level Open the Message Log page Status Diagnostics tab Status Diagnostics menu Message Log page item Now the Message Log page is displayed and the log is activate...

Страница 18: ...ion to INFO Cisco in the DTMF Dialing page Configuration tab Protocol Configuration menu Protocol Definition submenu DTMF Dialing page item 6 2 2 AlphaCom configuration The Door Opening feature is programmed in the Event Handler There are two separate events for the door opening feature depending on who is the calling side z calling from the telephone to the door z calling from the door to the tel...

Страница 19: ... AlphaPro Exchange System System VoIP set the parameter Optimized voice duplex control when conversation with SIP trunk stations When this flag is set the initial voice direction is forced to be from the intercom towards the telephone When the phone operator starts to speak the voice direction will switch towards the intercom station regardless of the level of the audio signal from the intercom st...

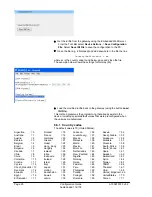
Страница 20: ... was manufactured 6 6 1 Country codes The default value is 70 United States Argentina 0 Australia 1 Austria 2 Bahrain 3 Belgium 4 Brazil 5 Bulgaria 6 Canada 7 Chile 8 China 9 Colombia 10 Croatia 11 Cyprus 12 Czech_Republic 13 Denmark 14 Ecuador 15 Egypt 16 El Salvador 17 Finland 18 France 19 Germany 20 Greece 21 Guam 22 Hong_Kong 23 Hungary 24 Iceland 25 India 26 Indonesia 27 Ireland 28 Israel 29 ...

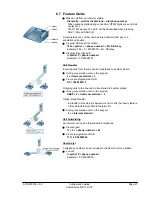
Страница 21: ...Transfer Incoming calls from the line can be transferred to another station z During conversation dial on the keypad 2 intercom station 3 z From a preprogrammed DAK D 2 I 104 M M D 3 Outgoing calls to the line can be transferred to another station z During conversation dial on the keypad DAK9 2 intercom station 3 Option Blind Transfer In AlphaPro Directory Features menu modify the Inquiry feature ...

Страница 22: ...developed and marketed by Zenitel Norway AS The company s Quality Assurance System is certified to meet the requirements in NS EN ISO 9001 2002 ZENITEL NORWAY AS reserves the right to modify designs and alter specifications without prior notice in pursuance of a policy of continuous improvement 2009 Zenitel Norway AS support stentofon com DOC NO A100K10333 v 5 5 ...

Отзывы: