-
20
-
-
20
-
CREATING YOUR HOME’S MAESTRO NETWORK
Your controller
•
thermostat communicates with the MAESTRO thermostats through a Zigbee network for which it is the coordinator.
To create your MAESTRO account, you must connect your thermostats to the MAESTRO controller
•
thermostat. Make sure to
connect the thermostat closest to the MAESTRO controller thermostat first and then each of the other thermostats by gradually
working outwards.
CONNECTING A THERMOSTAT TO THE CONTROLLER
•
THERMOSTAT
With the MAESTRO app
NOTE
: To connect a thermostat to the MAESTRO controller
•
thermostat using the MAESTRO app, your controller
•
ther-
mostat must be linked to a Wi-Fi network (see
). You may need a Zigbee repeater to get around obstacles or
to strengthen the Zigbee signal.
1 -
In the MAESTRO app, access
HOME SETTINGS
, from the groups and settings
screen, and tap
CONNECT A THERMOSTAT TO MY MAESTRO SYSTEM
. The
screen
ADD A NEW THERMOSTAT
on the controller
•
thermostat will display
the Zigbee channel being used.
2 -
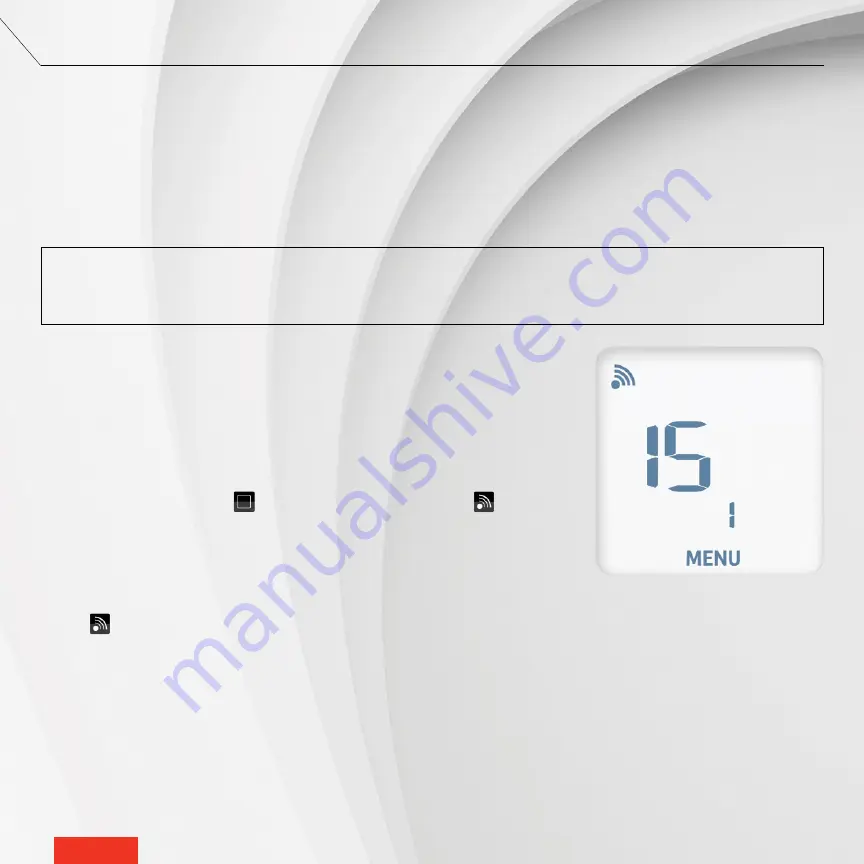
On the thermostat, access menu 1 and select the channel displayed by the
controller
•
thermostat. You can also use the auto-connect option (ON), but the
connection may take more time.
3 -
On the thermostat, tap the
icon to confirm the selection. The
icon will
blink rapidly while the thermostat searches for the channel. The Zigbee channel
will appear when the connection is established.
When the thermostat is connected to the controller
•
thermostat’s Zigbee network:
•
The
icon will appear on the thermostat home screen.
•
A message confirming the connection will appear on the controller
•
thermostat’s screen.
•
The MAESTRO app will show that the thermostat has been successfully connected and the thermostat will appear in
the app. You can now replace the default name of each thermostat by a meaningful name that is easily recognizable
(e.g. bathroom).
If the thermostat does not detect a Zigbee network, an "Err" message will display on the thermostat.


