STEAM Train STEAMbot V1.0 Скачать руководство пользователя страница 9

STEAMbot V1.0 User Guide

Software Installation 

You can program your STEAMbot with the Arduino Integrated Development Environment (IDE) 

and some additional software and libraries. You must know C/C++ in order to program your 

STEAMbot. In the near future, you will be able to program your STEAMbot with a drag-and-

drop programming environment such as Scratch or other similar environment.

Please follow the following steps to install all the required software:

1. On Windows, install the software from the Microsoft Store. On a Mac, download the 

Arduino IDE from https://www.arduino.cc/en/Main/Software. Refer to the https://

www.arduino.cc/en/Guide/HomePage for the instructions on how to install the software.

2. Start the Arduino IDE. Open up the Preferences dialog. On Windows it’s under File 


Preferences.

3. In the text field for Additional Boards Manager URLs enter “http://dan.drown.org/

stm32duino/package_STM32duino_index.json”. Click the OK button.

4. Click on Tools 

 Board 

 Boards Manager. When the Board Manager dialog box appears, 

enter “maple” into the “Filter your search...” text box.

5. Select the “STM32Fxx/GD32F1xx boards by stm32duino” option and click “Install”.

6. The installation process may take several minutes. When completed, click “Close”.

7. Click on Sketch 

  Include Library 

 Manage Libraries...

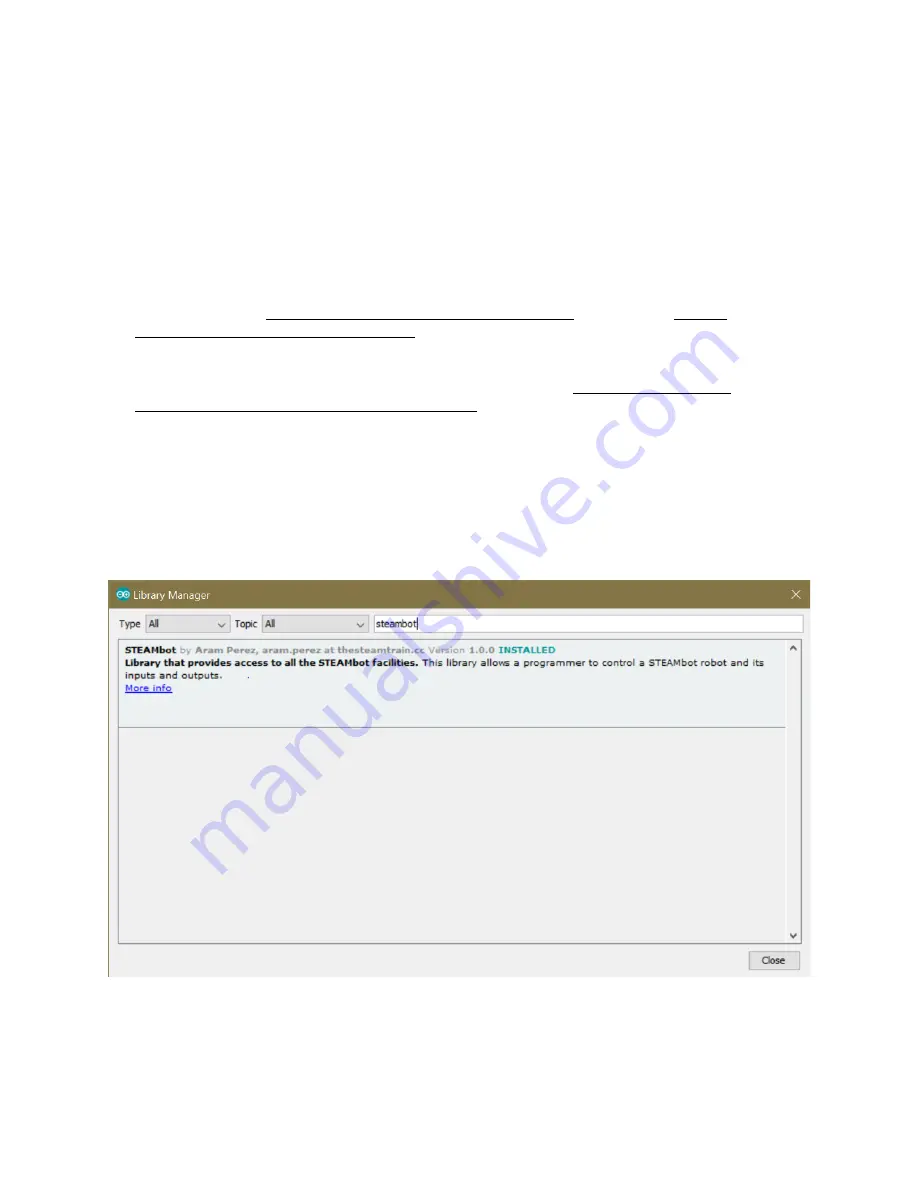
8. When the Library Manager dialog appears, enter "steambot" into the "Filter your search..." 

text field. Select the STEAMbot library and click install. It will take a few seconds to install 

the library and you should see the following.

9. Click the Close button.

10. Click on Tools 

 Board: and select "Maple Mini".

11. Click on Tools 

 Bootloader Version and select "Bootloader 2.0 (20k RAM, 120k Flash)".

2017 © Copyright The STEAM Train

9

Содержание STEAMbot V1.0

Страница 1: ...emble your STEAMbot robot 2 STEAMbot Controller provides a description of the STEAMbot Controller the heart of you robot 3 Software Installation tells you how to install the required software so you c...

Страница 2: ...le 1 List of Parts Part Quantity STEAMbot Chassis 1 STEAMbot Controller 1 Controller Mount 1 DC Motor and Wheel 2 Battery Holder 1 Foam Tape 1 Ball Caster 1 Phillips Screwdriver 1 4 1 inch screw 2 4 3...

Страница 3: ...the wheel from one of the DC motors Keep track of which wheel belongs to which motor 3 Take one 1 screw and attach the DC motor to the left motor mount on the Chassis Ensure that the wires point to th...

Страница 4: ...or labeled MTRA 17 Push the wire from the right motor onto the JST connector labeled MTRB 18 Your robot should look similar to Figure 5 19 Using the two remaining 3 8 screws attach the ultrasonic sens...

Страница 5: ...r robot should look similar to Figure 8 29 Push the power switch to the ON position towards the wheels A red LED near the speaker on the STEAMbot controller will turn red The LED near the RESET button...

Страница 6: ...where the ball caster is However if you wish to flip this configuration so that the ball caster is the front and the wheels are the rear just swap to which motor terminal blocks the wires from the mo...

Страница 7: ...de You will hear a beep and then a higher pitched beep when transitioning from Bluetooth mode to Cat mode STEAMbot Controller The STEAMbot is controlled by a controller board that provides all the req...

Страница 8: ...ing Very few persons will need to use this connector The following table provides the pinouts This table is provided for completeness and can generally be ignored Table 2 Pin Headers Header Pin 1 Pin...

Страница 9: ...s dialog On Windows it s under File Preferences 3 In the text field for Additional Boards Manager URLs enter http dan drown org stm32duino package_STM32duino_index json Click the OK button 4 Click on...

Страница 10: ...rent examples we provide by selecting File Examples STEAMbot including the DefaultSTEAMbot example which is the default program running when you first get your STEAMbot and power it up 14 You are now...

Отзывы: