18
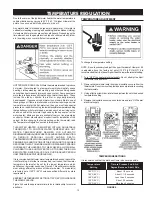
11. Close the water heater drain valve by turning the handle to the
right (clockwise). The drain valve is on the lower front of the
water heater.
12. Open the cold water supply valve to the water heater.
NOTE: The cold water supply valve must be left open when
the water heater is in use.
13. To insure complete filling of the tank, allow air to exit by opening the
nearest hot water faucet. Allow water to run until a constant flow
is obtained. This will let air out of the water heater and the piping.
Never use this water heater unless it is completely full of water. To
prevent damage to the tank and heating element, the tank must be filled
with water. Water must flow from the hot water faucet before turning
“ON” power.
14. Check element for water leaks. If leakage occurs, tighten element
or repeat Steps 2 and 3, remove element and reposition gasket.
Then repeat Steps 10 through 14.
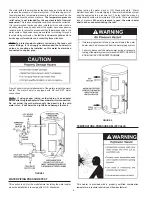
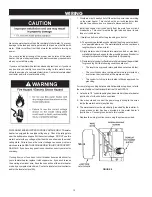
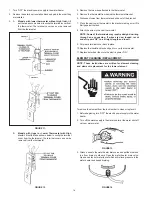
15. Reconnect the two wires to the element and then check to make
sure the thermostat remains firmly against the surface of the tank.
FIGURE 21.
16. Replace terminal cover on thermostat making sure the locking tabs
on the terminal cover are in place.
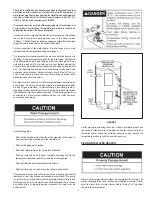
17. Replace the insulation block and pad so that it covers the thermostat
and element, see Figure 21.
18. Replace outer door.
19. Turn “ON” electric power to water heater.
FIGURE 22.
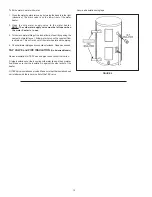
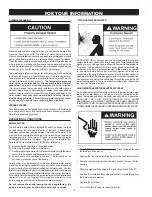
DRAIN VALVE WASHER REPLACEMENT
(See Figure 23)
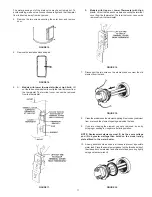
1. Follow “Draining” instructions.
2. Turning counter clockwise (
), remove the hex cap below the
screw handle.
3. Remove the washer and put the new one in place.
4. Screw the handle and cap assembly back into the drain valve and
retighten using a wrench. DO NOT OVER TIGHTEN.
5. Follow instructions in the “Filling The Water Heater” section.
6. Check for leaks.
FIGURE 23.
SERVICE
If a condition persists or you are uncertain about the operation of the
water heater contact a service agency.
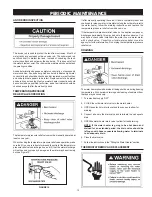
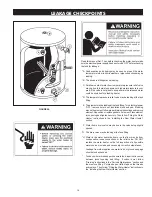
Use this guide to check a “Leaking” water heater. Many suspected
“Leakers” are not leaking tanks. Often the source of the water can be
found and corrected.
If you are not thoroughly familiar with your water heater and safety
practices, contact a qualified installer to check the water heater.
Содержание 184748-001
Страница 3: ...3 GENERAL SAFETY ...
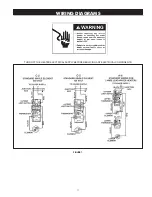
Страница 11: ...11 WIRING DIAGRAMS TURN OFF THE HEATER ELECTRICAL SUPPLY BEFORE SERVICING ANY ELECTRICAL COMPONENTS FIGURE 7 ...
Страница 22: ...22 NOTES ...
Страница 23: ...23 NOTES ...
Страница 24: ...24 ...

