background image

Instruction Manual

3

Installation

WARNING!

  Hard  drives  and  storage  enclosures  require  careful  handling, 

especially when being transported. If you are not careful with your hard disk, 

lost data may result. Always handle your hard drive and storage device with 

caution.  Be  sure  that  you  are  properly  grounded  by  wearing  an  anti-static 

strap  when  handling  computer  components  or  discharge  yourself  of  any 

static electricity build-up by touching a large grounded metal surface (such 

as the computer case) for several seconds.

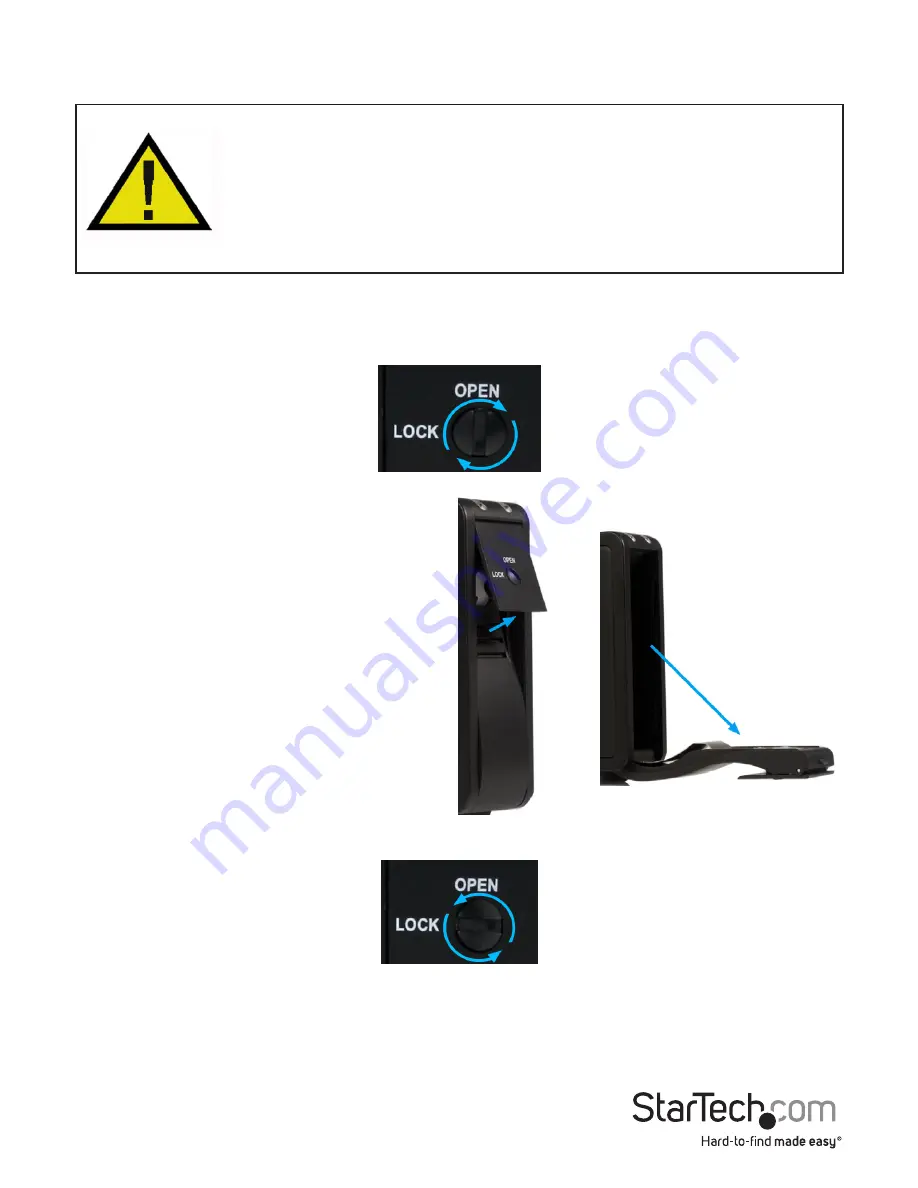
Hardware Installation

1.  Turn the door lock for the drive bays clockwise to the OPEN position. 

2.  Pull the door latch forward and let the 

door swing open downwards.

3.  Slide the bare 3.5in SATA hard drive 

into the bay, with the label side facing 

towards your left.

4.  Once the SATA drive is almost fully 

inserted, close the door and make sure 

the door latch fully engages.

5.  Turn the door lock counter clockwise to the LOCK position.

6.  Once both SATA drives are installed, connect the external power adapter to the 

enclosure.

7.  Press the power switch on the rear of the enclosure and the Power LED for both hard 

drives should light up solid.

*installation photos for reference only

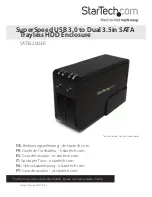
Содержание SAT3520U3R

Страница 1: ...ng de startech com FR Guide de l utilisateur fr startech com ES Gu a del usuario es startech com IT Guida per l uso it startech com NL Gebruiksaanwijzing nl startech com PT Guia do usu rio pt startech...

Страница 2: ...ceiving antenna Increase the separation between the equipment and receiver Connect the equipment into an outlet on a circuit different from that to which the receiver is connected Consult the dealer o...

Страница 3: ...troduction 1 Packaging Contents 1 System Requirements 1 Front View 2 Rear View 2 Installation 3 Hardware Installation 3 Driver Installation 4 Using the Storage Device 5 RAID Modes 6 Specifications 7 T...

Страница 4: ...han the previous USB 2 0 makes backing up and transferring large files faster than ever while still being usable on older USB 2 0 systems With built in RAID capabilities 0 1 BIG JBOD the two drives ca...

Страница 5: ...Instruction Manual 2 Front View Rear View...

Страница 6: ...se for several seconds Hardware Installation 1 Turn the door lock for the drive bays clockwise to the OPEN position 2 Pull the door latch forward and let the door swing open downwards 3 Slide the bare...

Страница 7: ...button See RAID Modes for more information 10 Once the mode is set the drive s will be detected by the operating system NOTE If the enclosure has not been accessed for more than 5 minutes the fan wil...

Страница 8: ...d drive for use before you can write data to them From the main desktop right click on My Computer Computer in Vista 7 then select Manage In the new Computer Management window select Disk Management f...

Страница 9: ...ation combines end to end multiple hard drives into a single large disk When one hard drive becomes full data is then written to the second The operating system will only see a single hard drive This...

Страница 10: ...D Modes 0 1 JBOD BIG Insertion Rating 15 000 cycles Power Adapter 12V DC 3000 mA center positive Enclosure Material Aluminum and Plastic Operating Temperature 5 C 80 C 41 F 176 F Storage Temperature 4...

Страница 11: ...returned for repair or replacement with equivalent products at our discretion The warranty covers parts and labor costs only StarTech com does not warrant its products from defects or damages arising...

Страница 12: ...ts and we quickly deliver them wherever they need to go Just talk to one of our tech advisors or visit our website You ll be connected to the products you need in no time Visit www startech com for co...

Отзывы: