Instruction Manual
4
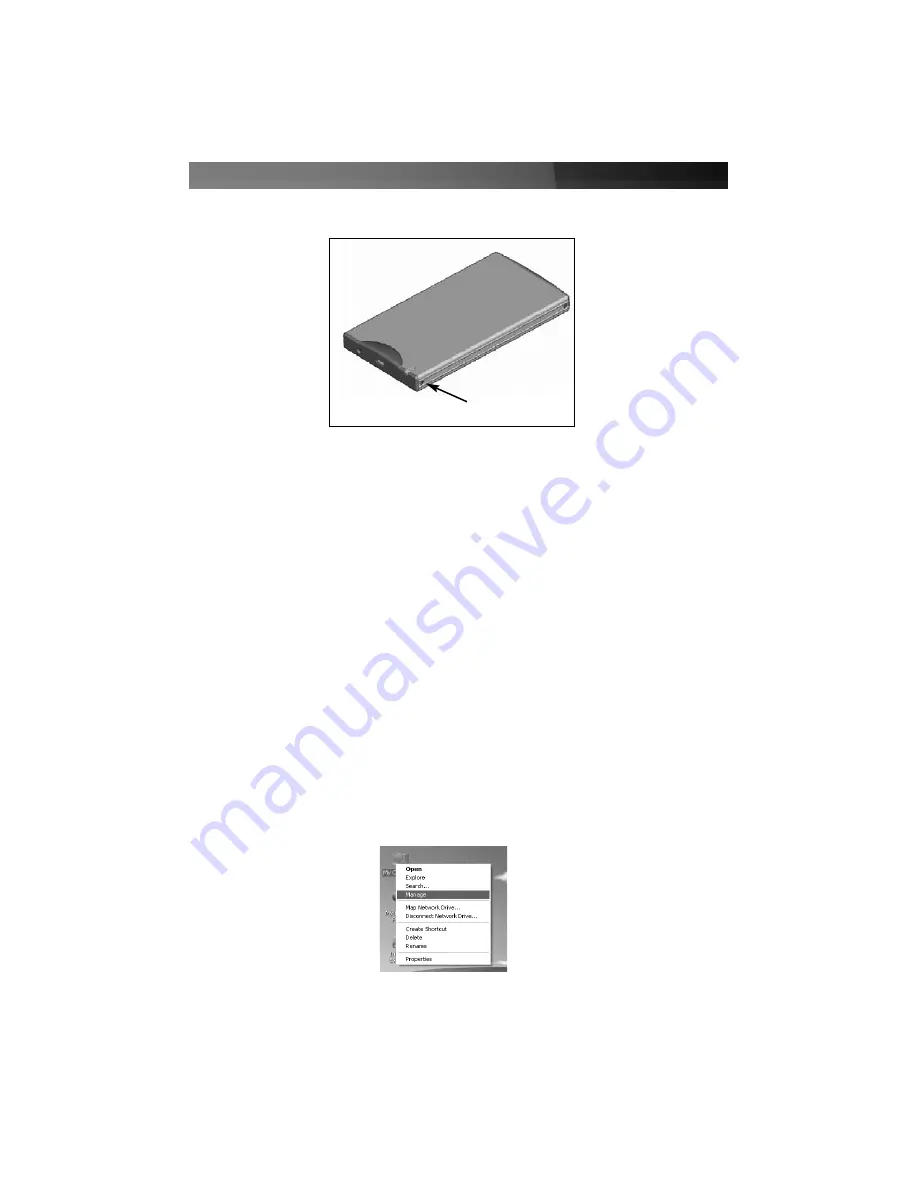
4. Fasten the front panel (with drive attached) to the rear panel (enclosure), using the
screws removed in step #1.
CCoonnnneeccttiinngg ttoo aa HHoosstt CCoom
mppuutteerr
To connect SAT2510U2E to a host computer
using USB
, simply insert the included USB
cable into the USB type Mini B slot provided by the enclosure, and the remaining end into
an available USB type A slot on the host computer.
To connect SAT2510U2E to a host computer
using eSATA
, connect the enclosure to the
host computer, using a standard eSATA cable. To provide power to the enclosure, connect
the
USB to DC cable
(provided) to an available USB port on the host computer, and insert
the remaining end into the power port located on the front panel of SAT2510U2E.
Once the enclosure has been connected to the host computer, the operating system will
automatically update the necessary driver files. Once this has been completed, the newly
connected drive should appear as an added hard drive, in
My Computer
.
VVeerriiffyyiinngg IInnssttaallllaattiioonn aanndd DDrriivvee PPaarrttiittiioonnss
To ensure that the drive is properly detected by the operating system (for Windows users):
1. Right-click on
My Computer
, and select
Manage
:
Fasten here


