Instruction Manual
3
Software Installation cont’d
4. Select
Include this location in the search
, then click on
Browse
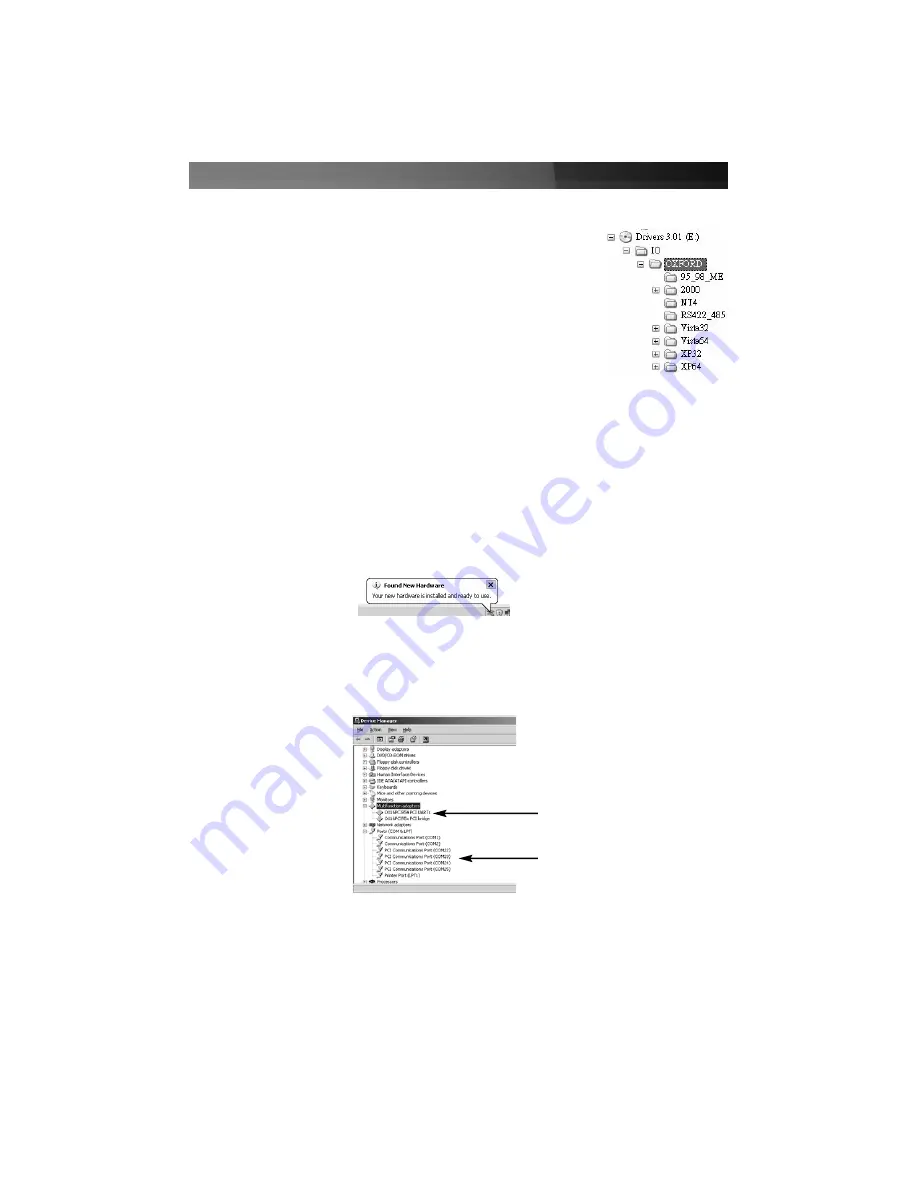
to specify the exact file location (E:\IO\OXFORD\NT4
etc.) and click
Next
to continue. Please note that if
the exact file is not selected, an installation conflict could
occur. Please pay particular attention to the folder name,
when browsing to the destination file.
5. Click
Next
to continue and click
Finish
to complete the installation.
6. Right-click on the
My Computer
icon, and select
Manage
. Choose
Device Manager
(in the left pane), and double-click on
Ports
(in the right pane).
7. Right-click on one of the newly added ports, and choose
Properties
. Click on the
Data rate
tab, then click on
Detect Crystal Frequency
. Click
OK
to save this setting.
8. You will be required to complete steps 1-7 multiple times in order to install all
necessary components. Please do so. Once complete, a message balloon will
appear in the taskbar (normally the bottom right corner of the screen), indicating that
installation is complete:
9. To confirm that all of the necessary components have successfully been installed
browse to the Device Manager. To perform this step, right-click on
My Computer
and
select
Manage
. In the left pane of the
Computer Management
window that appears,
click on
Device Manager
. In the right pane, you should see the following:
OX16PCI954 PCI UARTS
and bridge
PCI Communications Port
(x4)
10. Installation is now complete. You can now connect serial devices as desired, to the
ports provided by the card.


